Sprint Jump Multiplier
One of the features I added to the game this week was a sprint jump multiplier. This was suggested by Guy from my team and what it does is that, if the player is sprinting and also decides to jump, the sprint gives the player a speed boost. This wasn’t too difficult to implement, if the player is moving it will add to the SprintJumpMultiplier variable, if they aren’t it gets reset to zero, and when the player jumps, it’s force will be multiplied by this new variable.
UI
The main thing I worked on this week was the UI. Previously, I had an issue where the player could not use the slider, which meant that they could not choose between the gravity and the possession ability. After some poking around with the file, I remembered that the EventSystem was in another scene. After copying it over and replacing the old Input System with the new one, this got me closer to the solution. There was one more thing I needed to do to make it work and that was to reroute the casting so that it isn’t used after the player presses the mouse button again, but using a specific key. I chose the E key for the keyboard and mouse as it was what made sense to me. After adding this new Input in the InputActions, I changed the code to reflect this, and now the slider works. Horray!
Starting work on Possession Ability
At this point, I also started work on the possession ability, the ability represented in the ability selection screen by a shepherds stick. Much of the code structure works very similarly to the gravity ability, in which for each object, it a) does the ability, b) waits 10 seconds and then c) returns the object to it’s original state.
However, getting the Possession ability to work was more than a challenge than I was expecting. Setting the objects parent to the player didn’t work and when I tried to code the objects transform to reflect the players, this is what happened.
This is something I will look into more in the following week.
World 1 Changes
At this point, I had a look at what Guy was working on for his part of the project, and he had developed a big city area, but that he didn’t know how to put it into the level 1 scene. However, I knew how. In the level 1 scene I moved all the existing world GameObjects into a new parent object, which I named World (old). I then went into Guy’s scene and moved all of the world GameObjects into another new parent GameObject, titled world. From there it was as simple as copying the new world GO, pasting it into the level 1 scene and disabling the old World GO in the inspector.
Minor Changes
I also made some minor changes this week, mainly bug fixes and such. One of which was a bug where, if the player goes onto the ability selection screen (and thus enables the orb around the player) but then cancels, the orb remains with the player. This was fairly easy to fix, all I had to do was write code to disable the object when the player uses the cancel input. This left me, surprisingly with a few null reference exceptions whenever I cancelled, but they were easily fixed by using an if statement to check if something is not null.
Another minor change implemented this week was the timer UI. Guy suggested that it would be better to have the timer display in just seconds and not seconds and milliseconds like it had been doing. This was a very easy change to make, in the timer script, I changed “F2” to “F0” and it fixed this issue.
Finally, I added a change to the Sprint Multiplier so that there was a maximum limit on this variable, and I added a multiplier to slow down how much it was adding per second. I did this because I noticed that, within a few seconds of moving with the old system, jumping would send my player through the clouds!
Playtesting Preparation
At this point, I also started to prepare for a play testing session for the following week. I created a Discord channel where I could post event details and gather feedback. I used an invite link for the Discord server to create a QR Code, which I used on the first poster, as seen below.
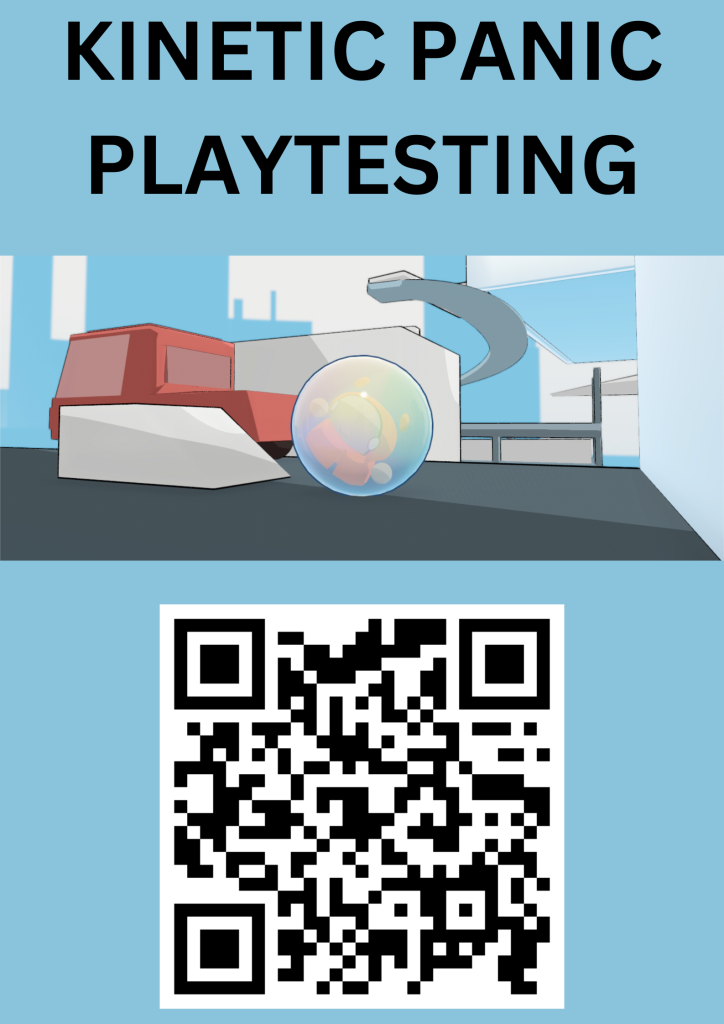
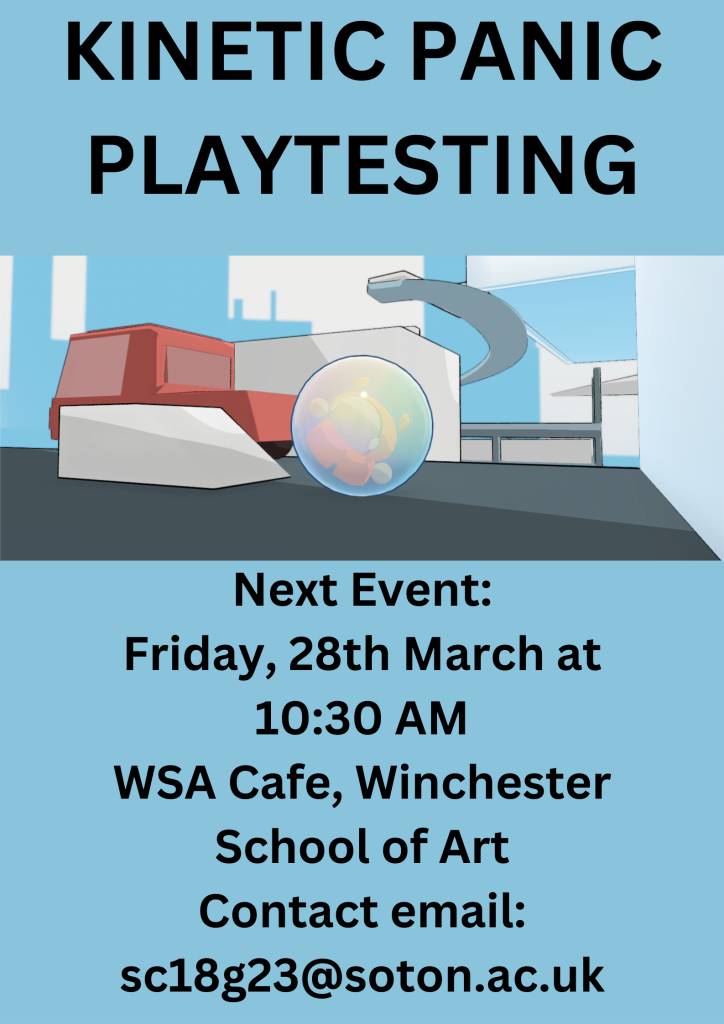
I created the poster using the website Canva, using its poster template and default font option. I printed it out and showed it to 2 of my teachers, who said that people might be weary of scanning QR codes, so I quickly made this second version, showing the date for the next playtesting session along with my QR code.
Soon, I had 10 copies of each version, so 20 posters. The ones with the QR code were mainly used internally around the university. I put them up around the South building, in the café and in the printmaking workshop area. However, I had grander ambitions and so I ventured onto the high street, looking for community notice boards to put them up on. Projects, a café and local shop, was an obvious target; the front of the shop has a lot of posters, so I asked if I could put one up and they agreed.
During this, there were a few iffy ones, for example, I saw a poster for an art exhibitions outside a graphic design studio and I went inside, they said that they wouldn’t display it at the front but they would put it somewhere. I also went to Oxfam, where I currently volunteer. They didn’t have a notice board for the main store, but I gave a copy of the poster for the kitchen, and they instructed me to go to the bookstore, where there was a notice board.
The following is a list of the places where I distributed the posters outside of WSA:
- Projects
- Waterstones
- Costa
- Oxfam (Bookshop)
Next steps
For the next week, I will work on the possession ability more, and I will also work to polish the game up in preparation for Friday’s playtesting session.