I actually built the inventory system before working on the ESC key system. Back then, I faced the same issue—interactions from the game screen overlapping with the inventory UI. I spent an entire afternoon struggling with it, trying all sorts of approaches, but couldn’t find a solution at the time.
I referred to some tutorial videos, but I found that even when I copied their code exactly, differences in other settings made the code unusable in my project. These scripts ended up being discarded. Once I realized they wouldn’t work due to compatibility issues, I turned my attention back to Fungus and began exploring how to recreate the effect using only its built-in features.
I decided to build the inventory system by combining the object clicked command with fade to view command.
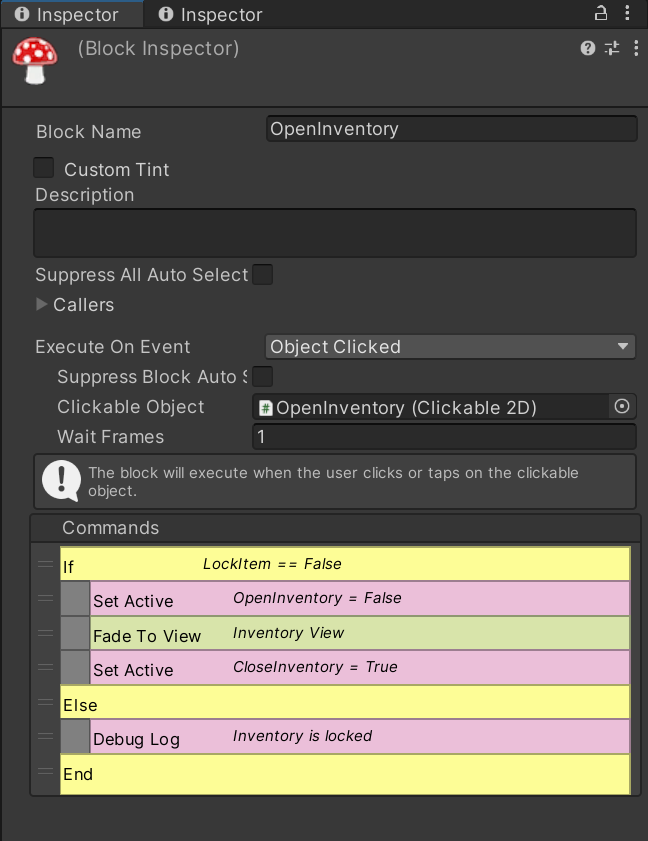
Open Inventory and Close Inventory Commands
When the player clicks the Inventory icon, Fungus executes the following commands.
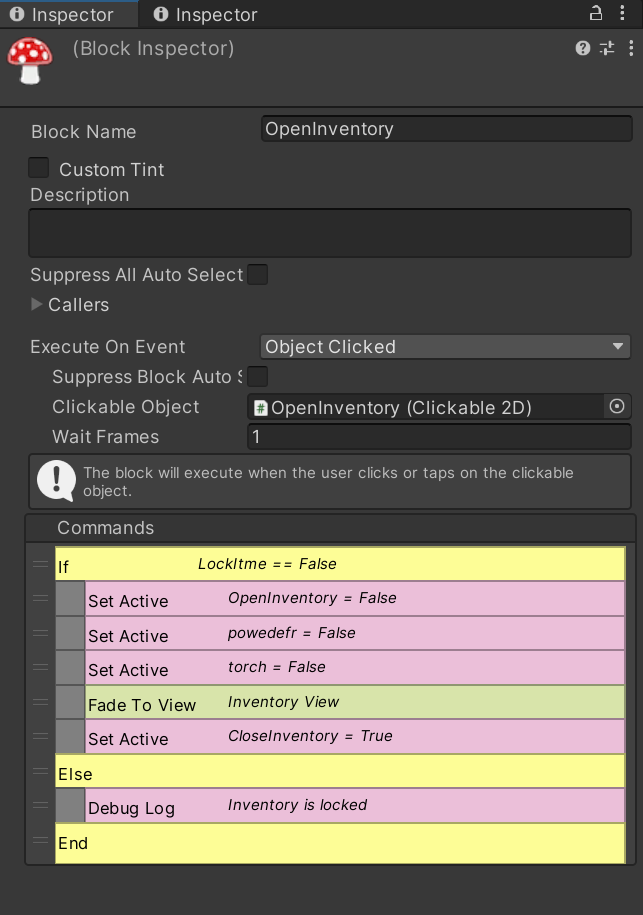
In Scene: 5.2_Basement, I added commands to hide the icons for the UV Flashlight and Fingerprint Powder tools.
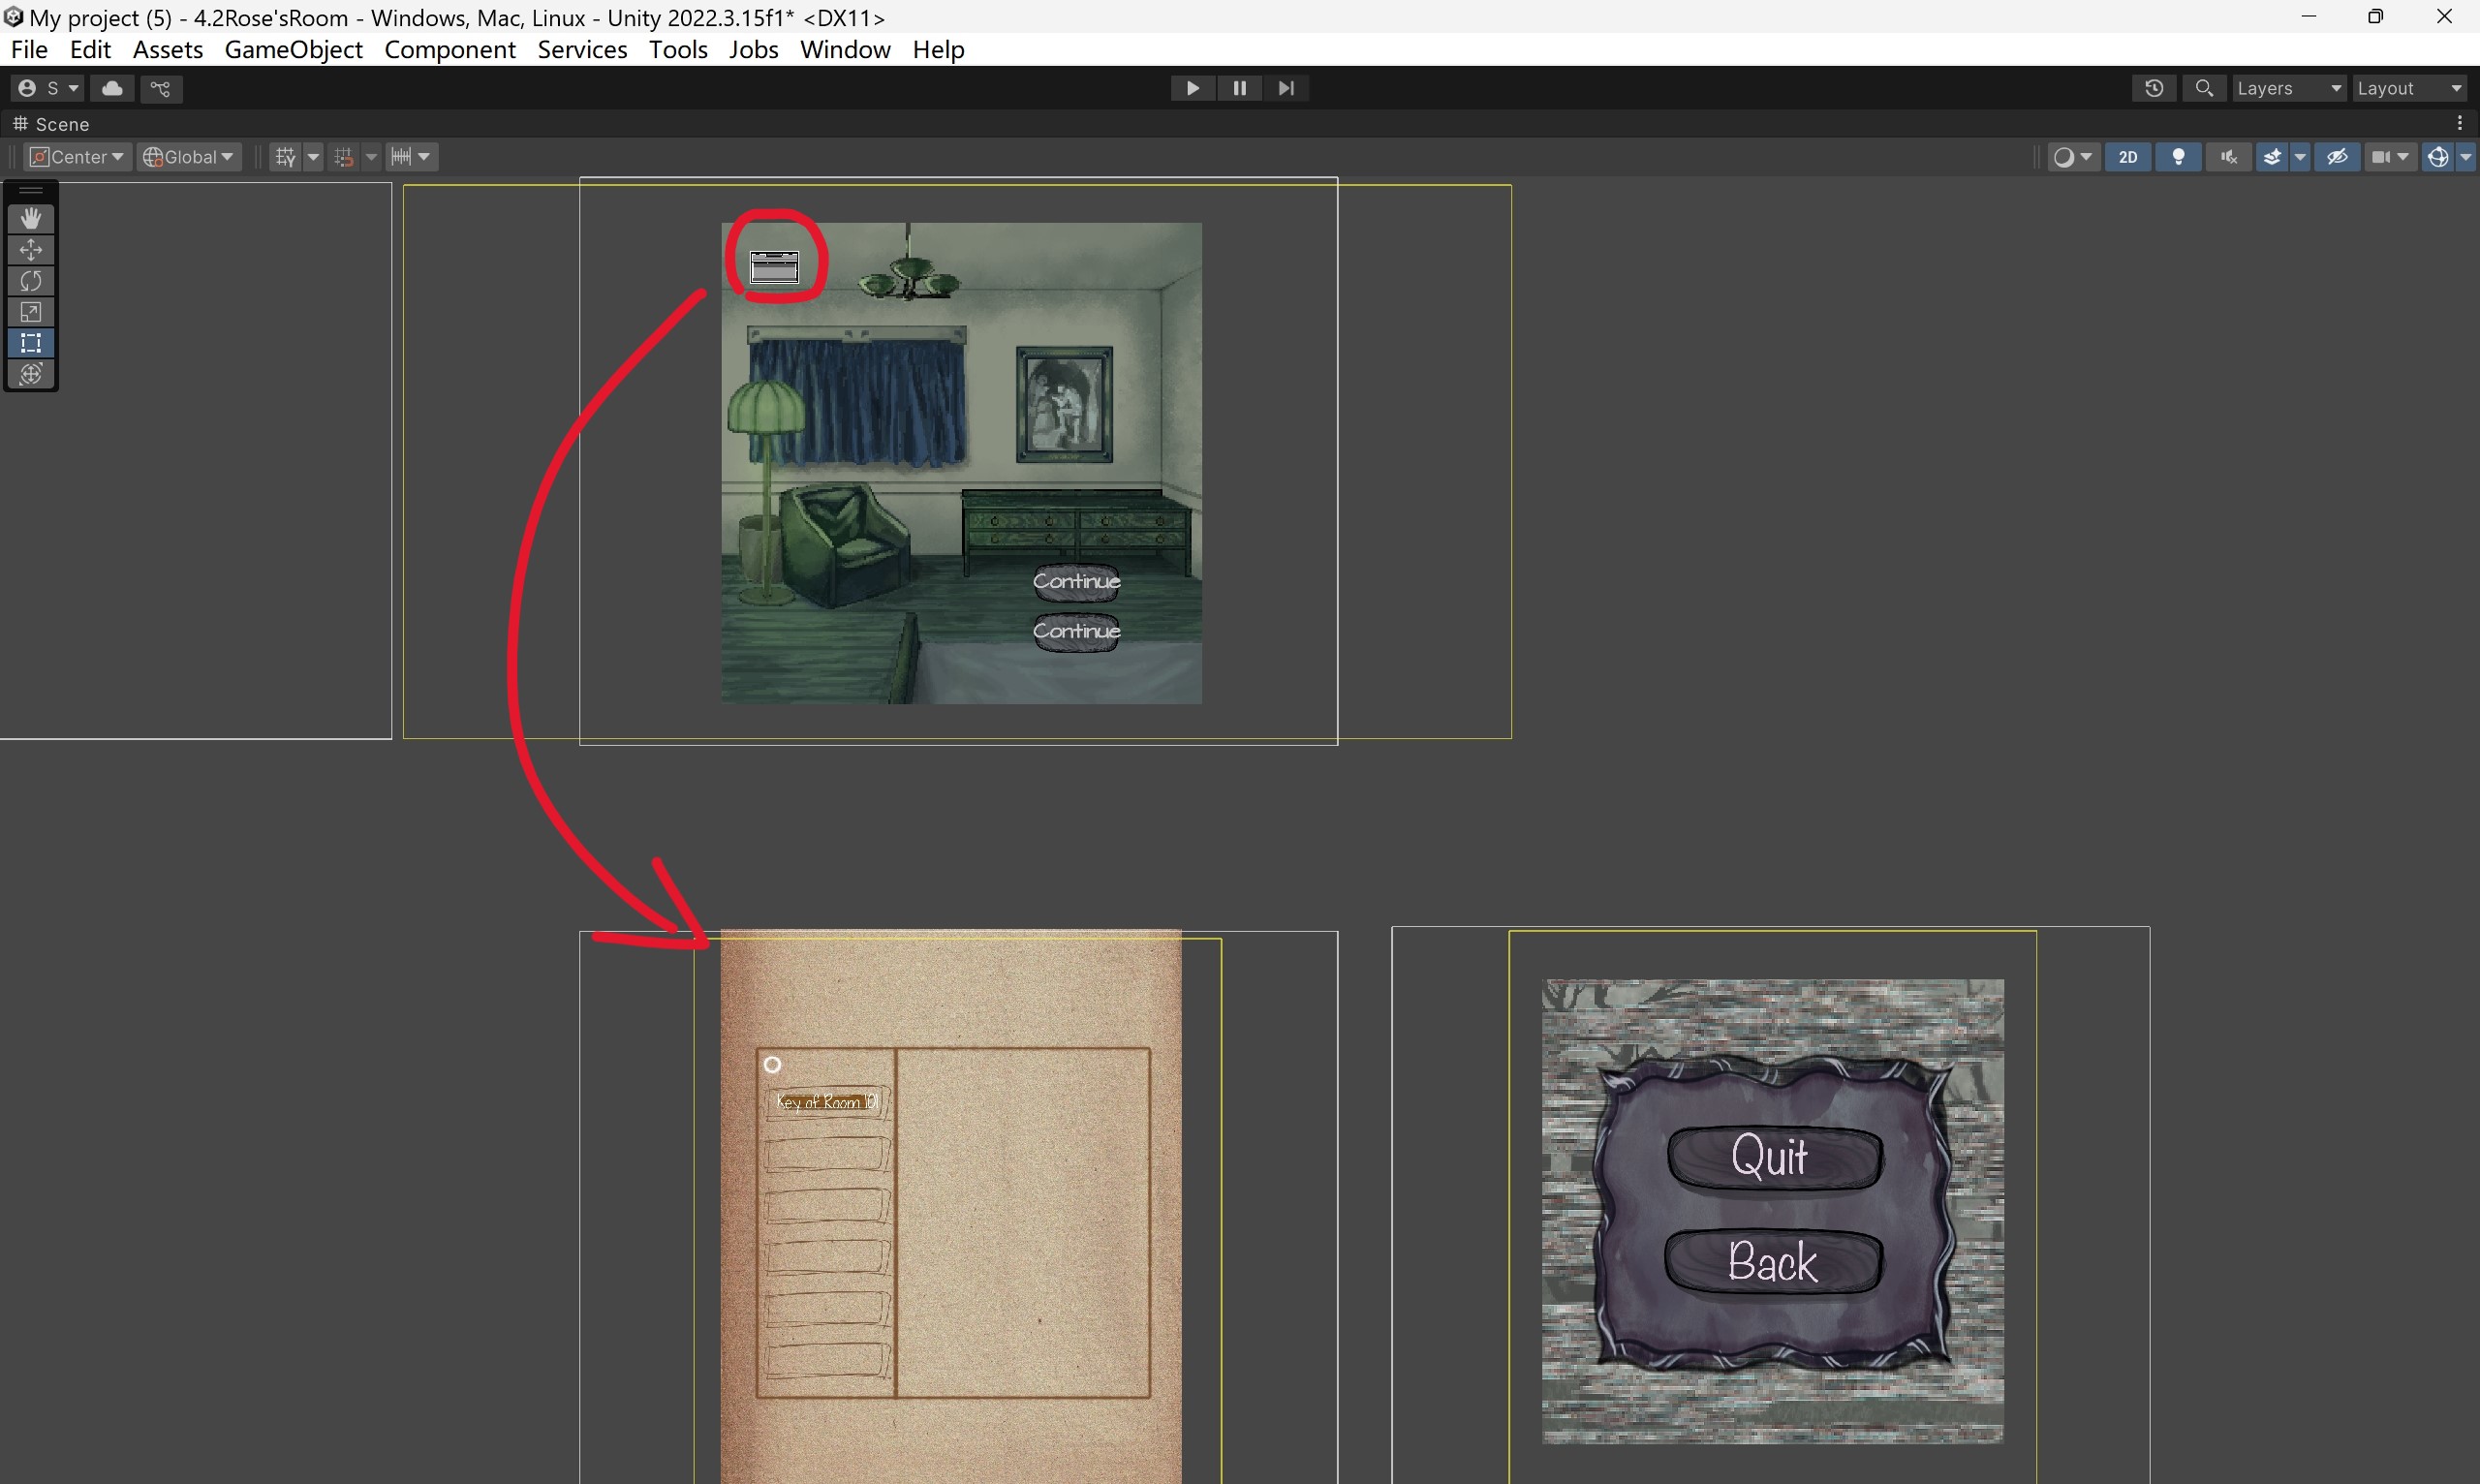
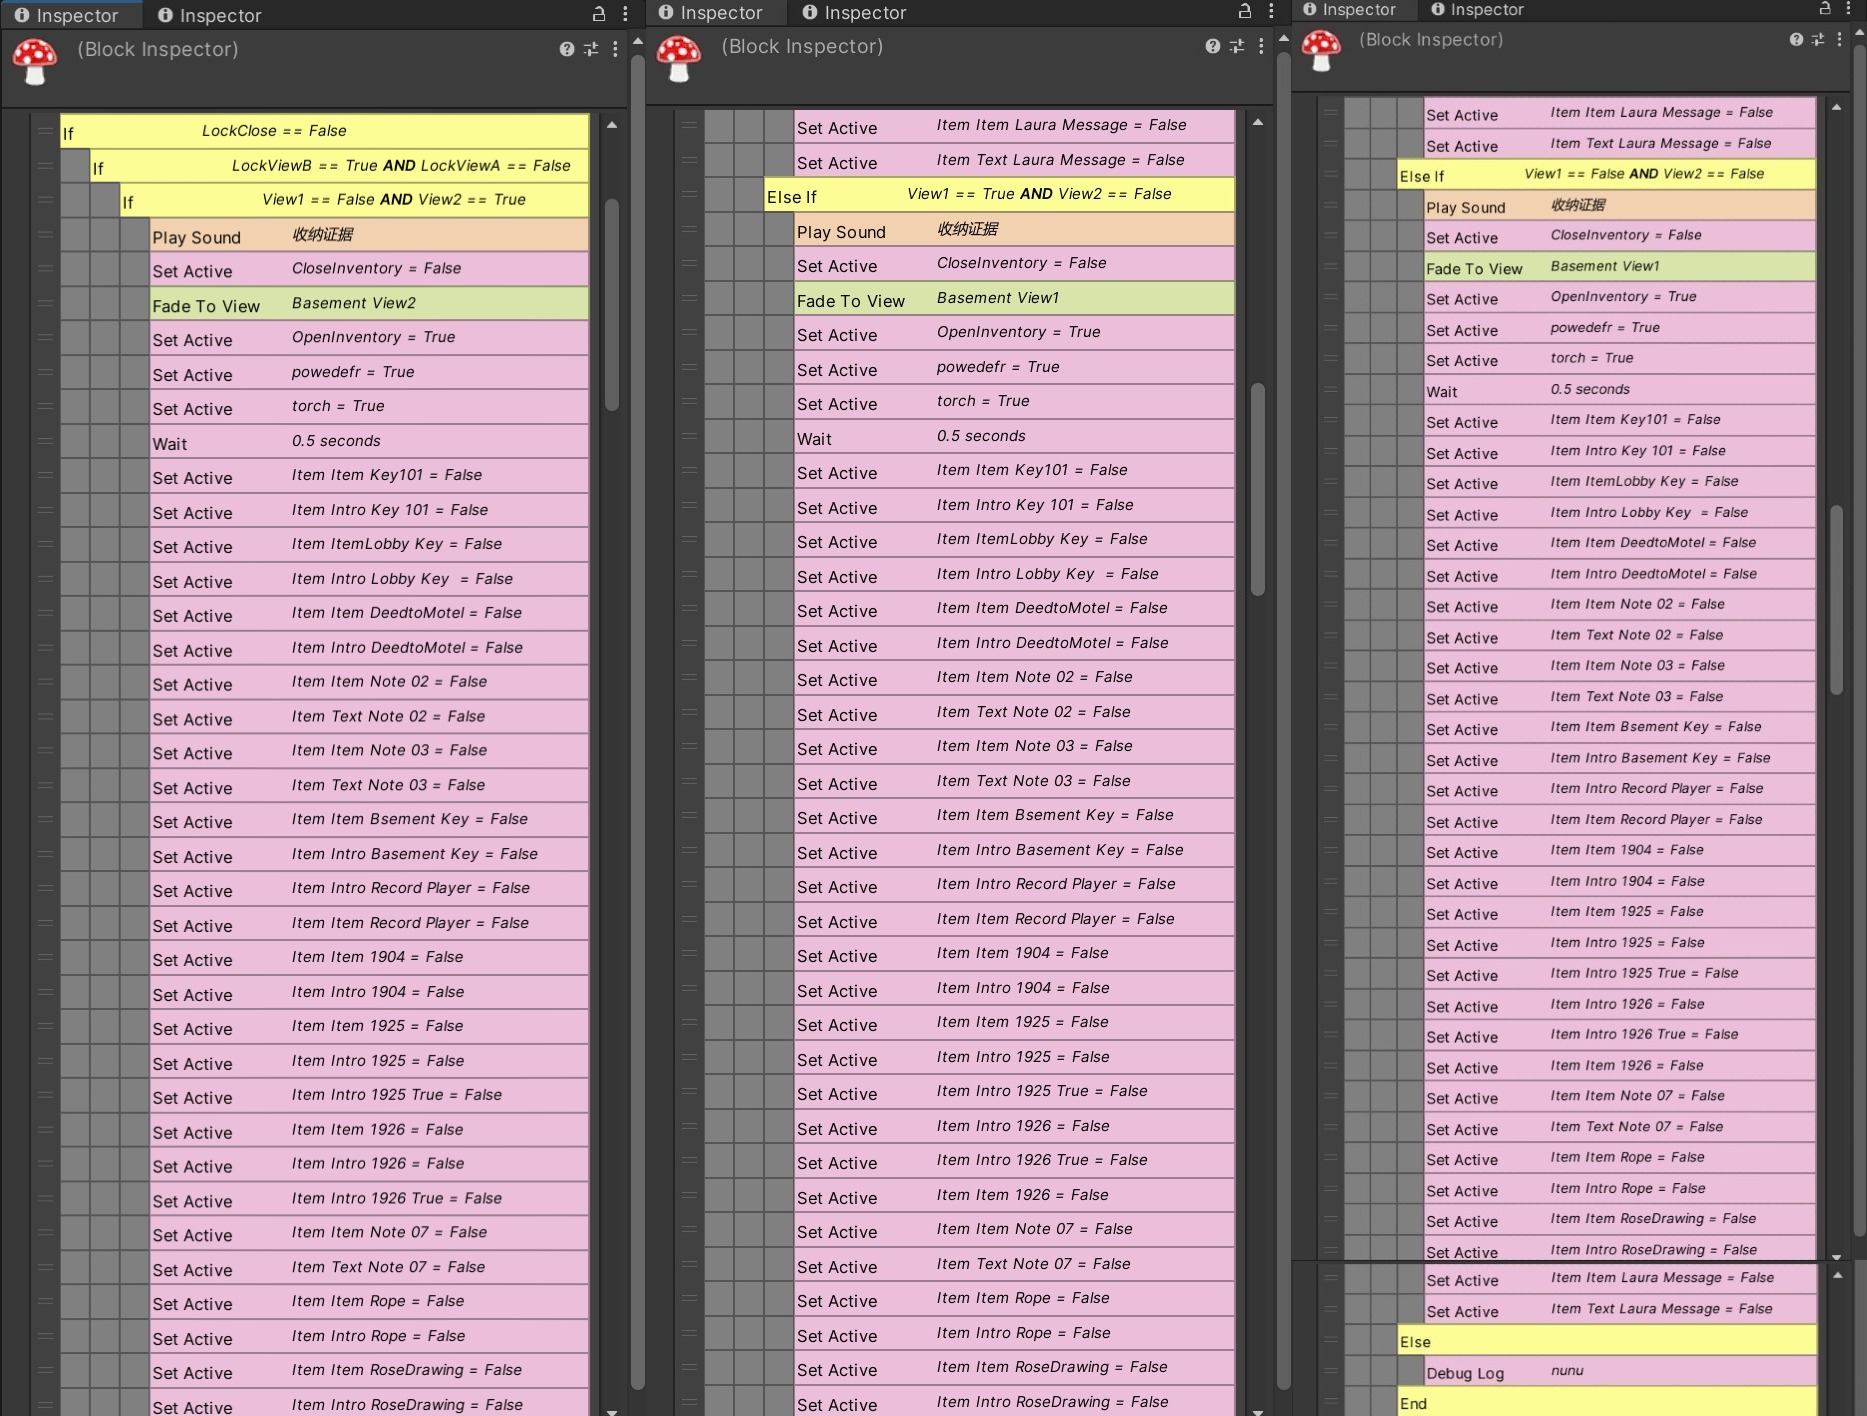
The command for closing the inventory and returning to the main game screen” ended up being more complex. Since there’s no way to know which item the player might have clicked before choosing to return, I made sure to hide all item images and description sprites when the inventory is closed.
Similar to the Esc system, returning from the inventory screen to the main game also required handling multiple game views. In Scenes 3.2_Hallway and 5.2_Basement, I faced the challenge of adding and managing multiple variables to handle this properly.
The command for closing the inventory is in Scene: 3.2_Hallway.

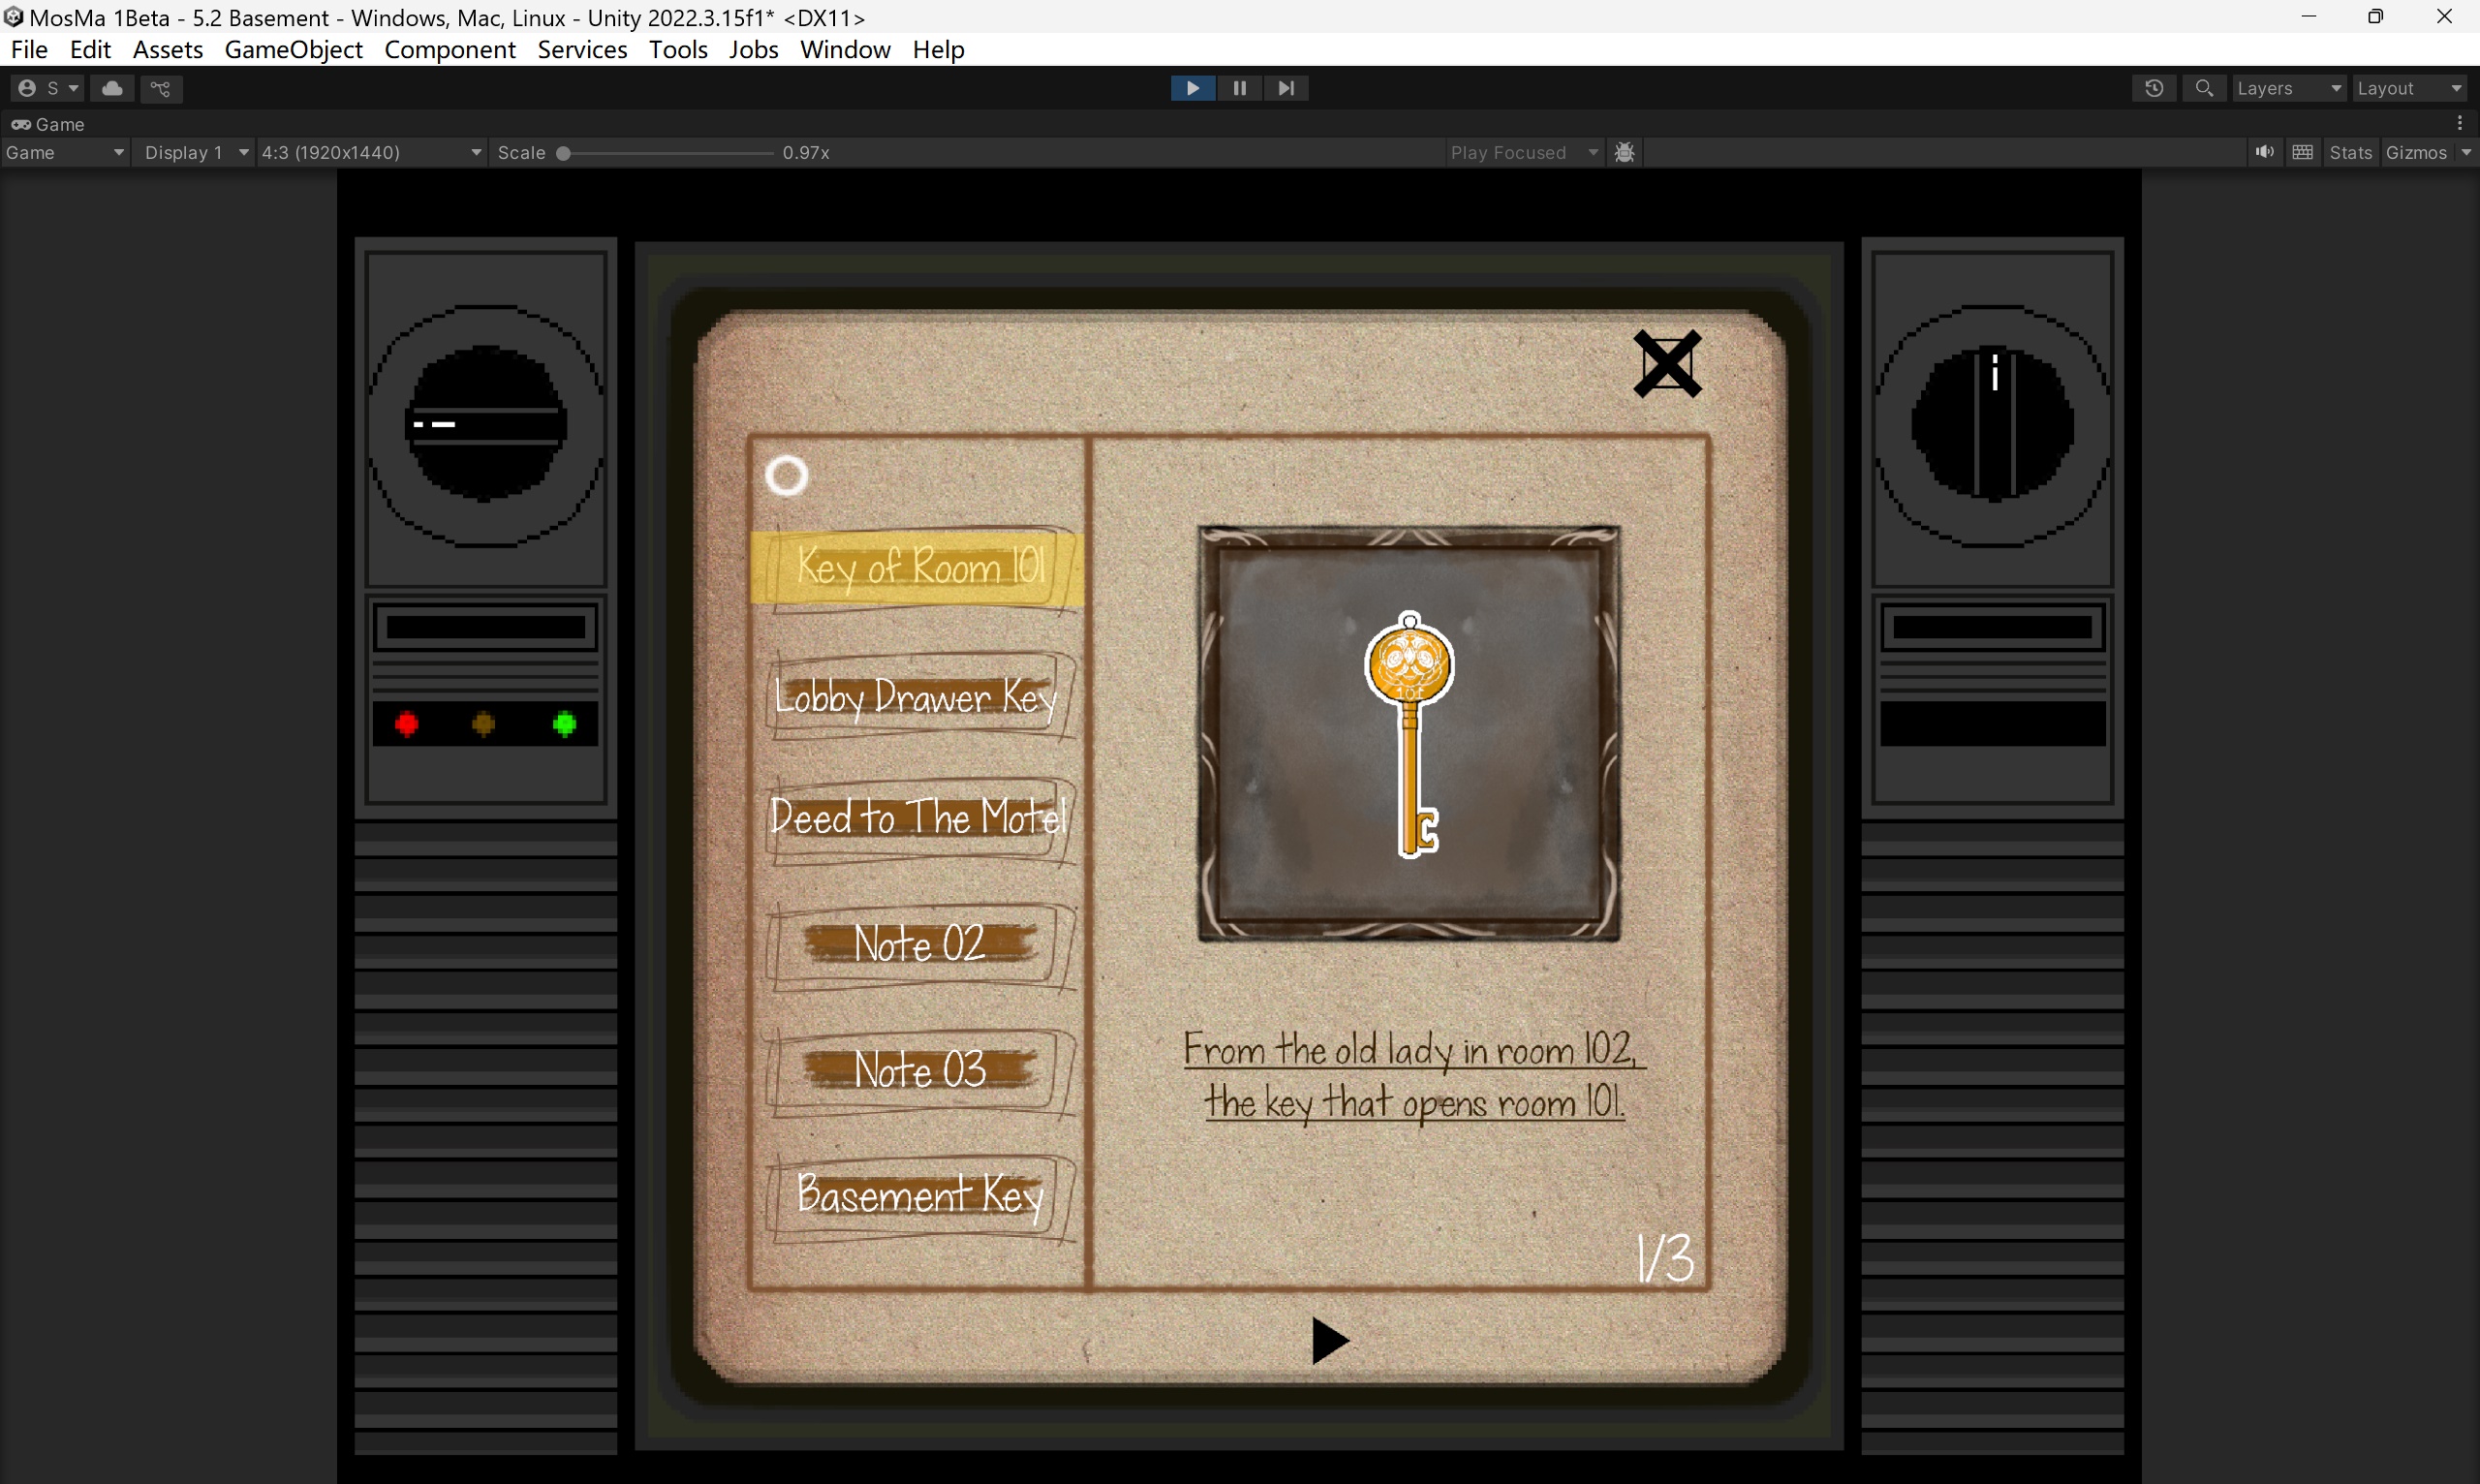
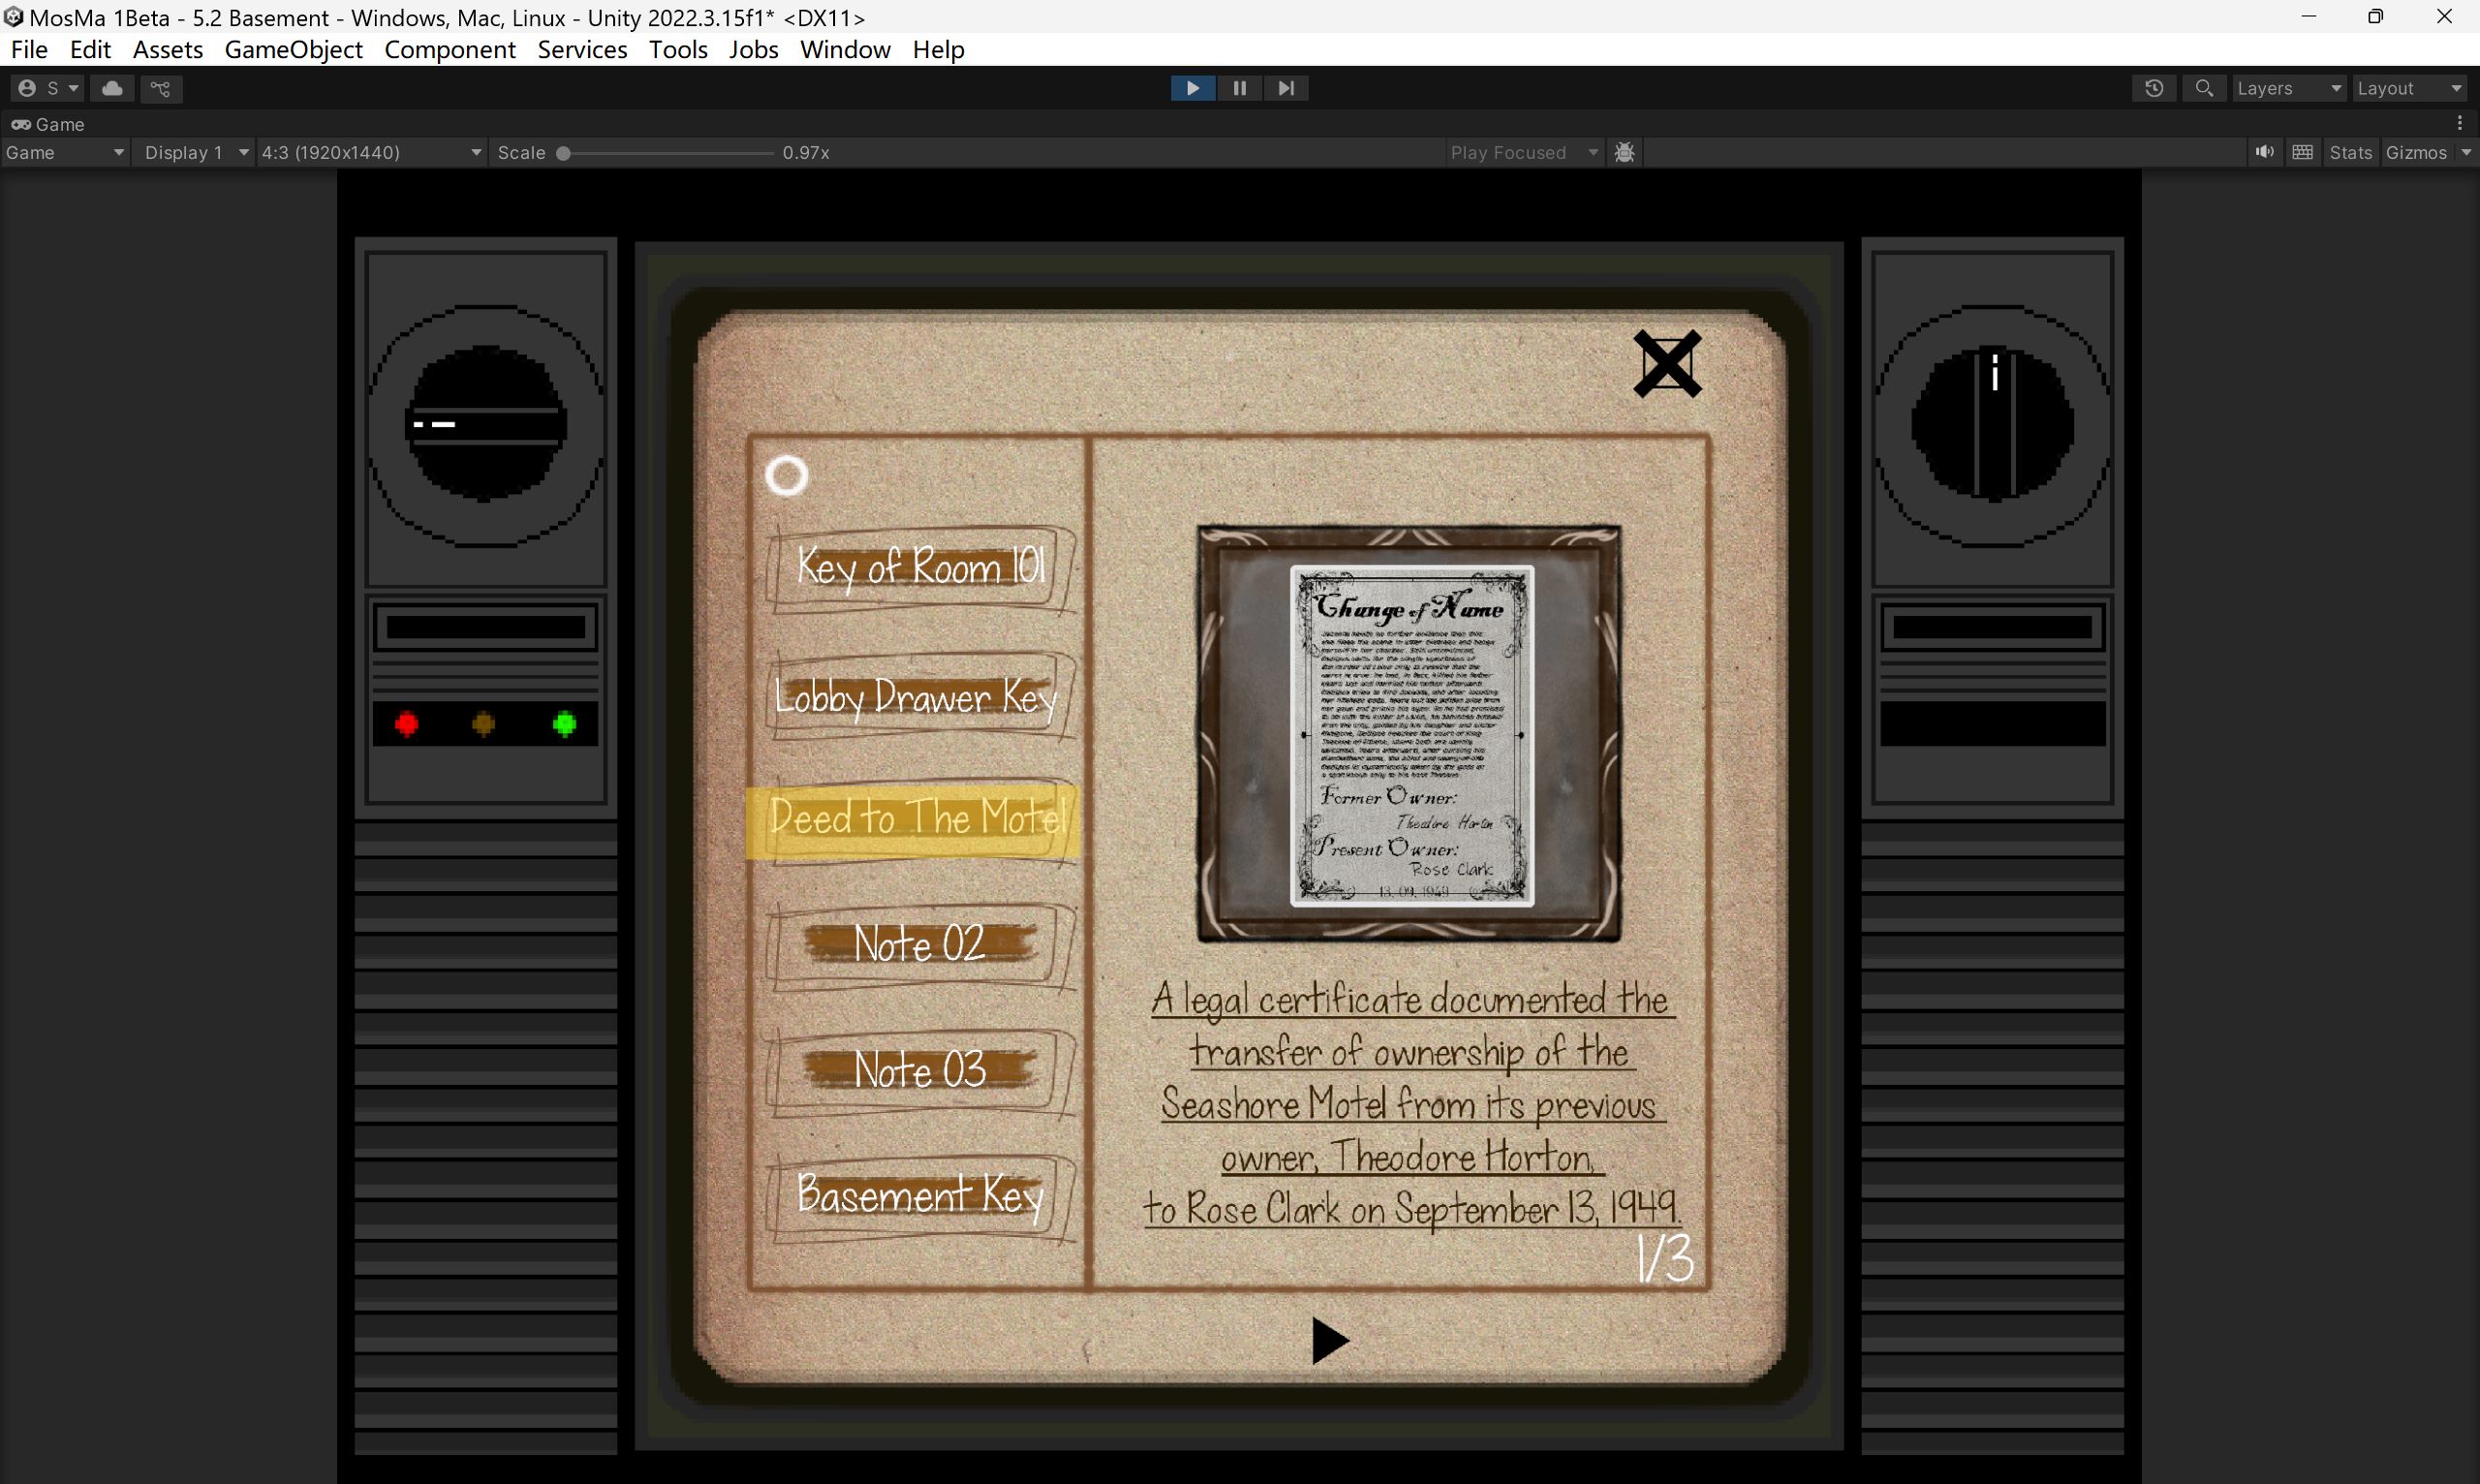
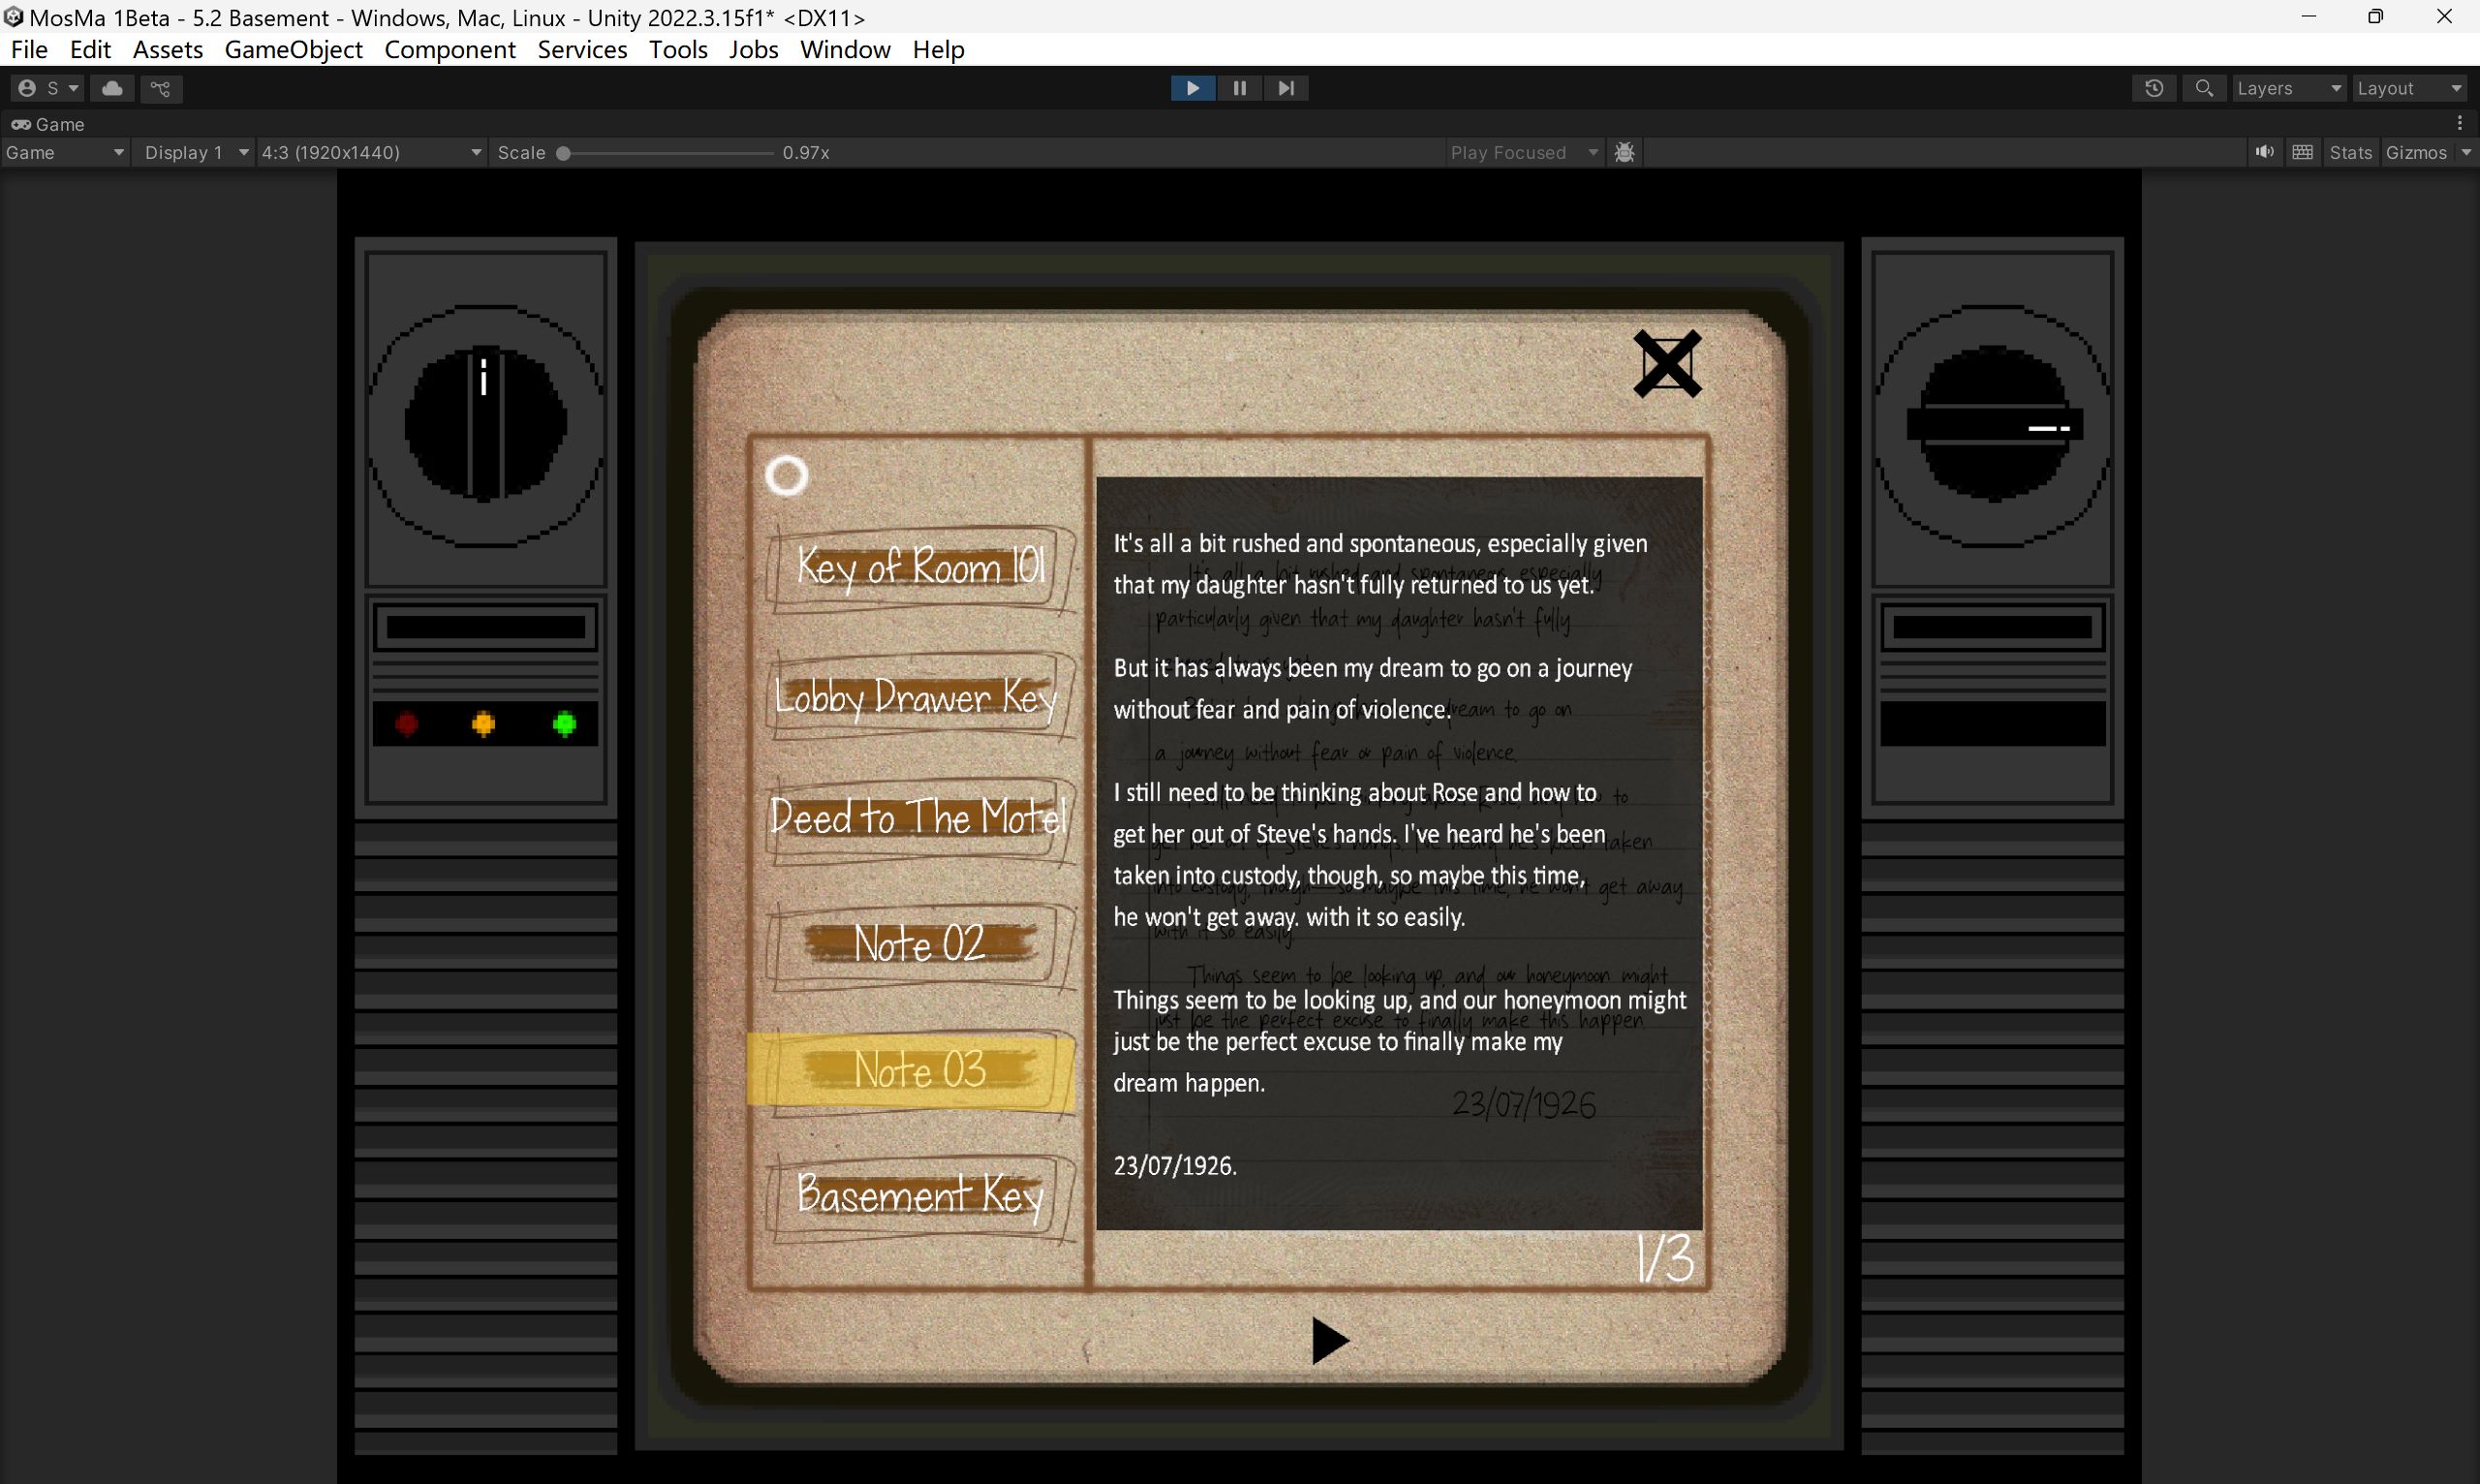
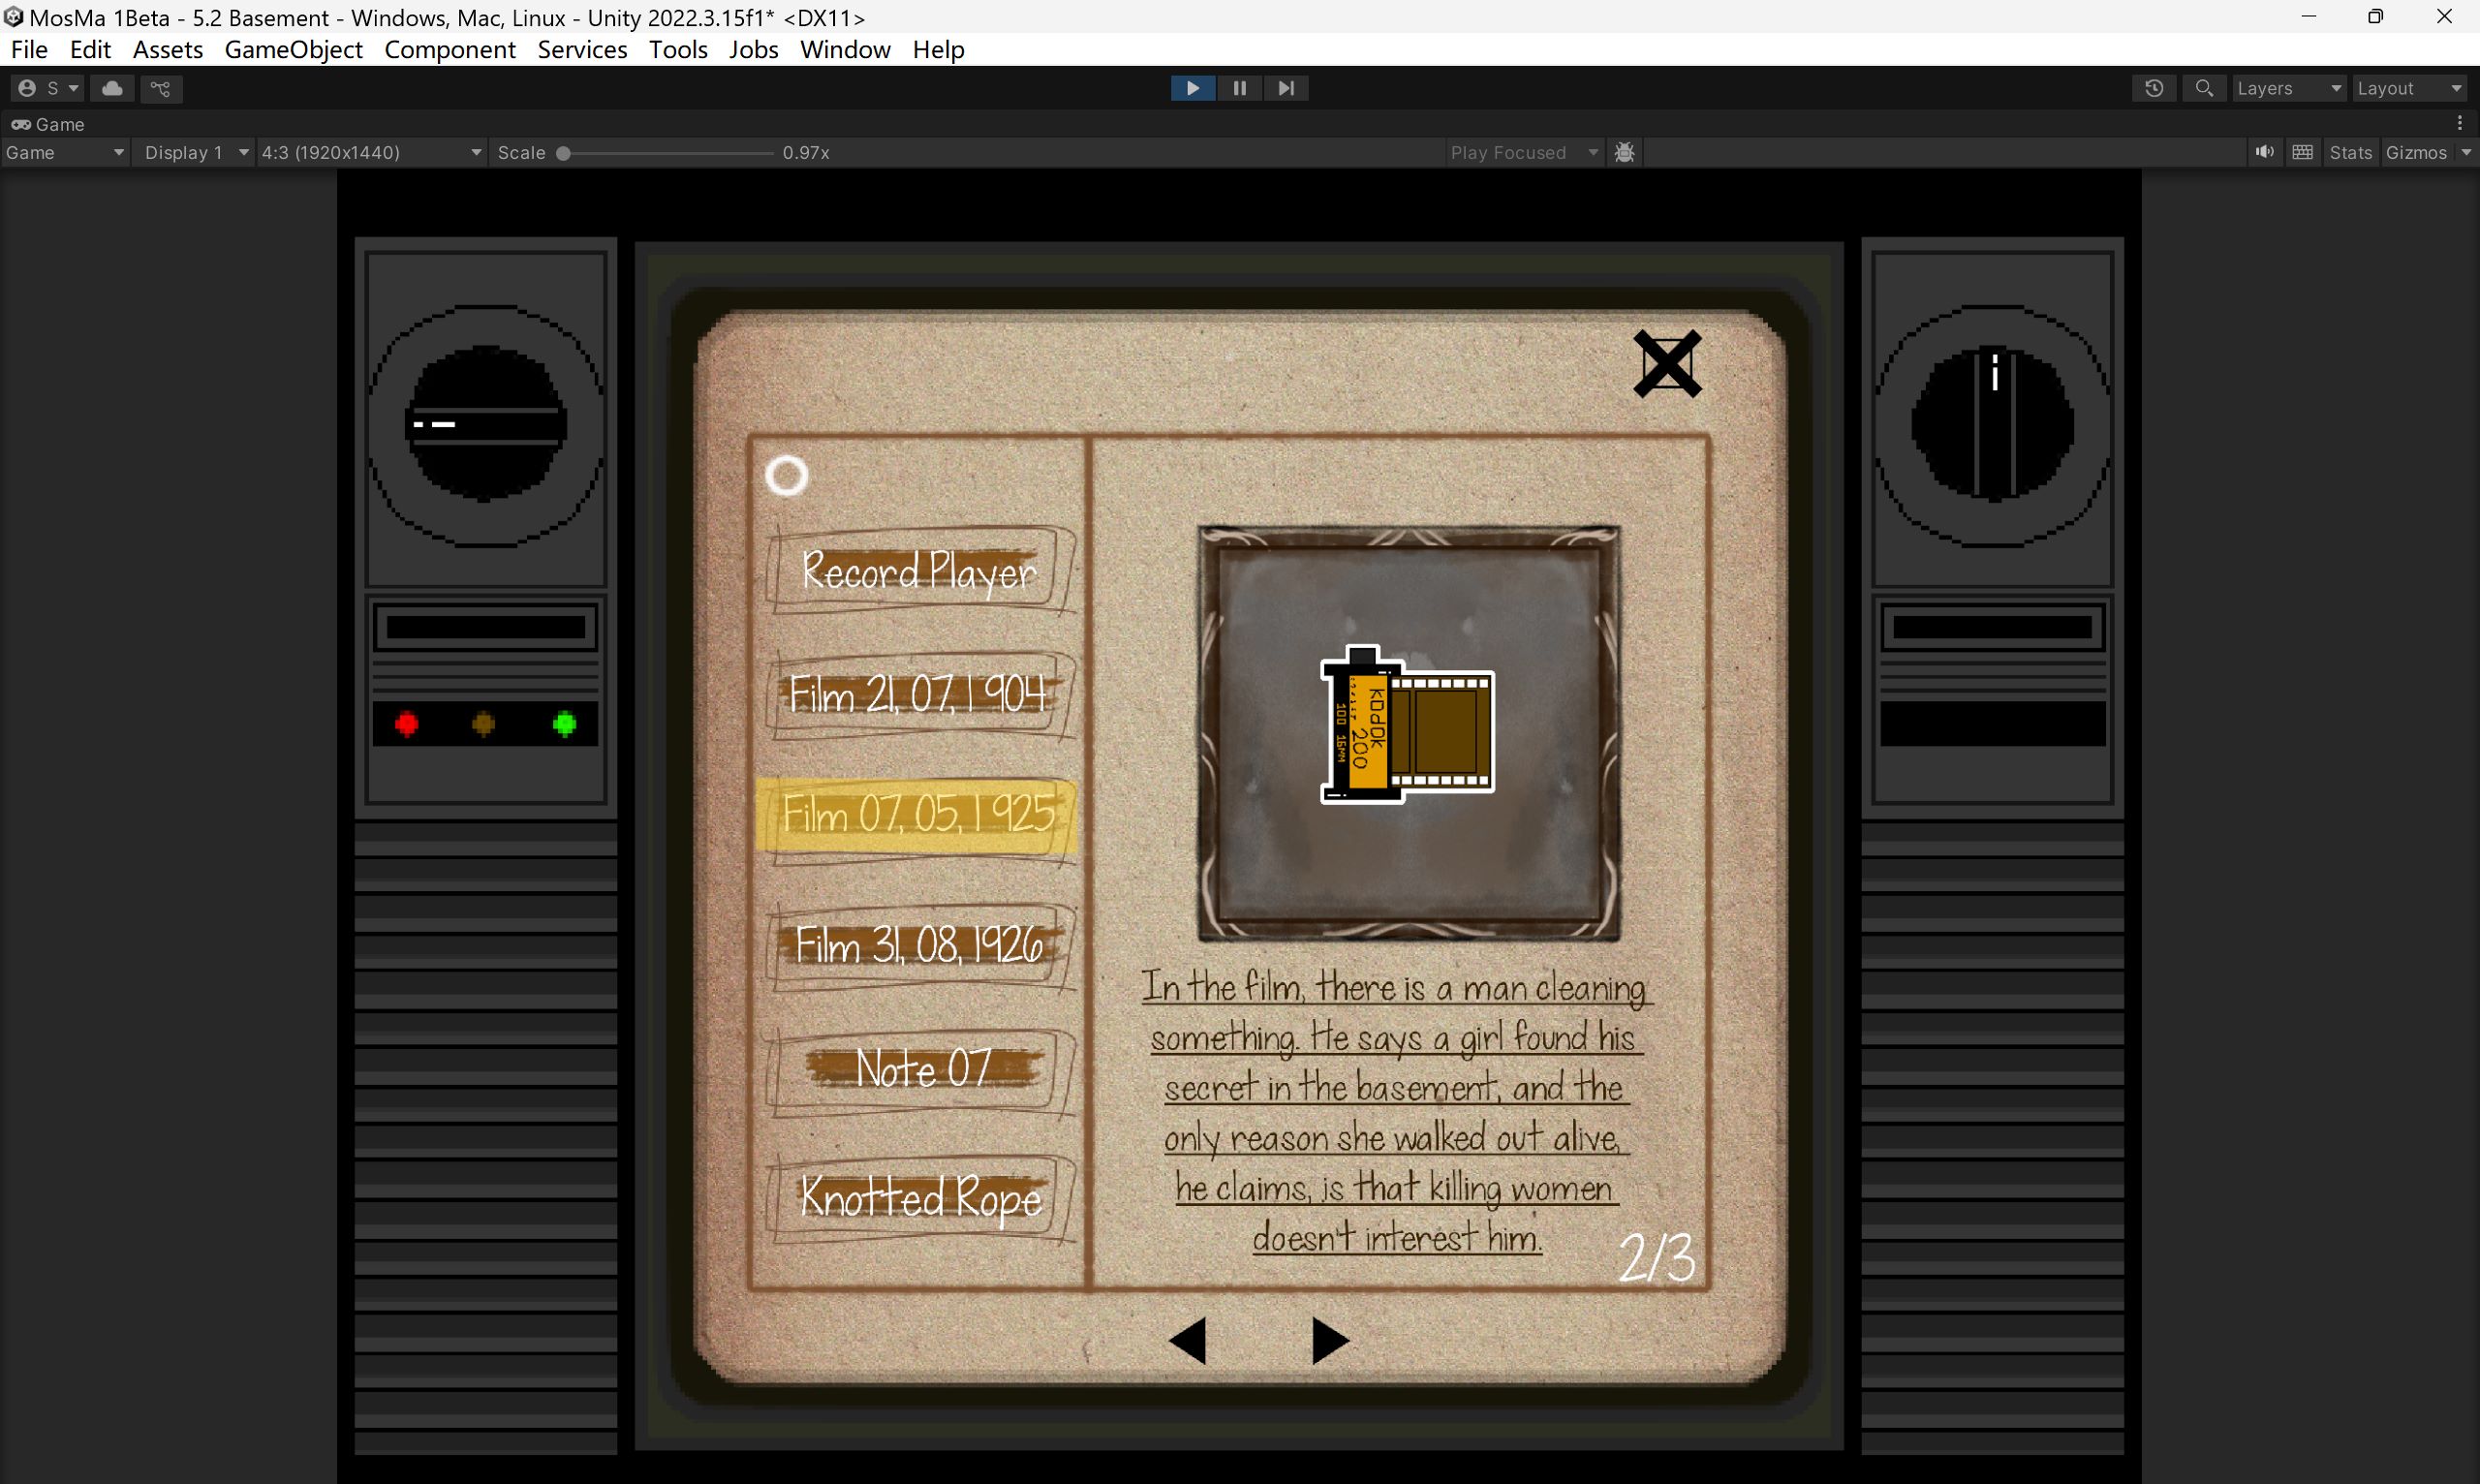
In Scene 5.2, the number of investigable items increased, and all previously collected evidence was also stored in the inventory. As a result, more sprites needed to be turned off when closing the inventory, making the “close inventory” command in Scene 5.2 the longest one in the entire game.
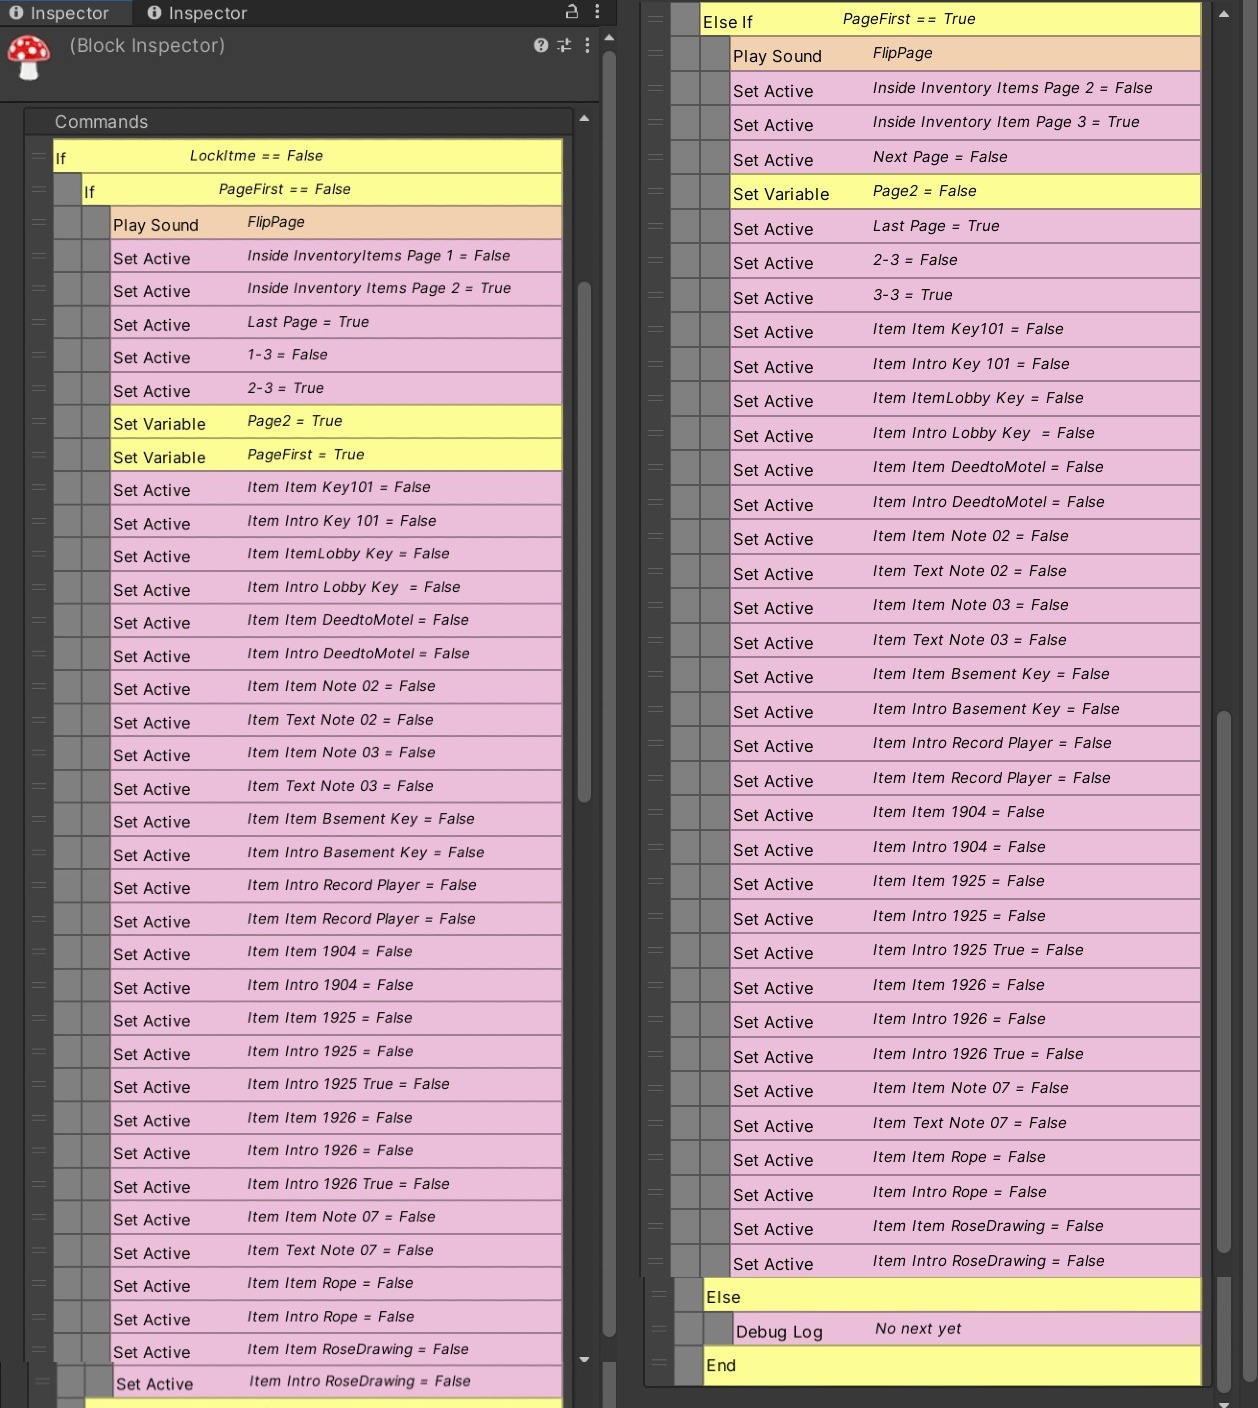
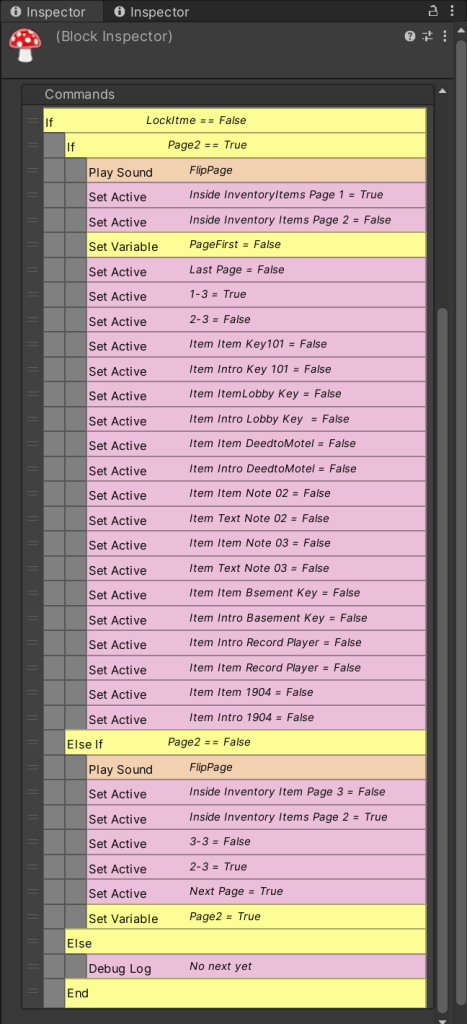
“Next Page” and “Last Page” Commands
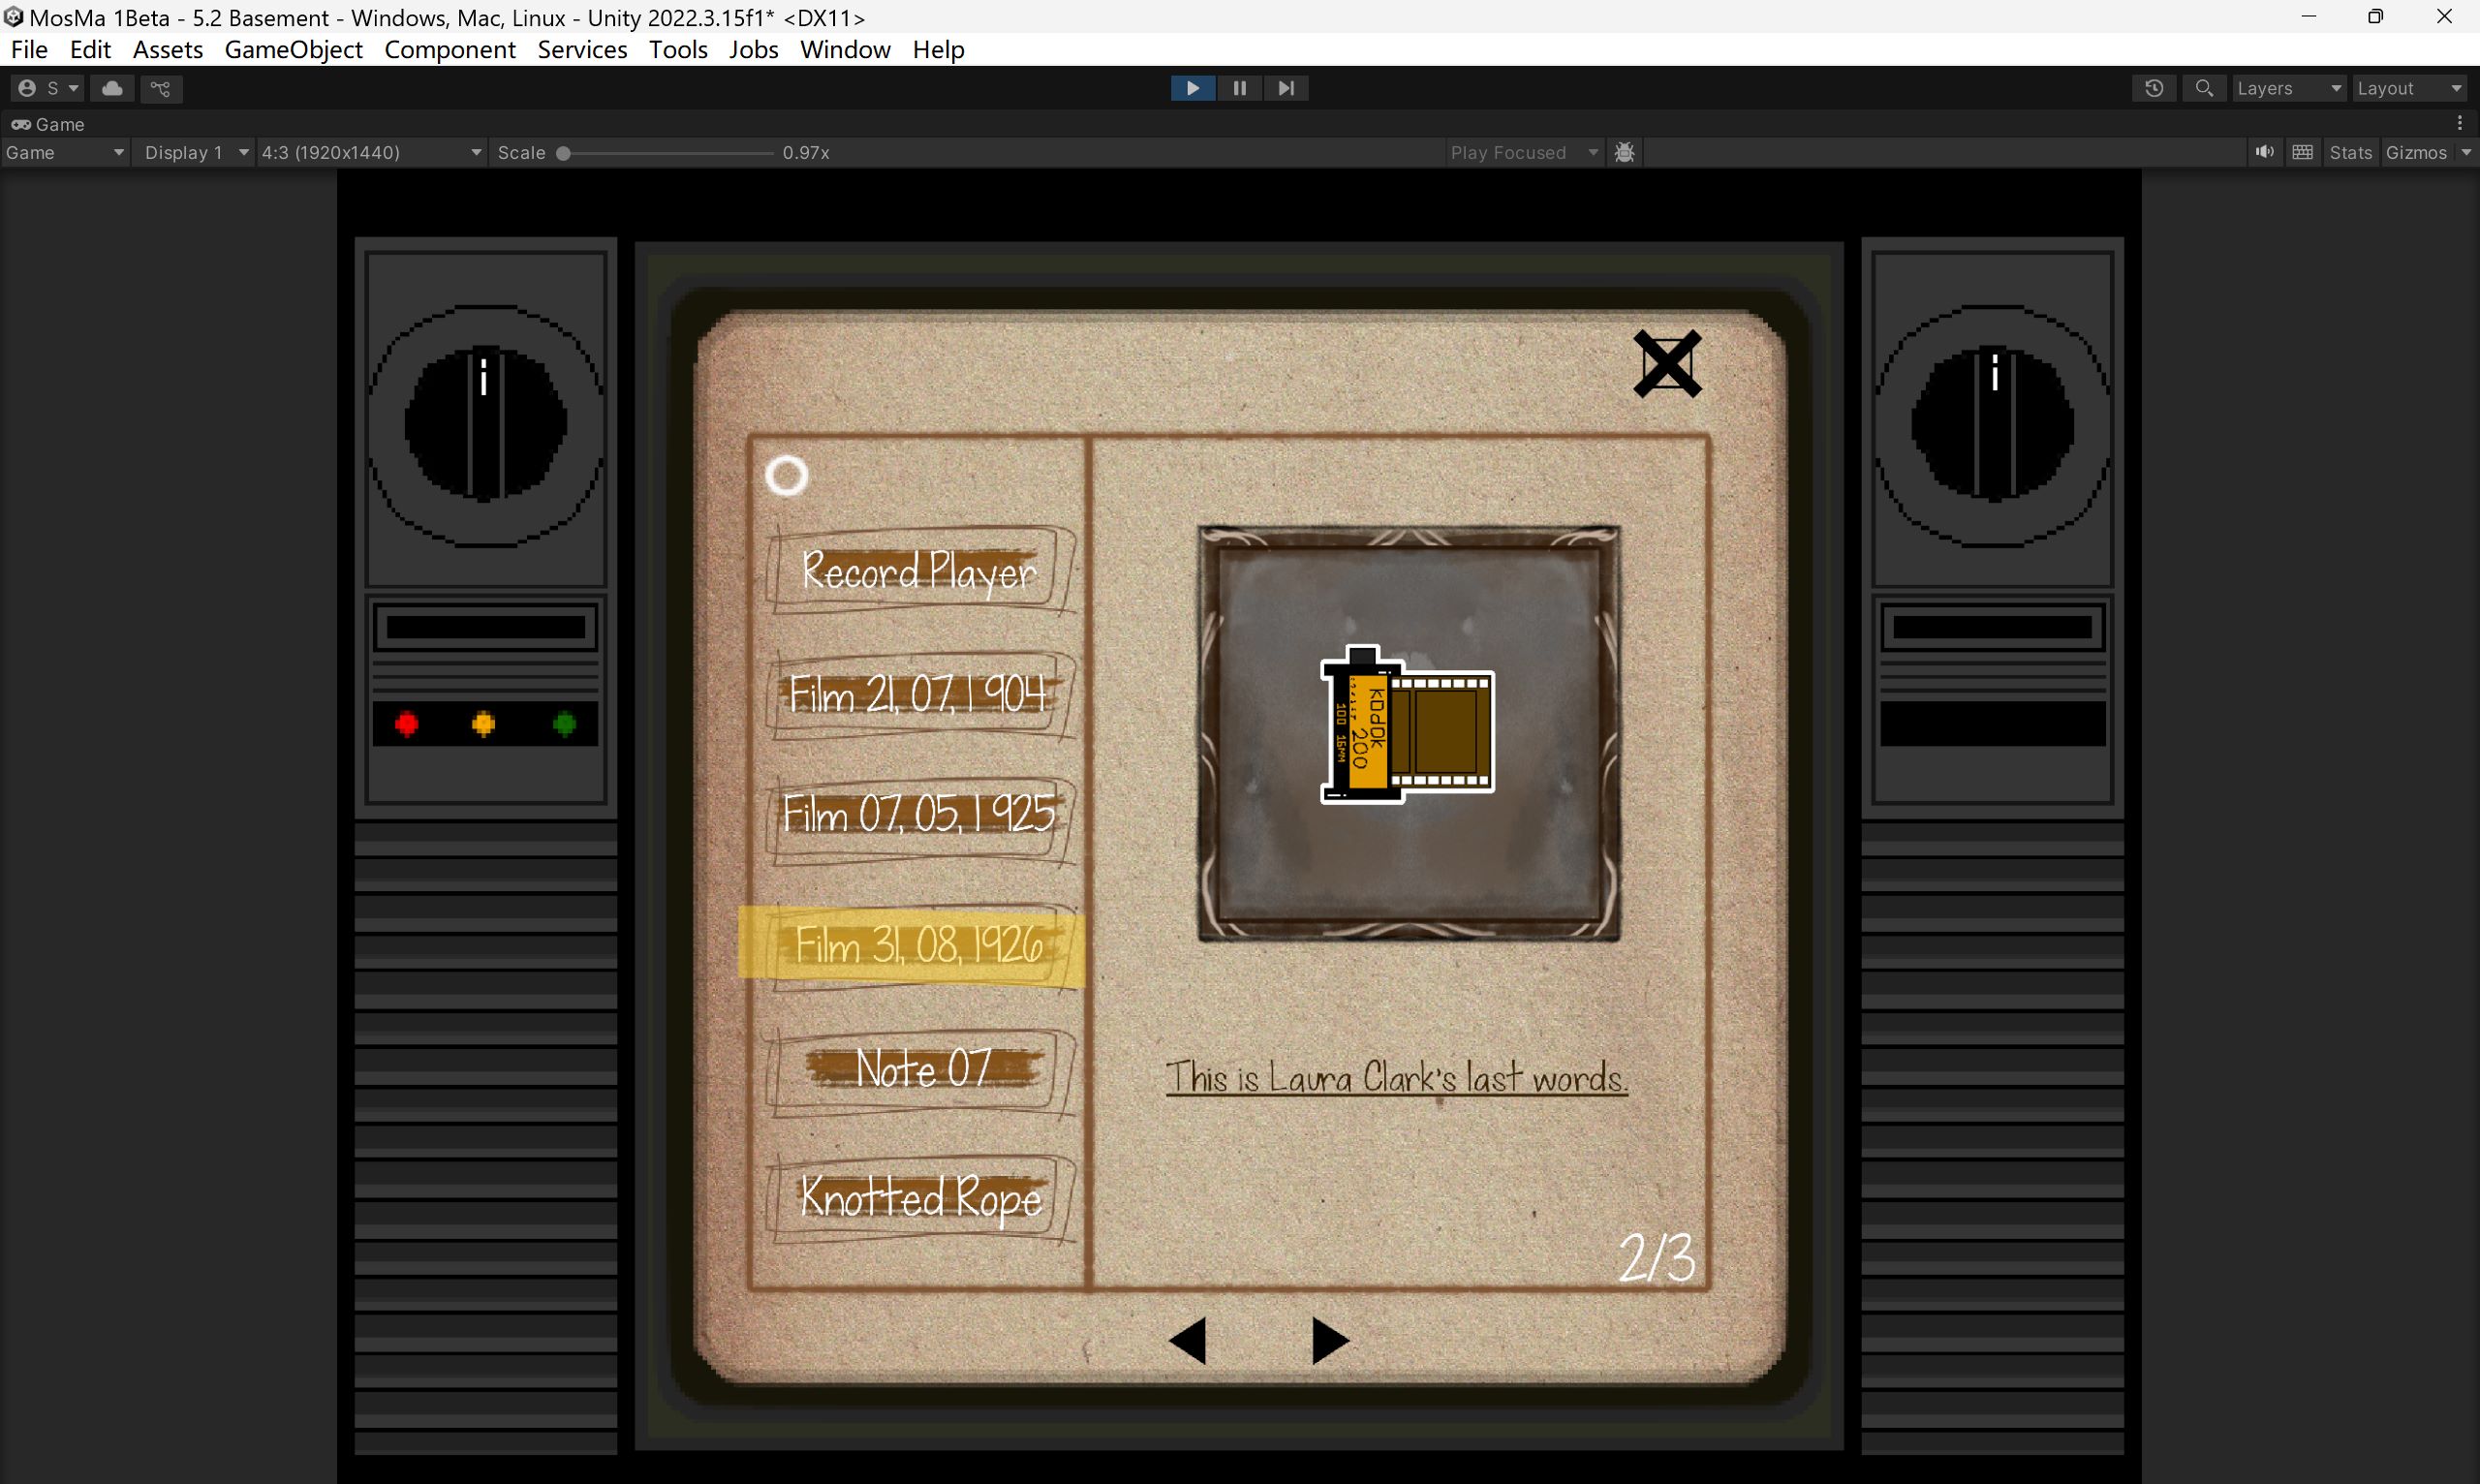
In Scene 5.2, there were too many items to fit into a single inventory page, so I added “Last Page” and “Next Page” commands.
After I initially set up the page-switching system, I ran into an issue: the “Next Page” command worked well, and the “Last Page” command also worked fine when returning from page two to page one. However, when I tried to go from page three back to page one, things broke—the items from page one and page two overlapped with each other.
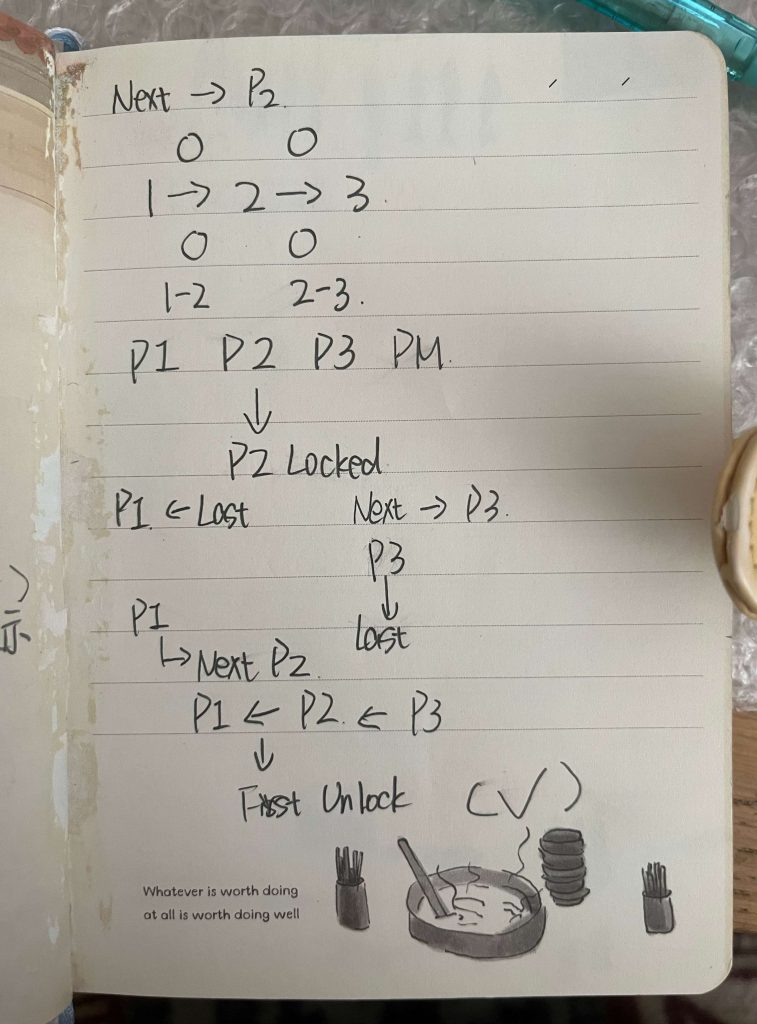
These are some notes I took while trying to sort out the logic. Honestly, I can’t really understand what I wrote anymore, but somehow, it all worked out in the end.
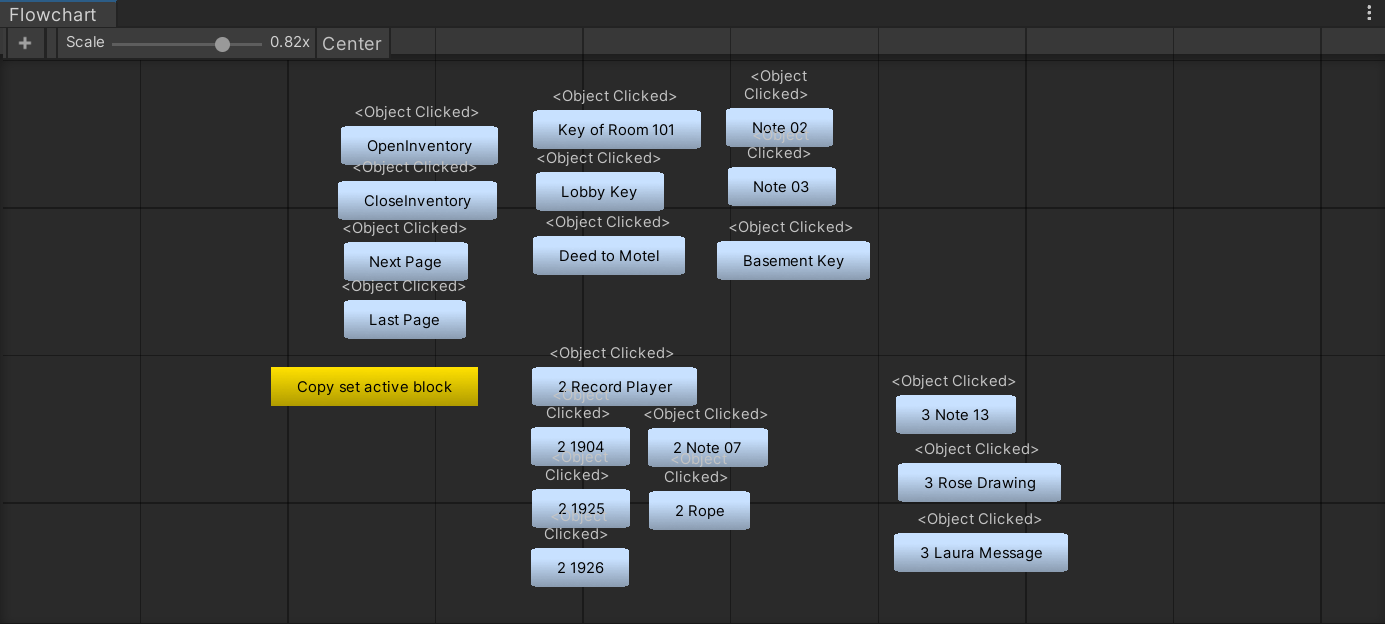
“Object Clicked” Commands in the Inventory
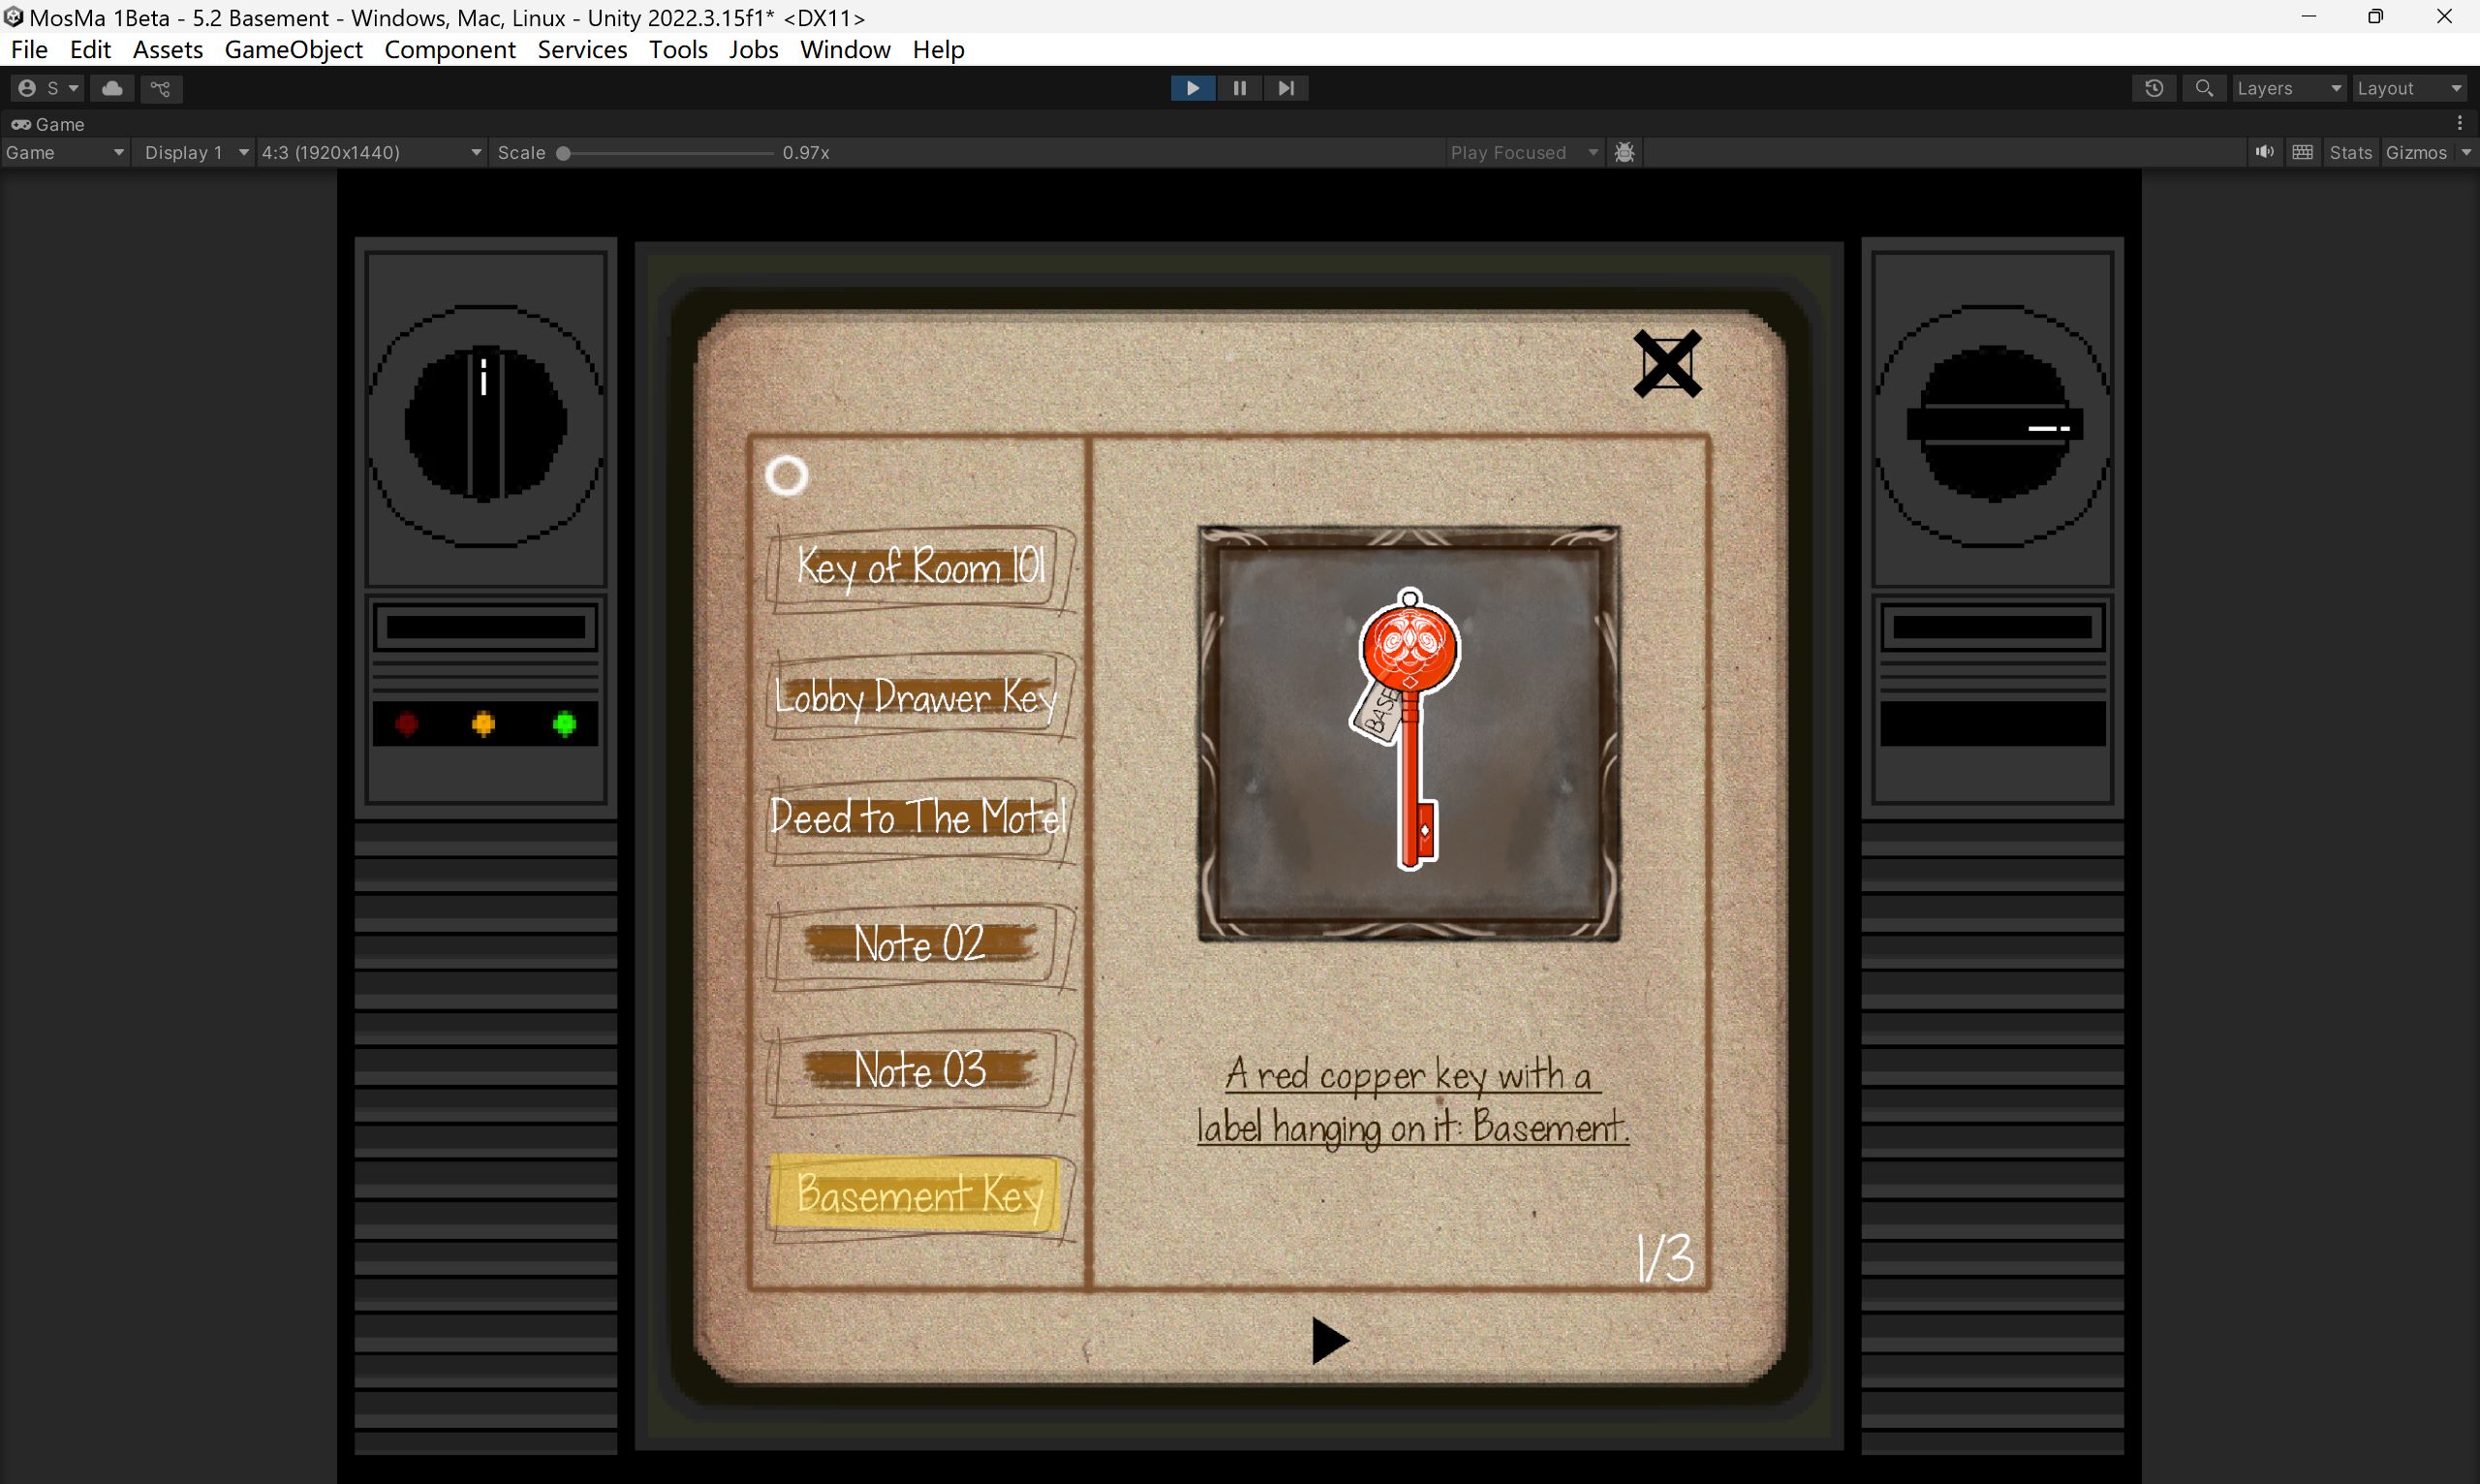
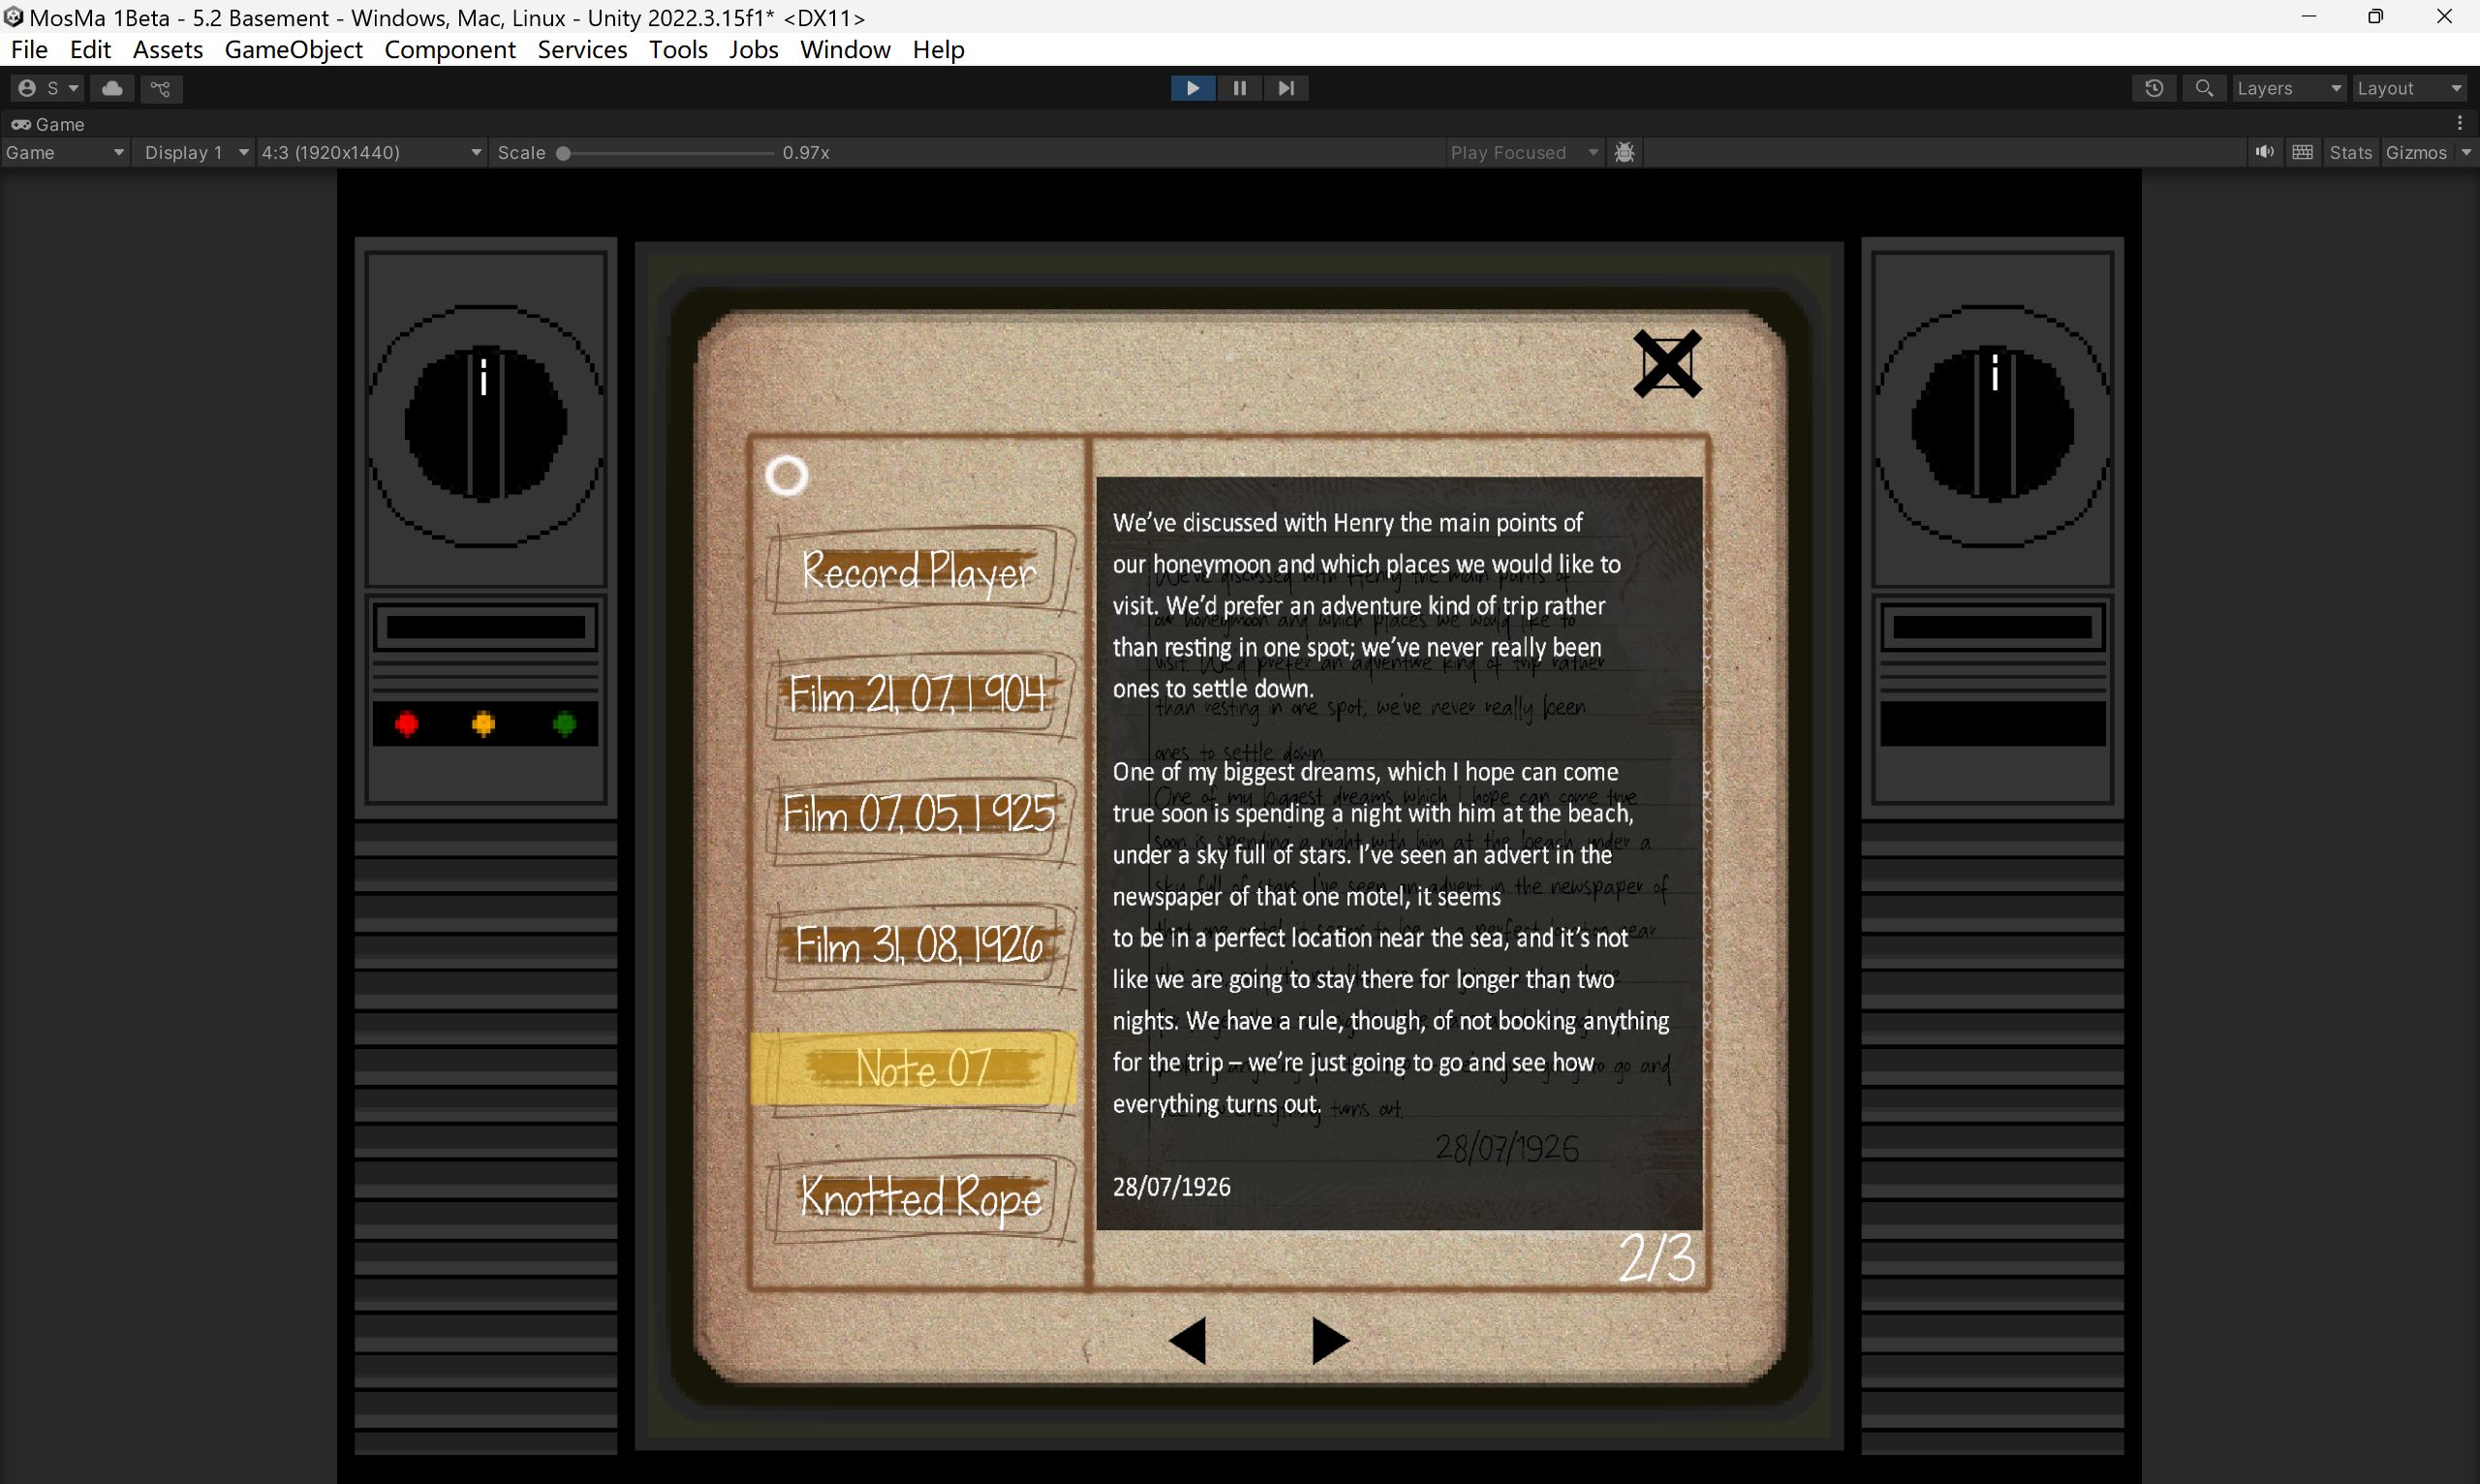
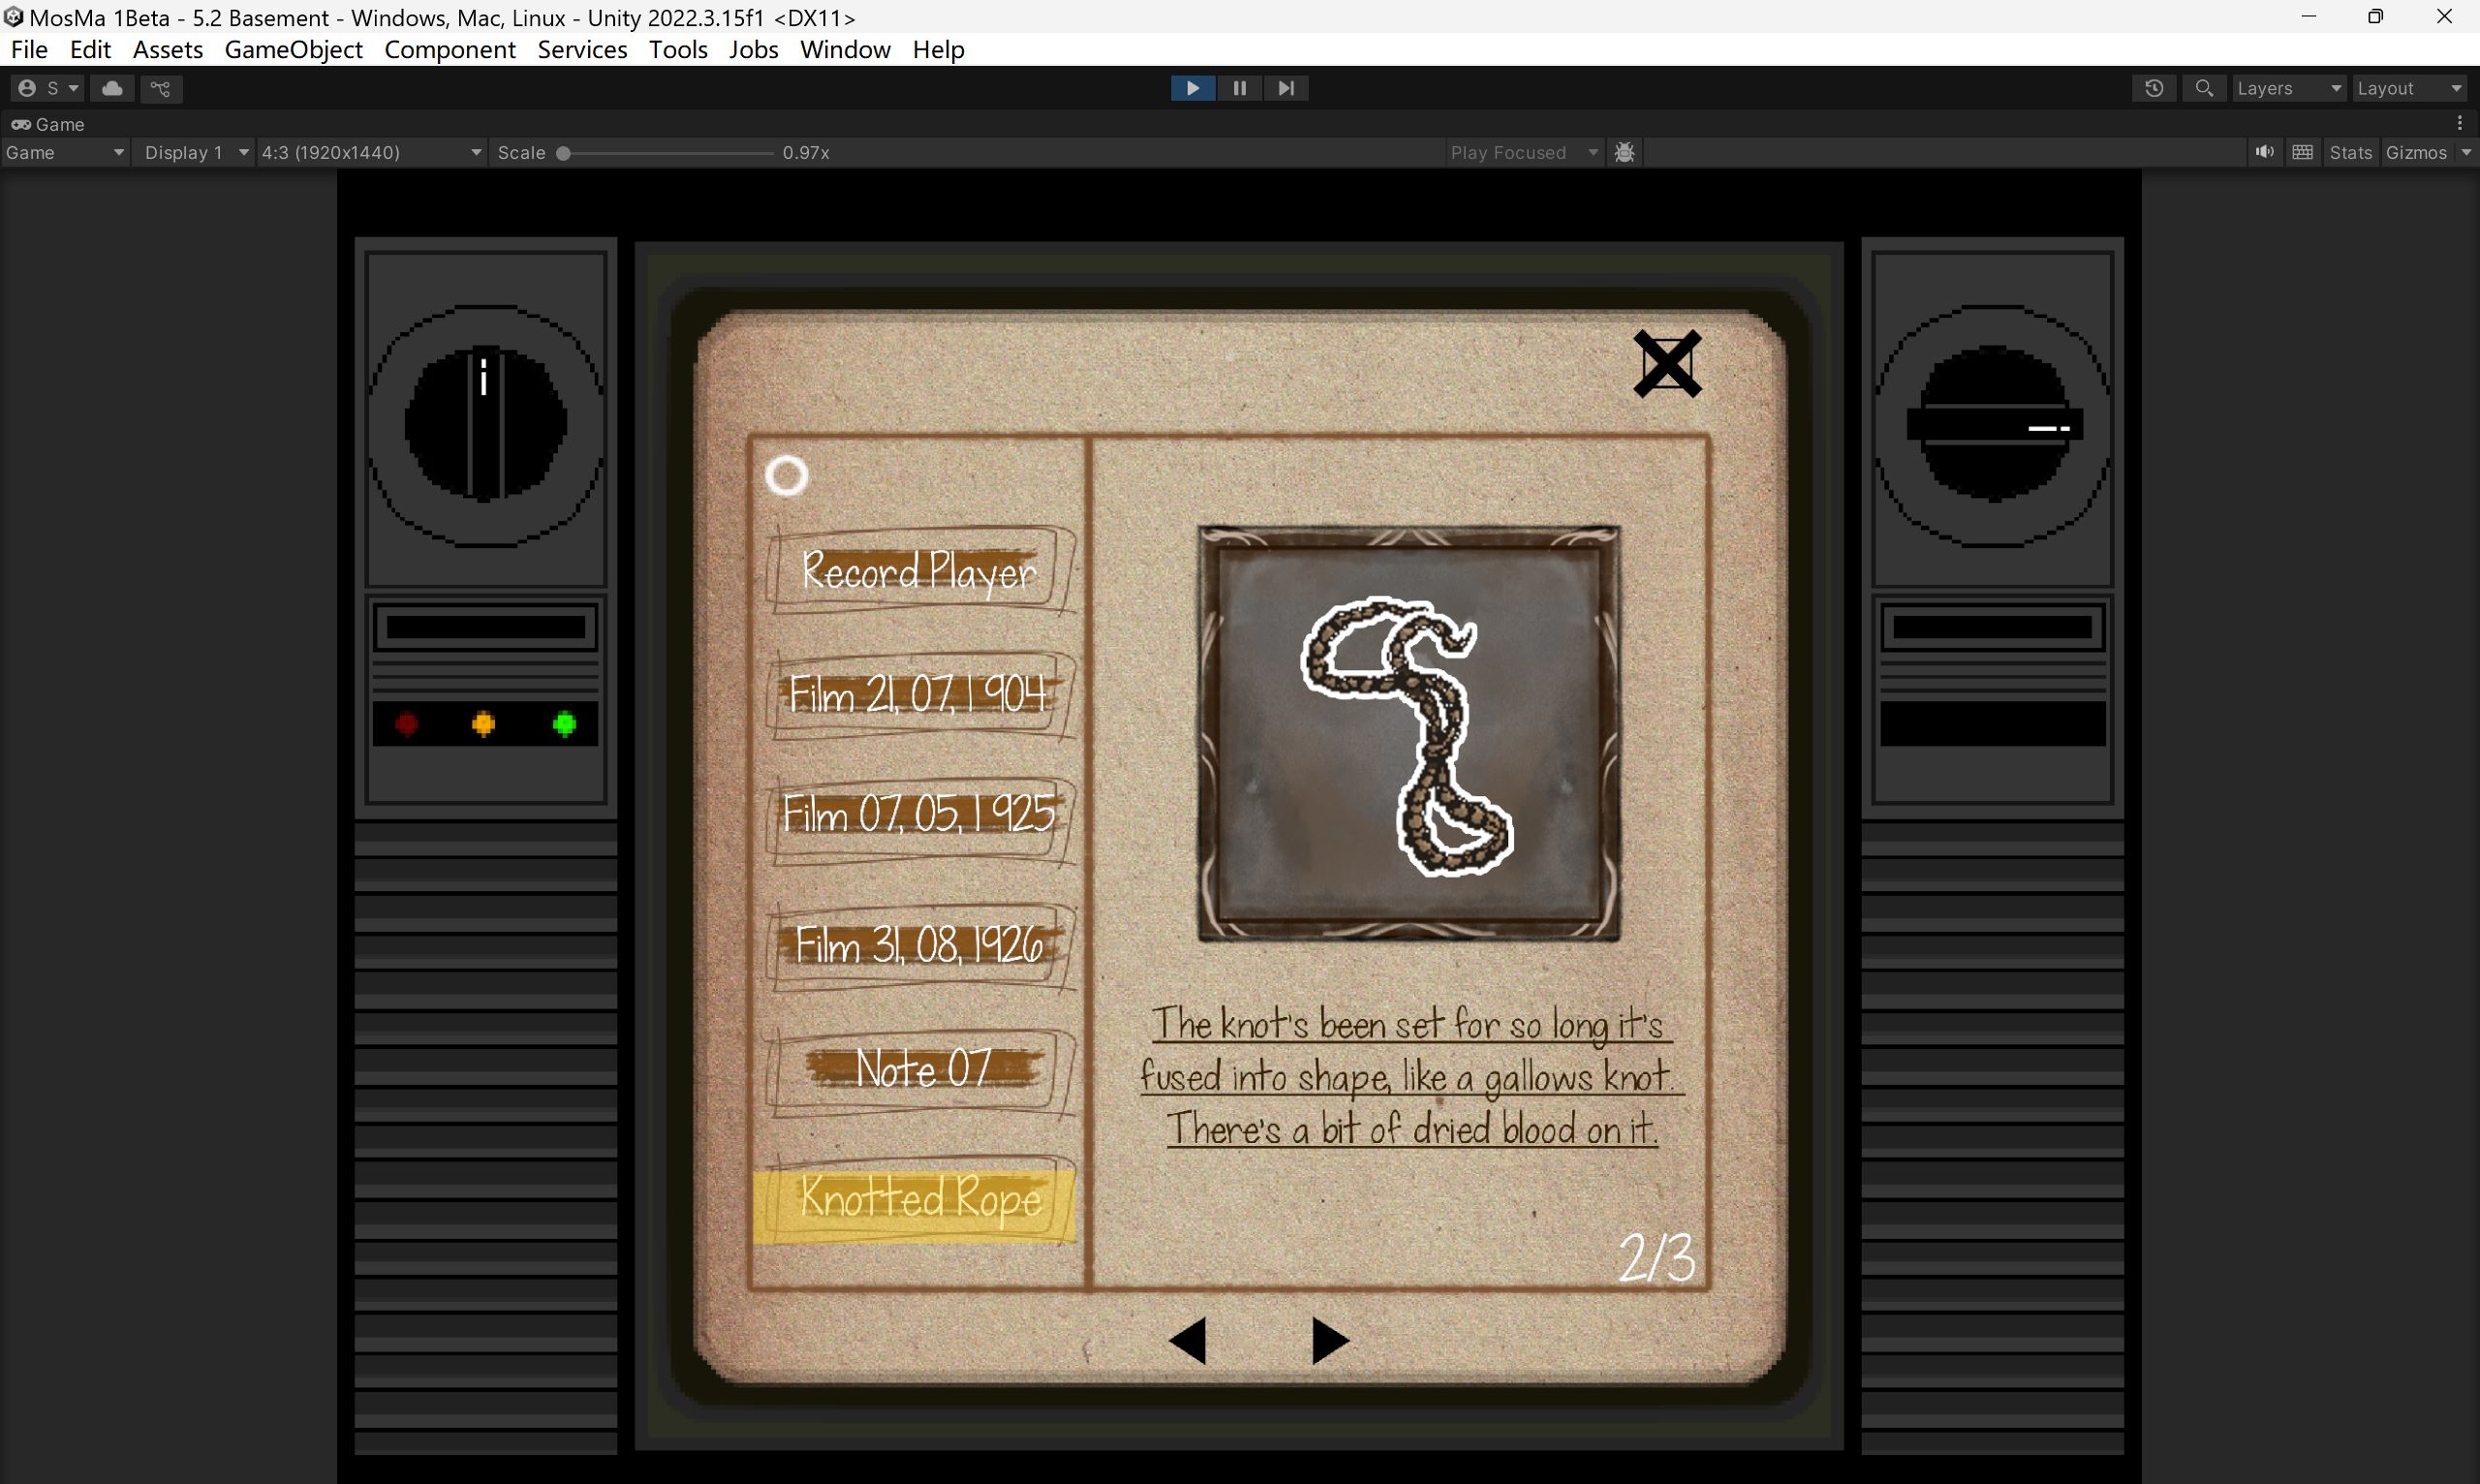
All items follow the same logic: hide the other item images and descriptions on the same page, then display the selected item’s UI and description.
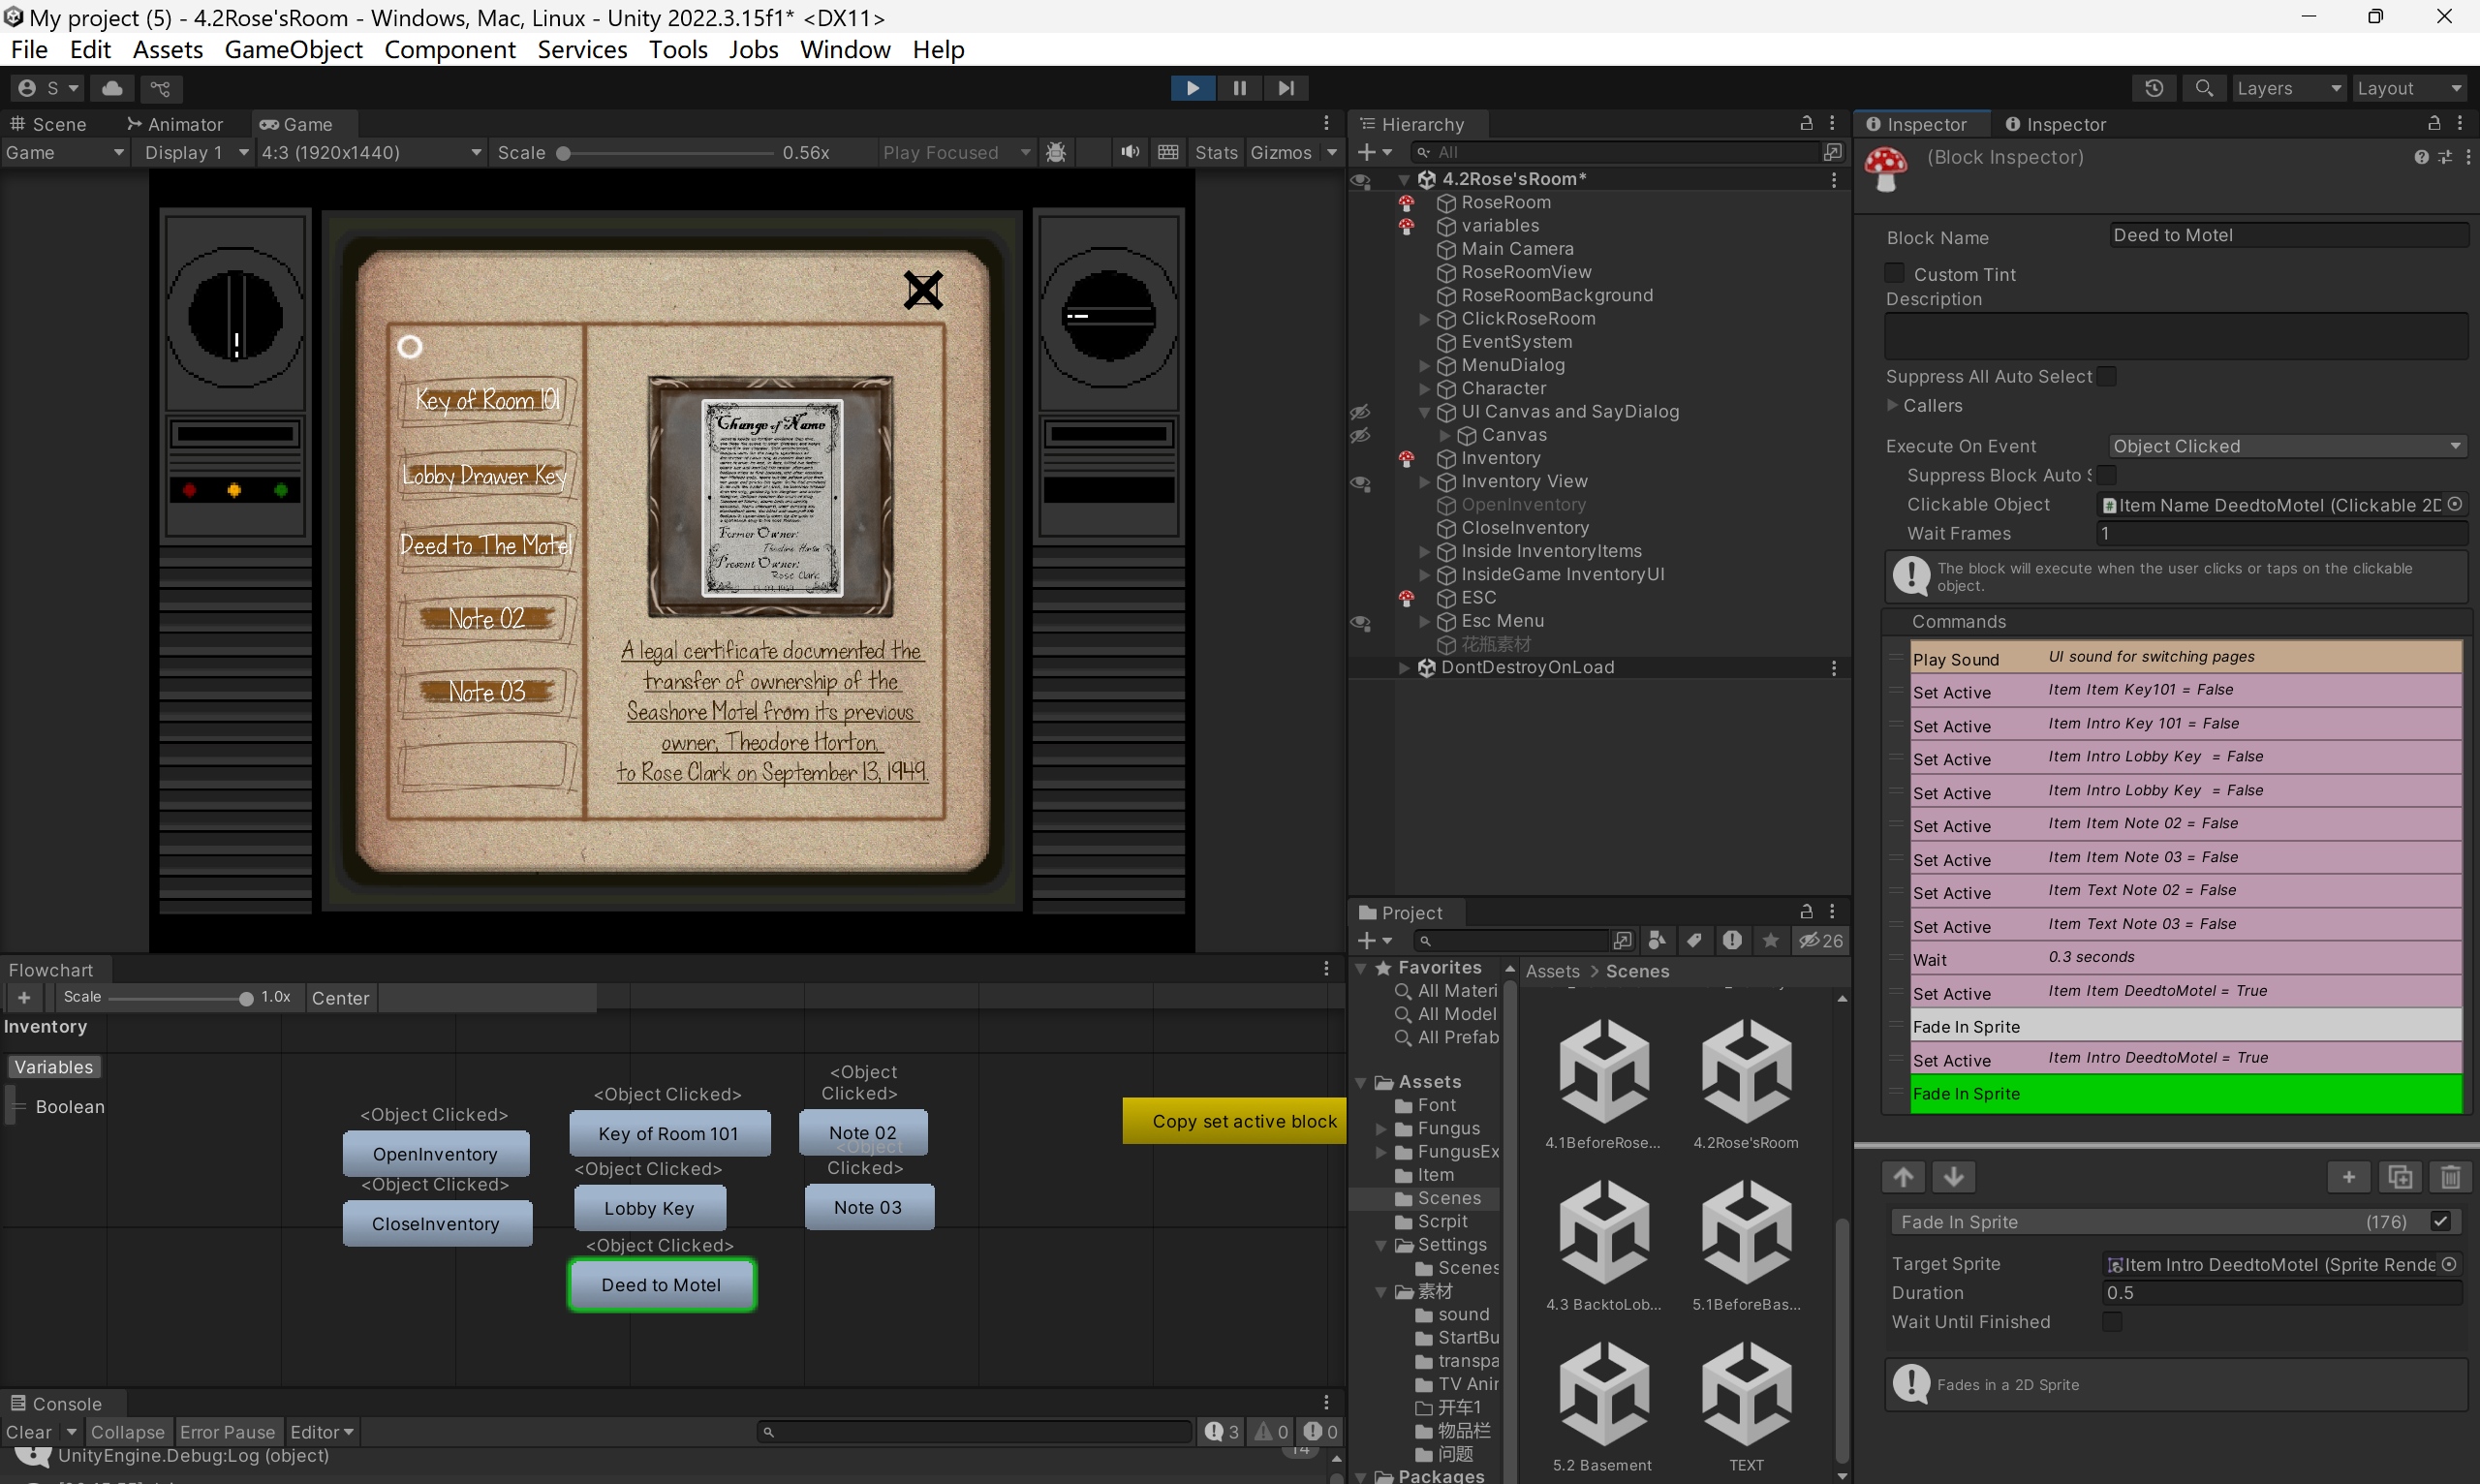
This is an example of an object clicked in the inventory.
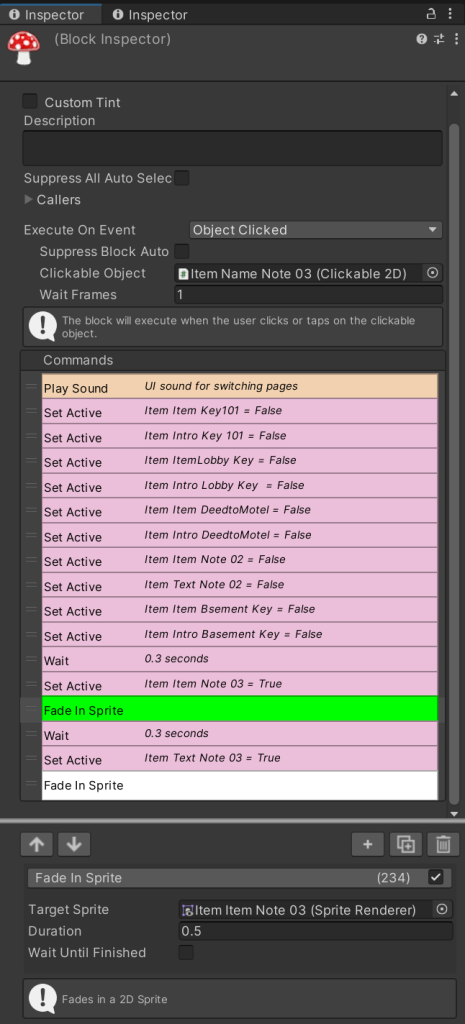
At first, I used the “Wait Until Finished” option for the “fade in sprite” command. However, during showcase testing, I realized that players were clicking on different items much faster than I expected, which caused item descriptions to overlap. So, I unchecked that option and increased the “fade in” speed. Although this sacrificed the smooth, gradual reveal effect, it better matched the actual pace of player interaction.
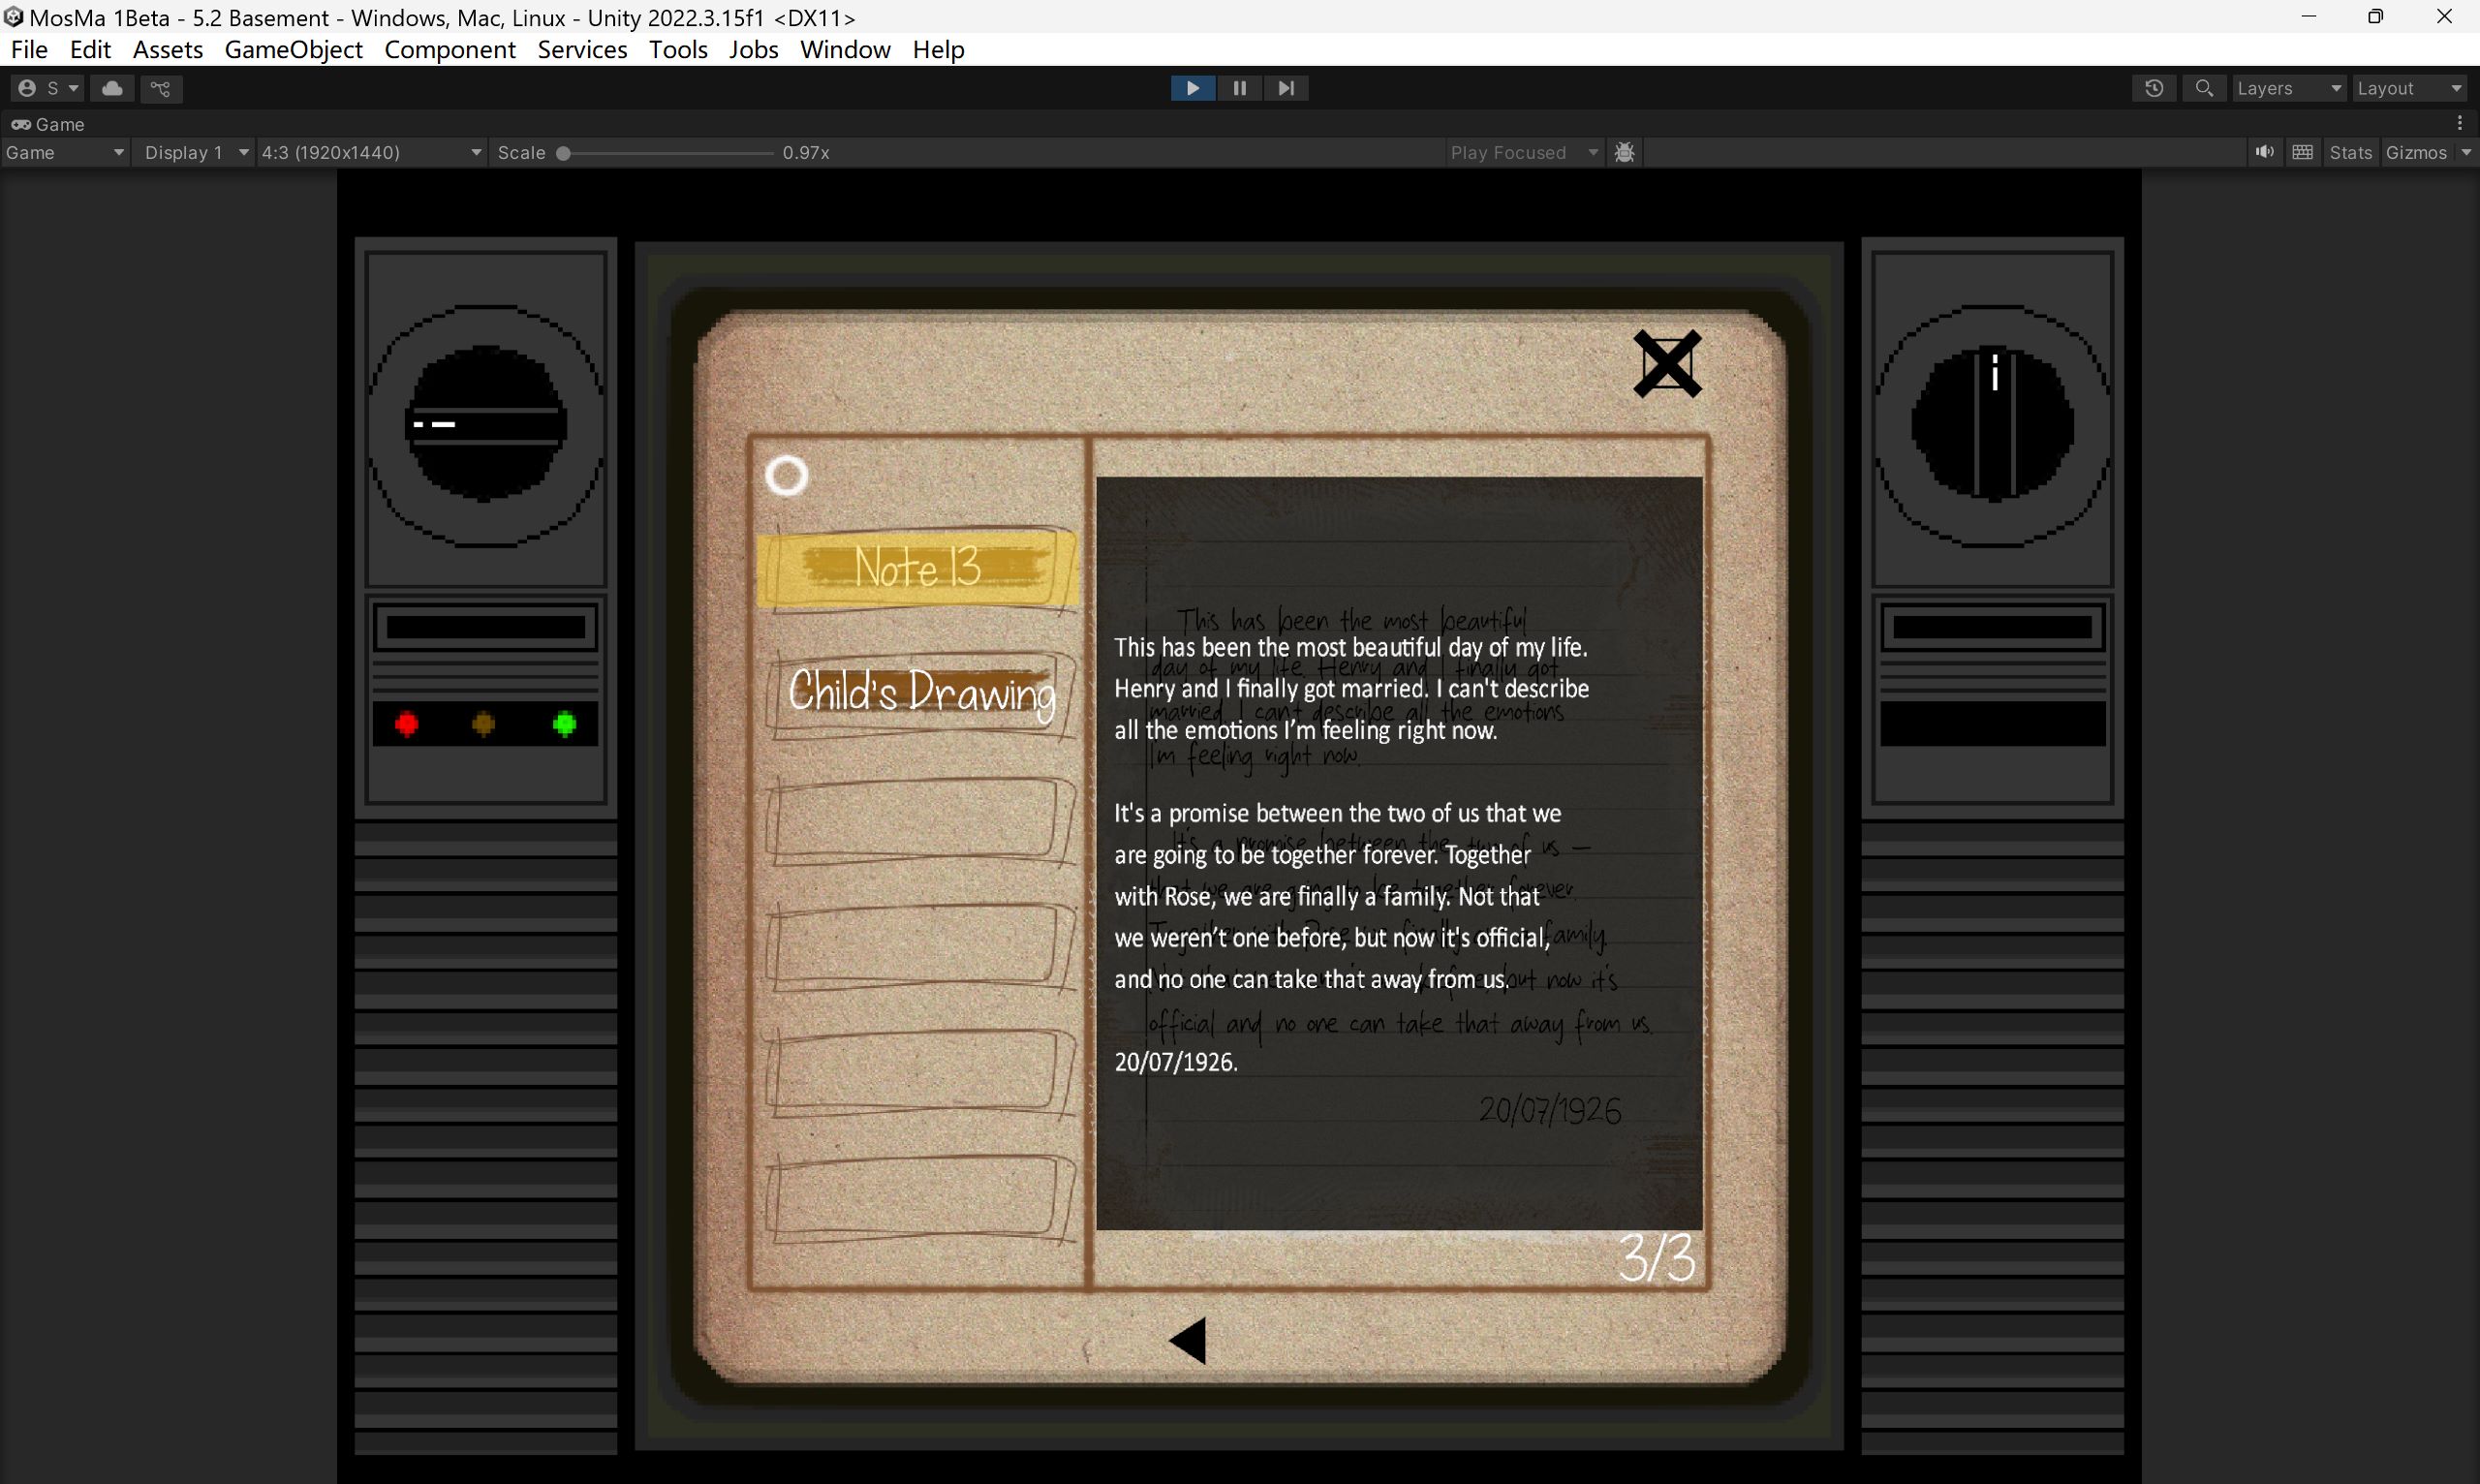
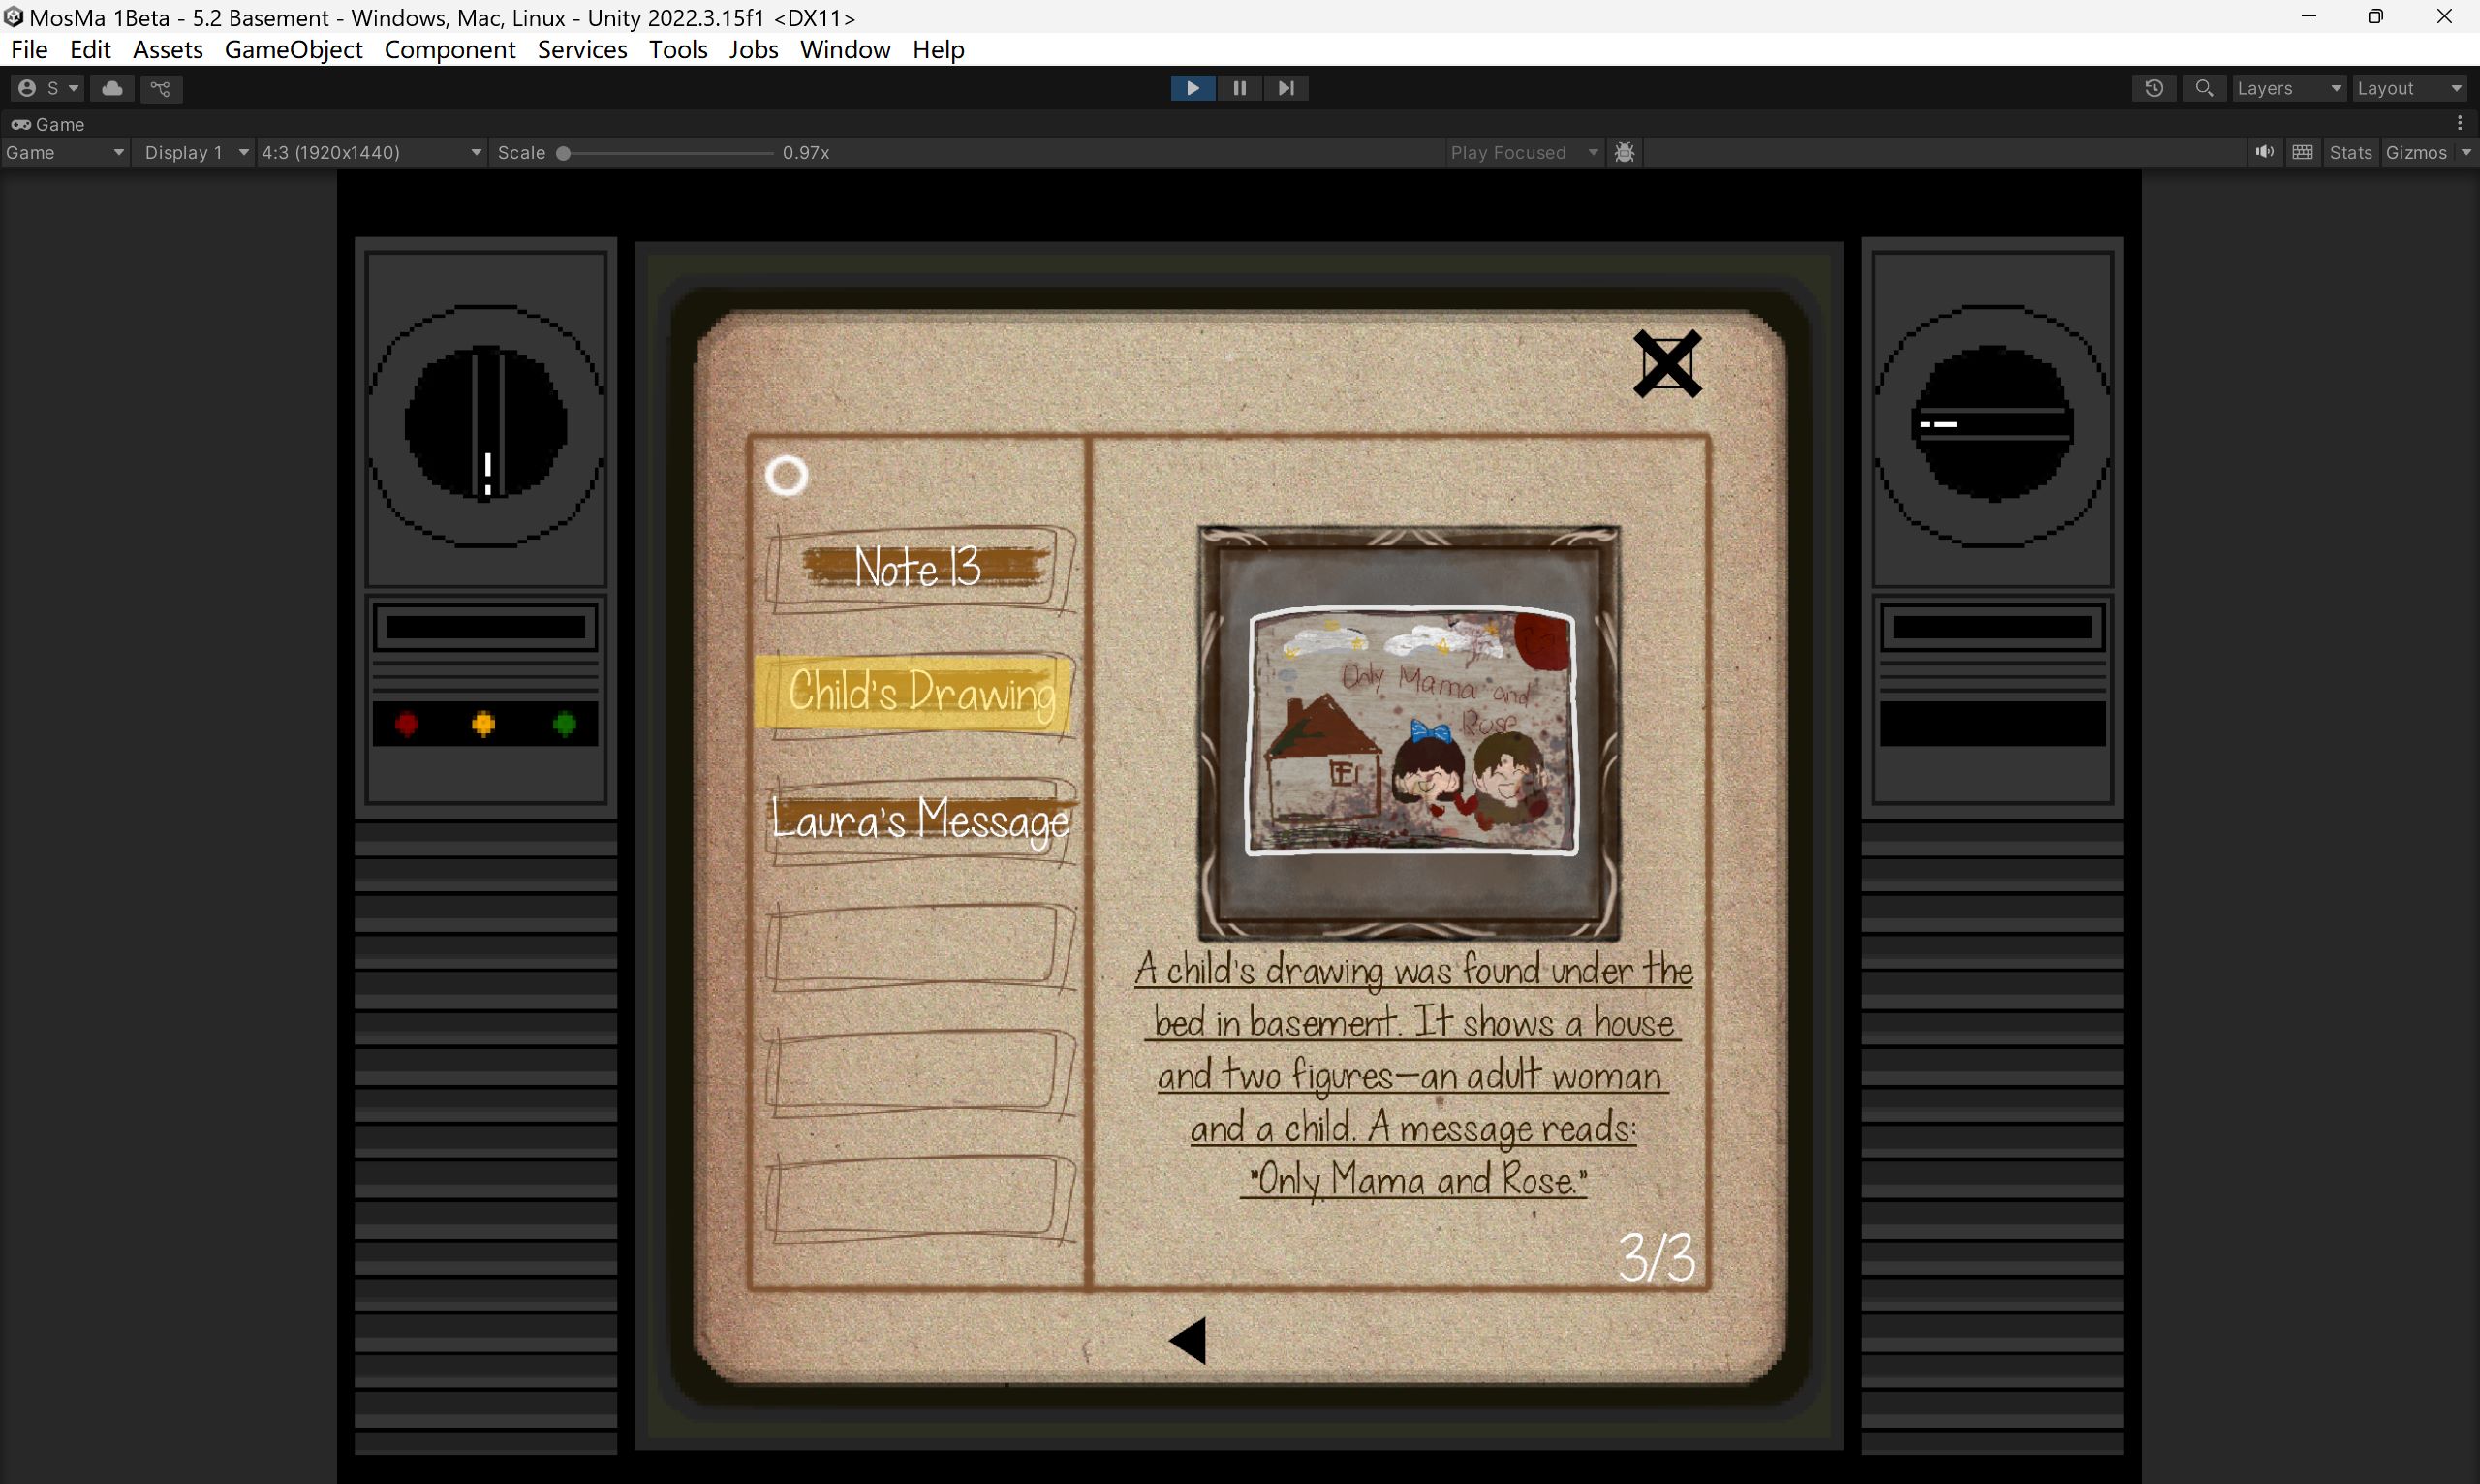
Among all the items (evidence), only one behaves differently, Rose’s Drawing. That’s because it contains a hidden piece of information, and the player can only obtain this new evidence by clicking on the drawing.
This is the command sequence for when the player clicks on Rose’s Drawing. On the first interaction, a prompt appears. To prevent repetition, this prompt is disabled on subsequent clicks.
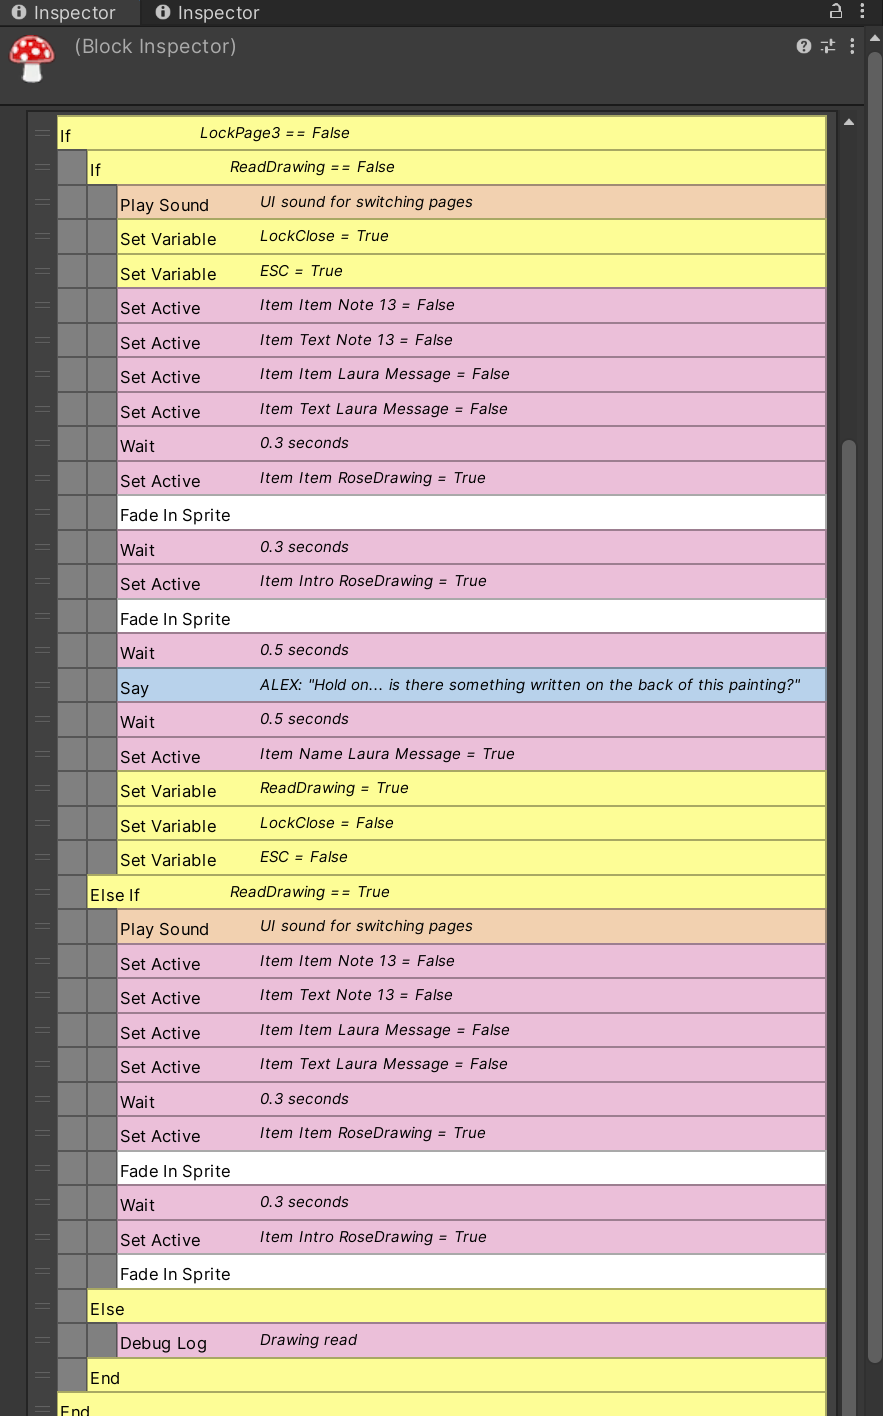
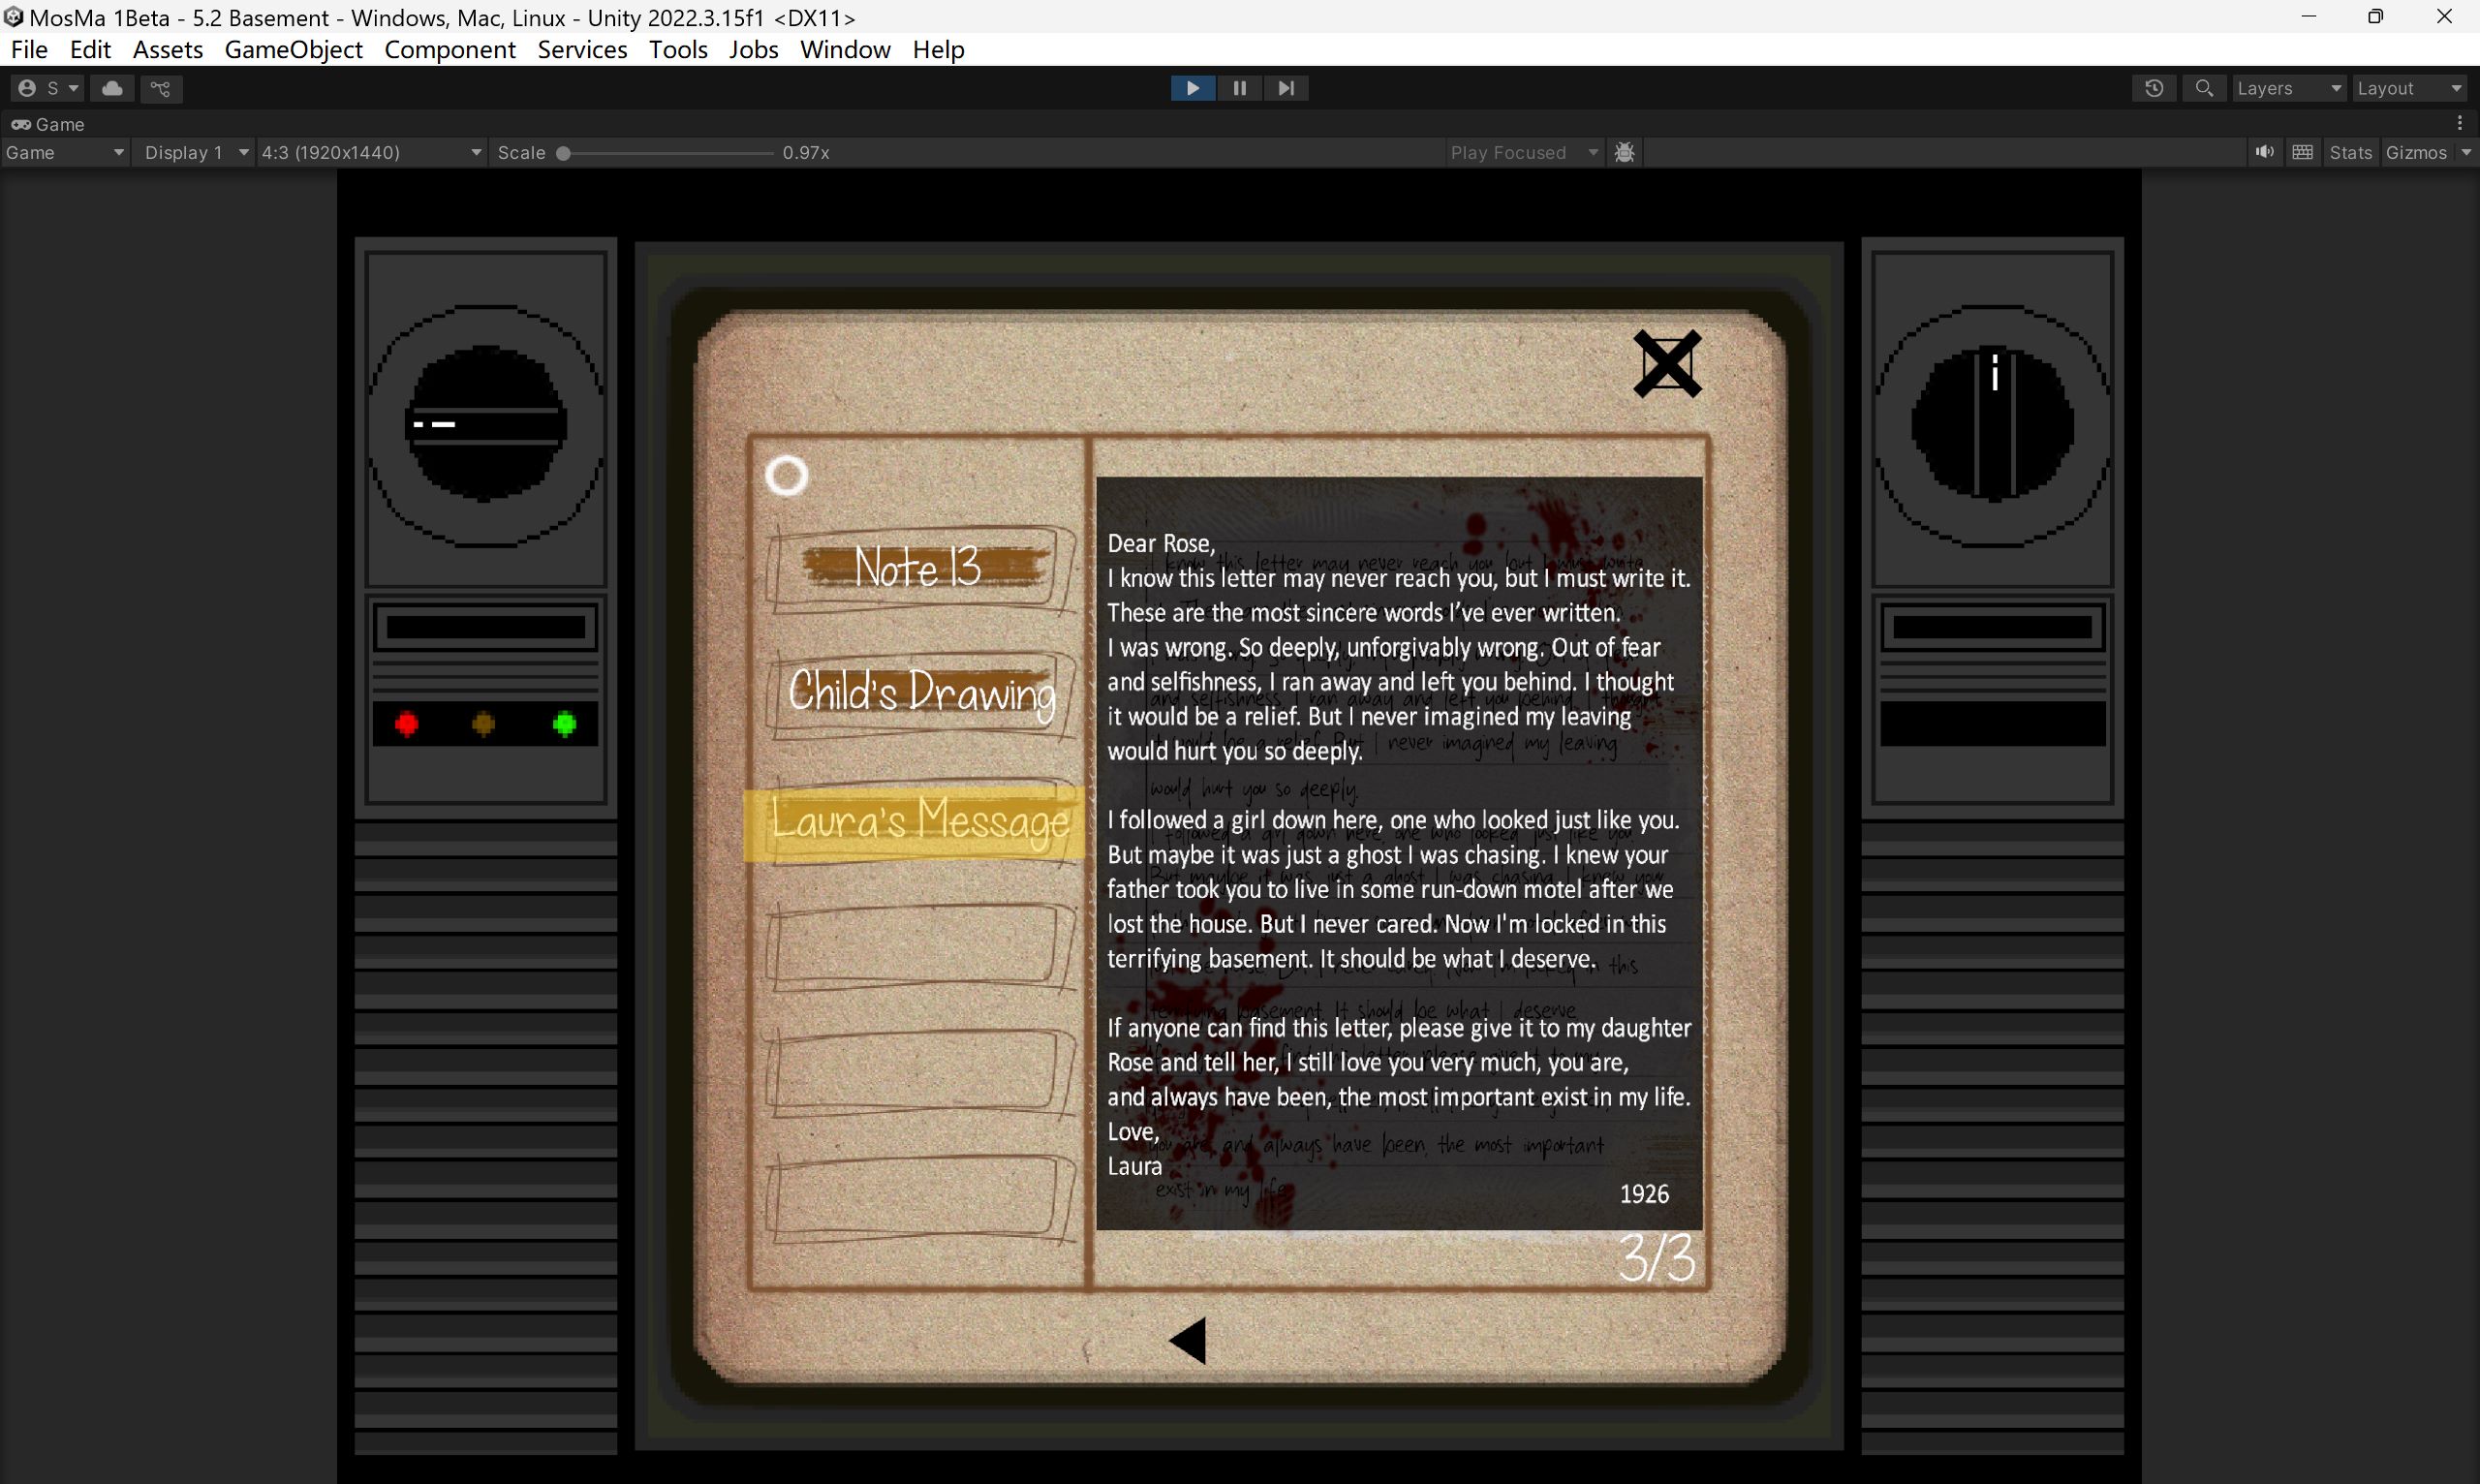
Here are the commands for the newly unlocked evidence, Laura’s Message. Just like with Rose’s Drawing, I used a variable to make sure the prompt only appears once and doesn’t repeat on subsequent interactions.
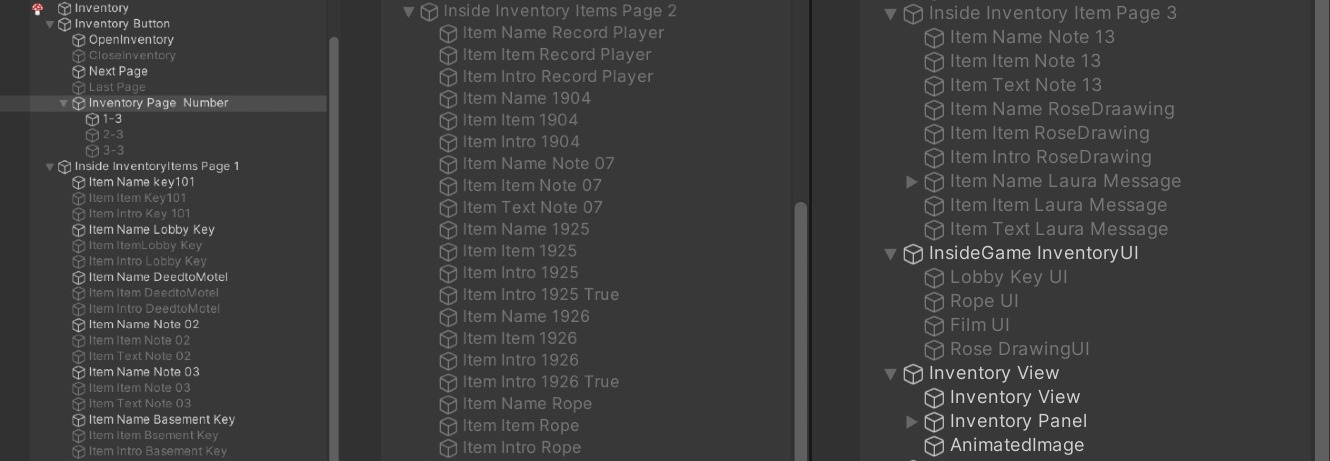
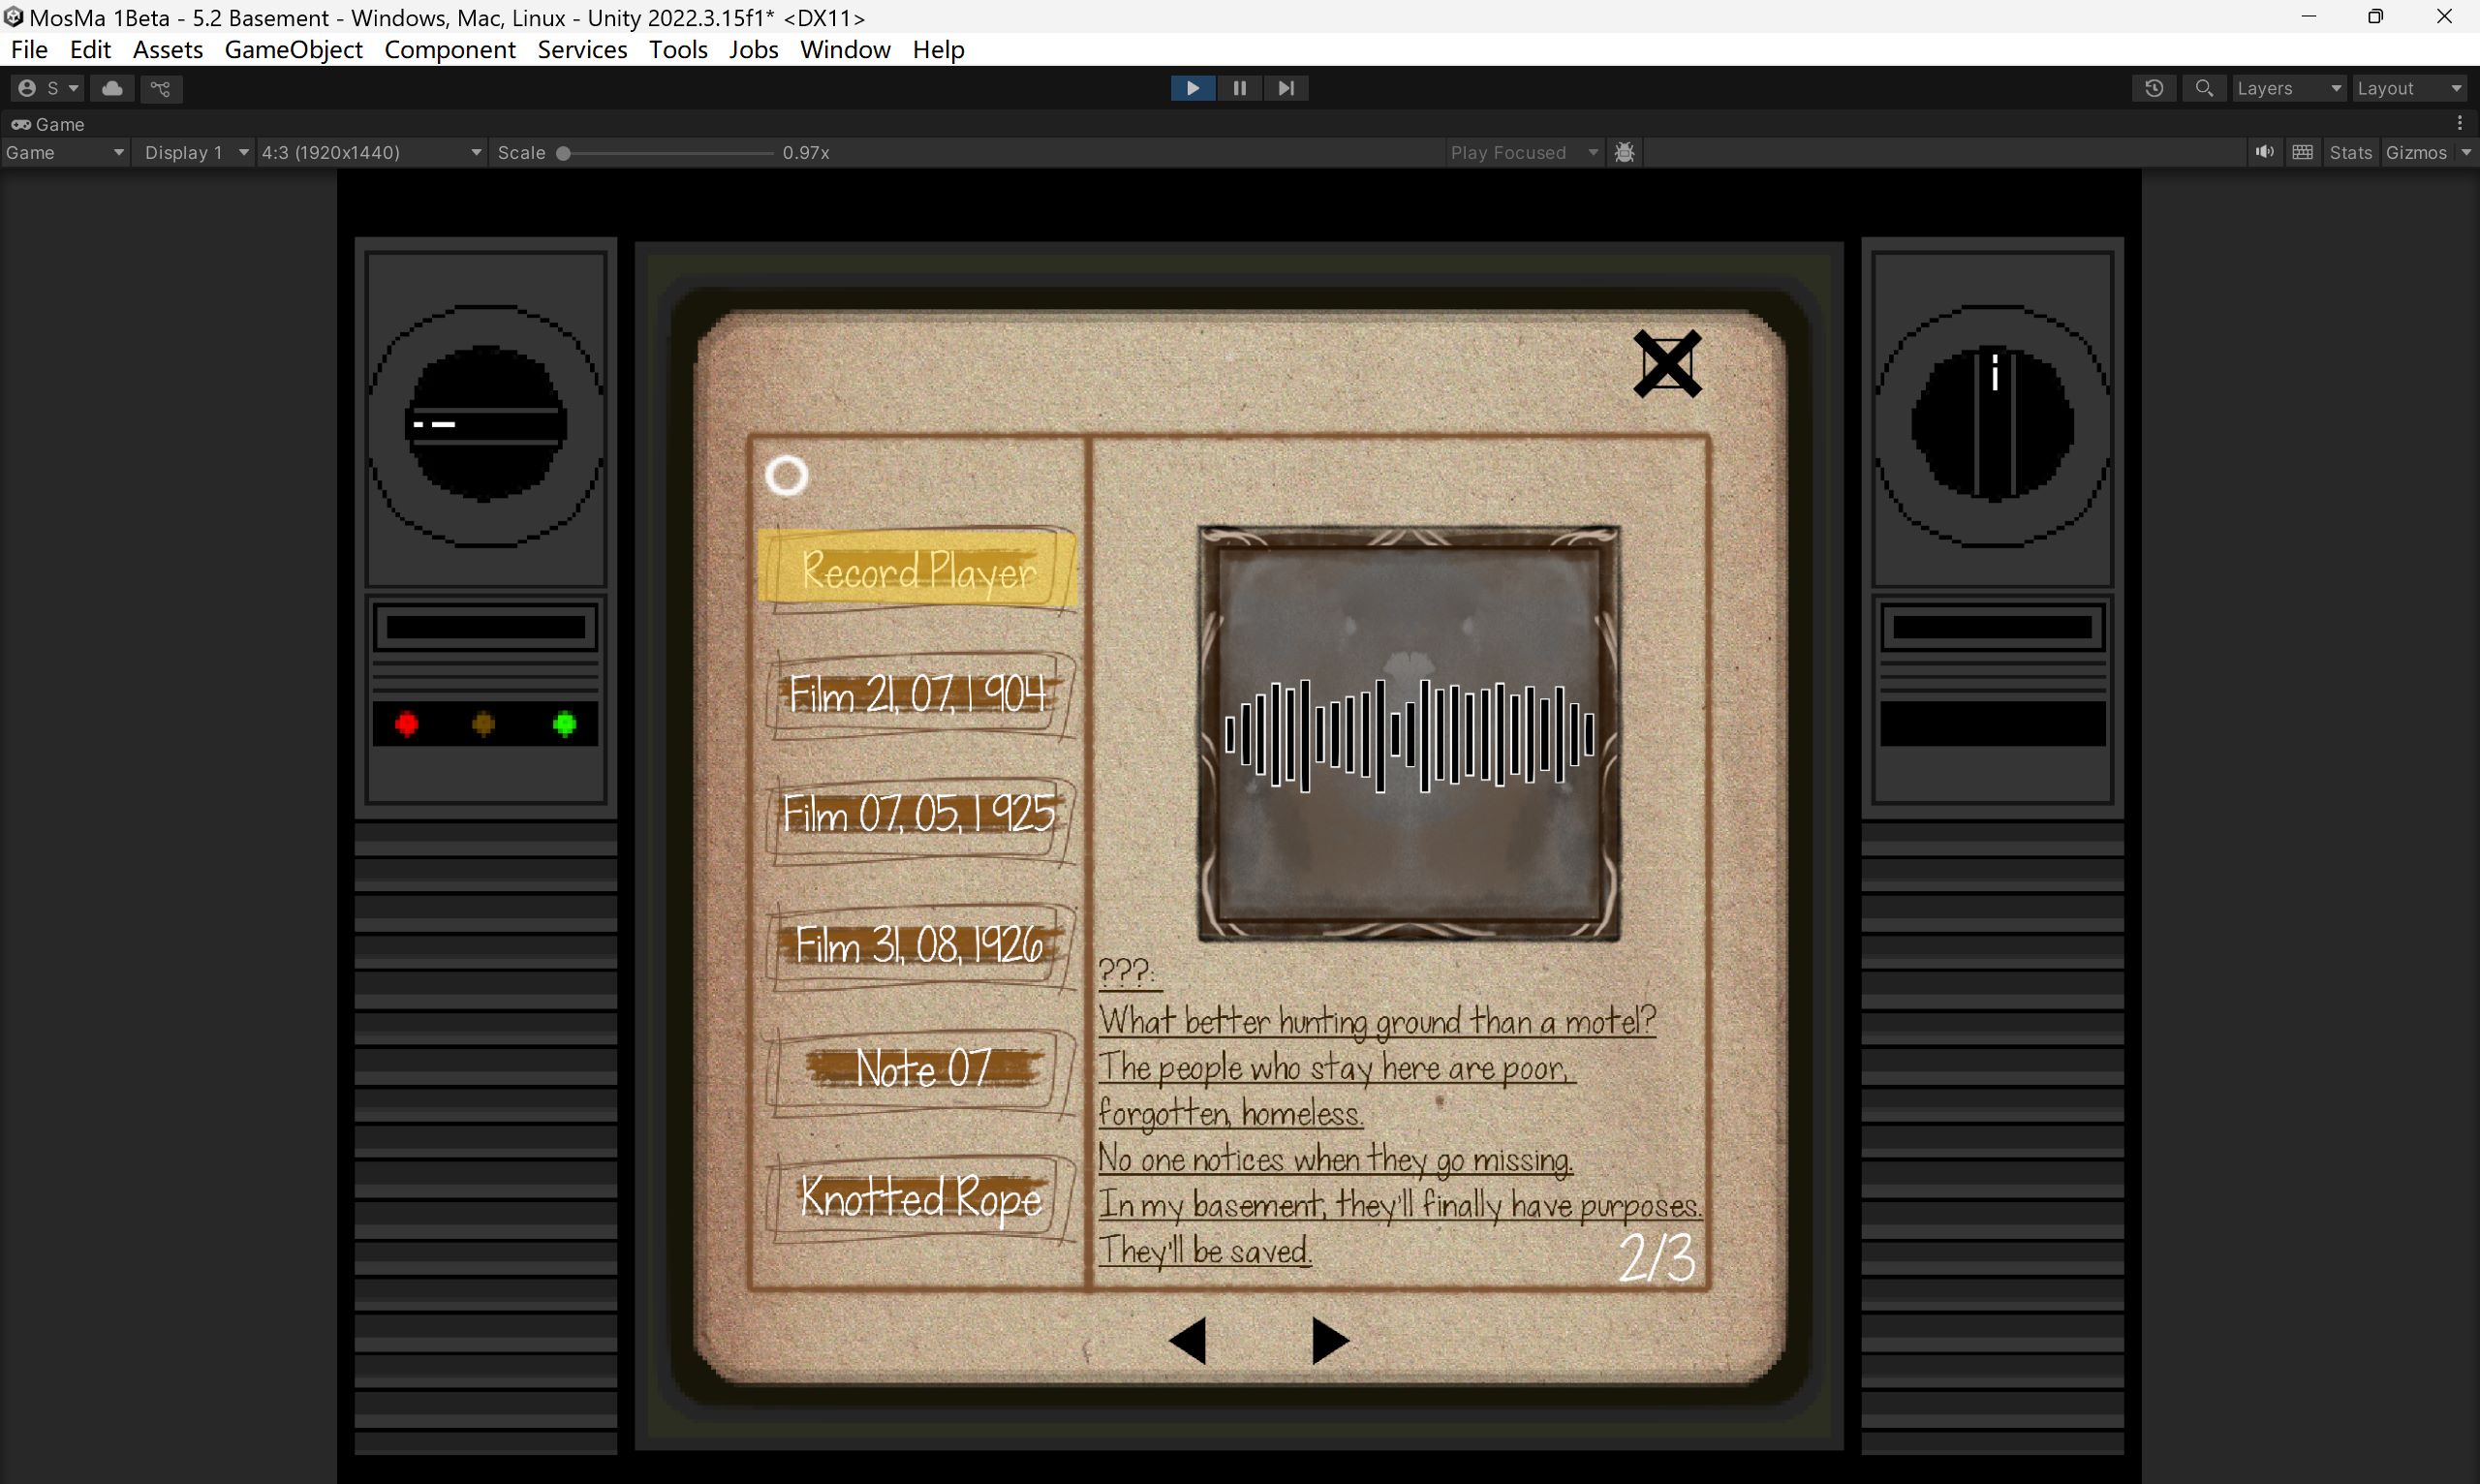
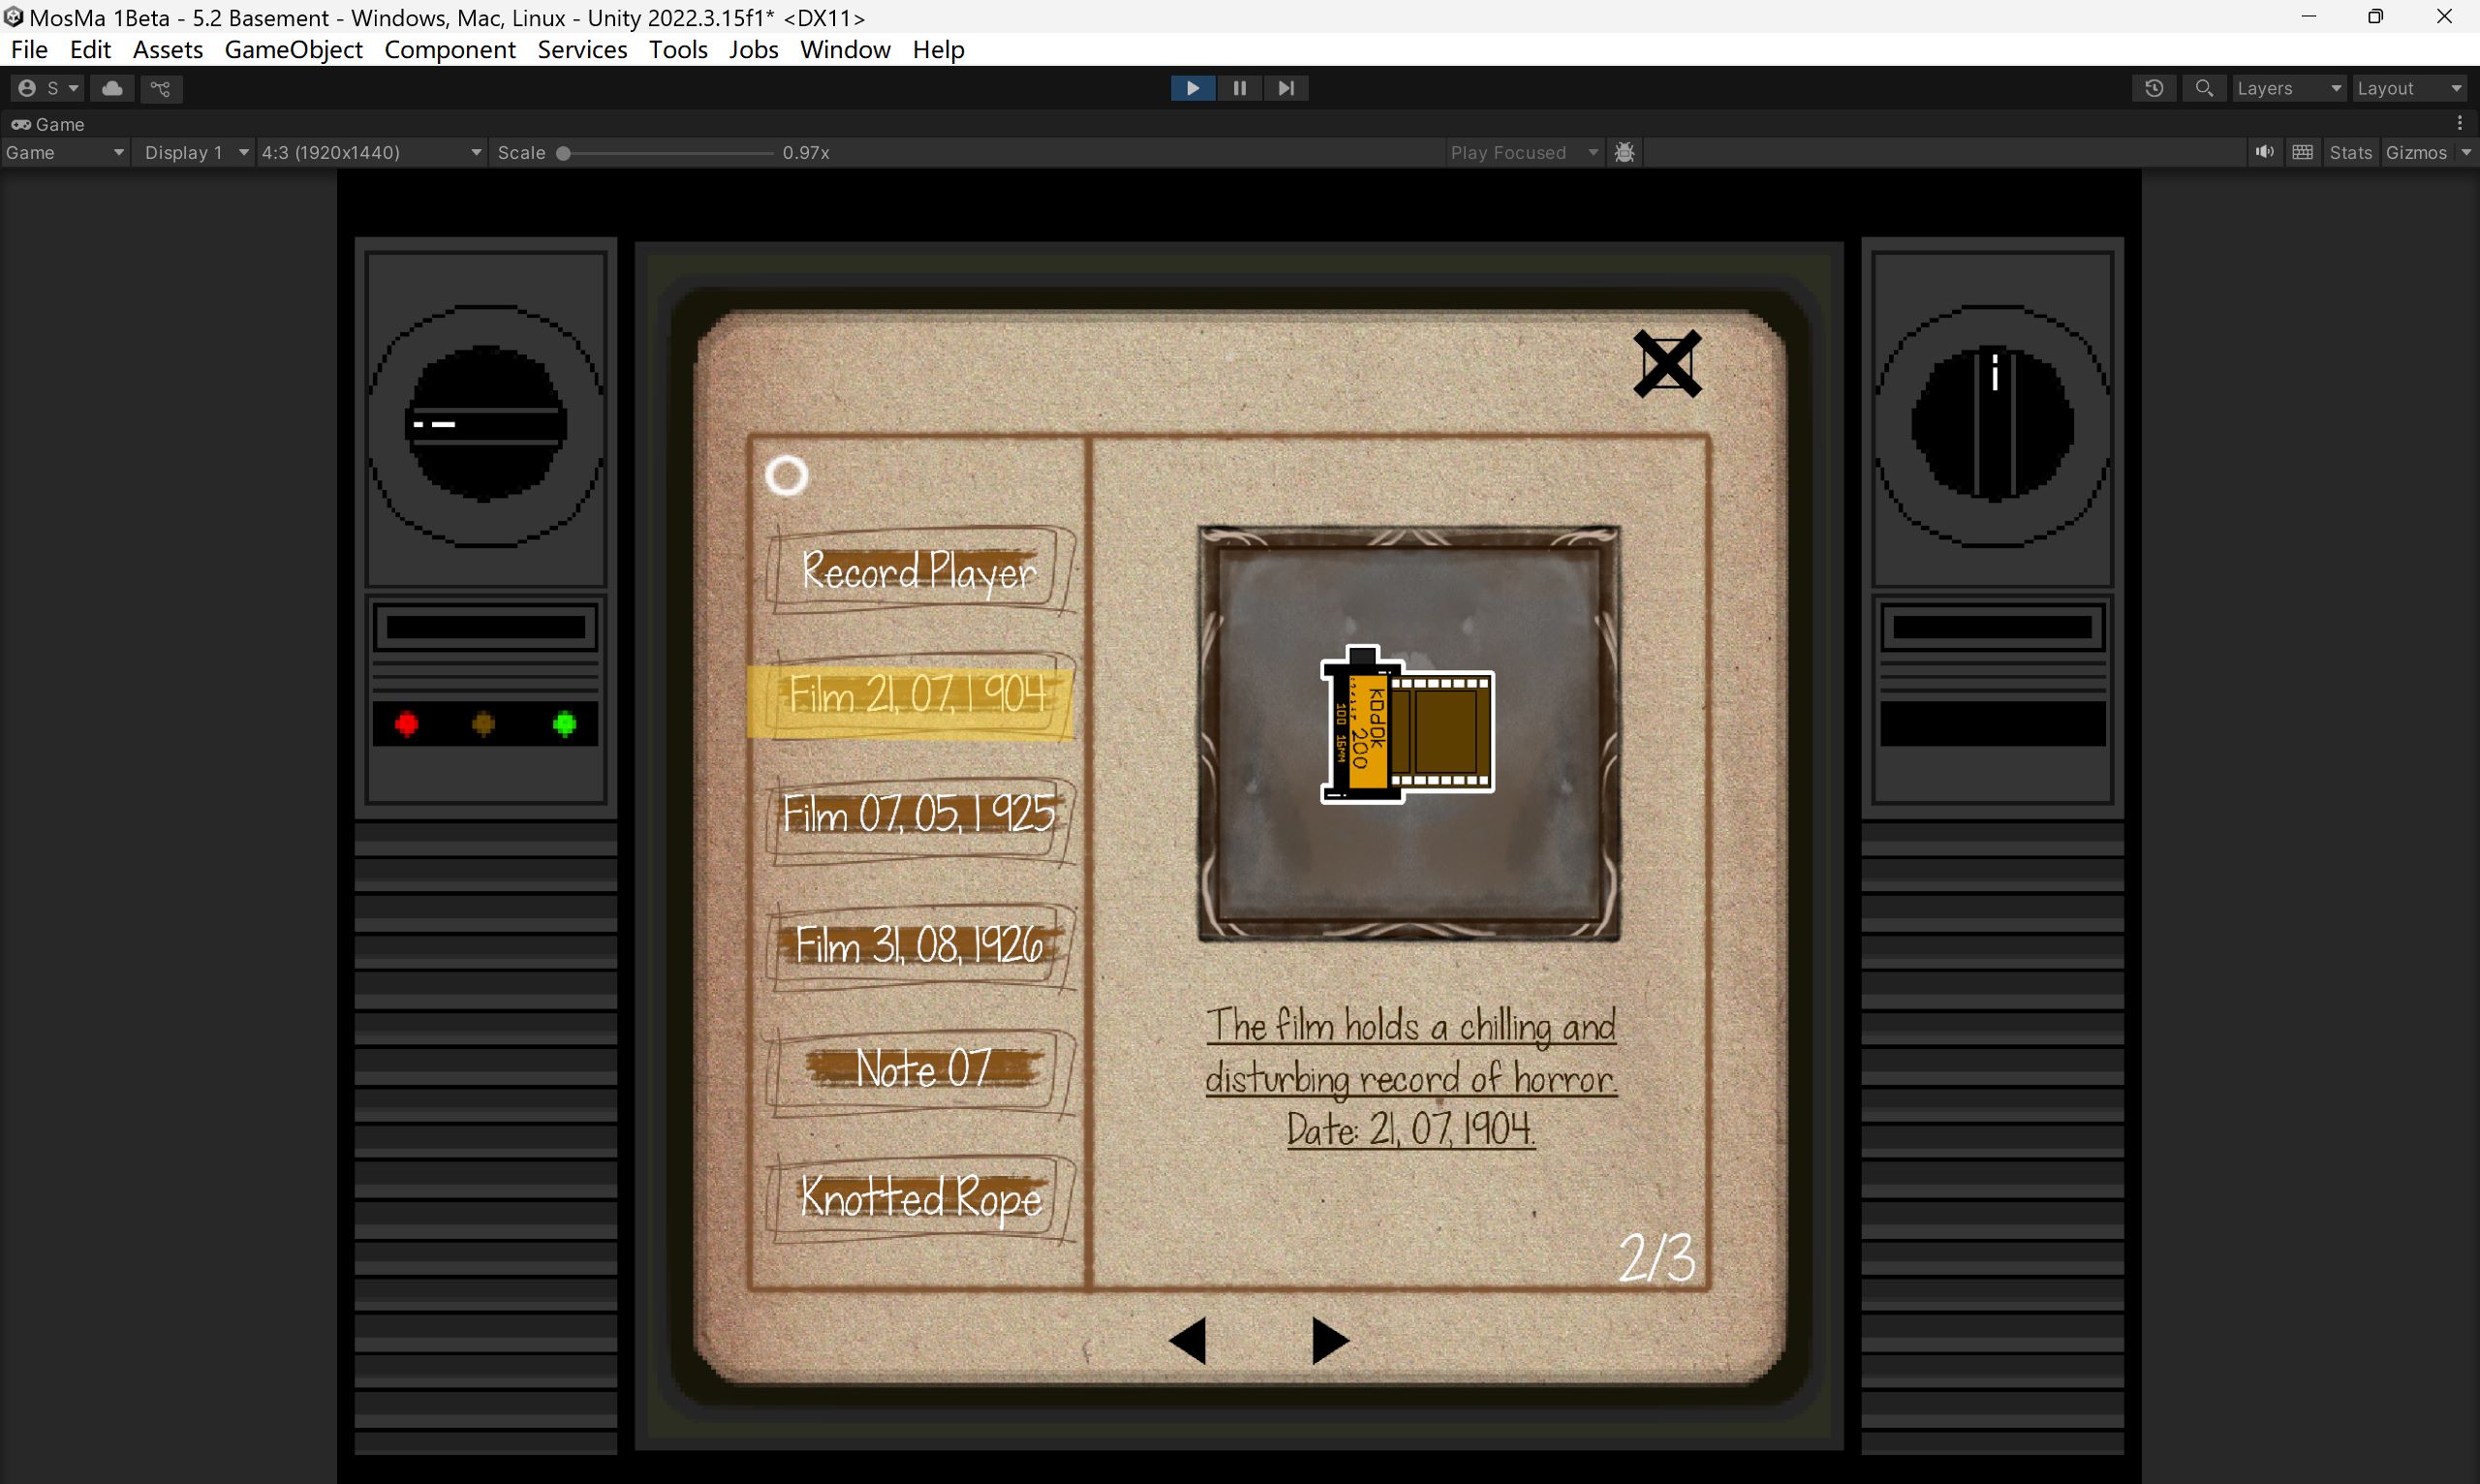
Items and in the Inventory

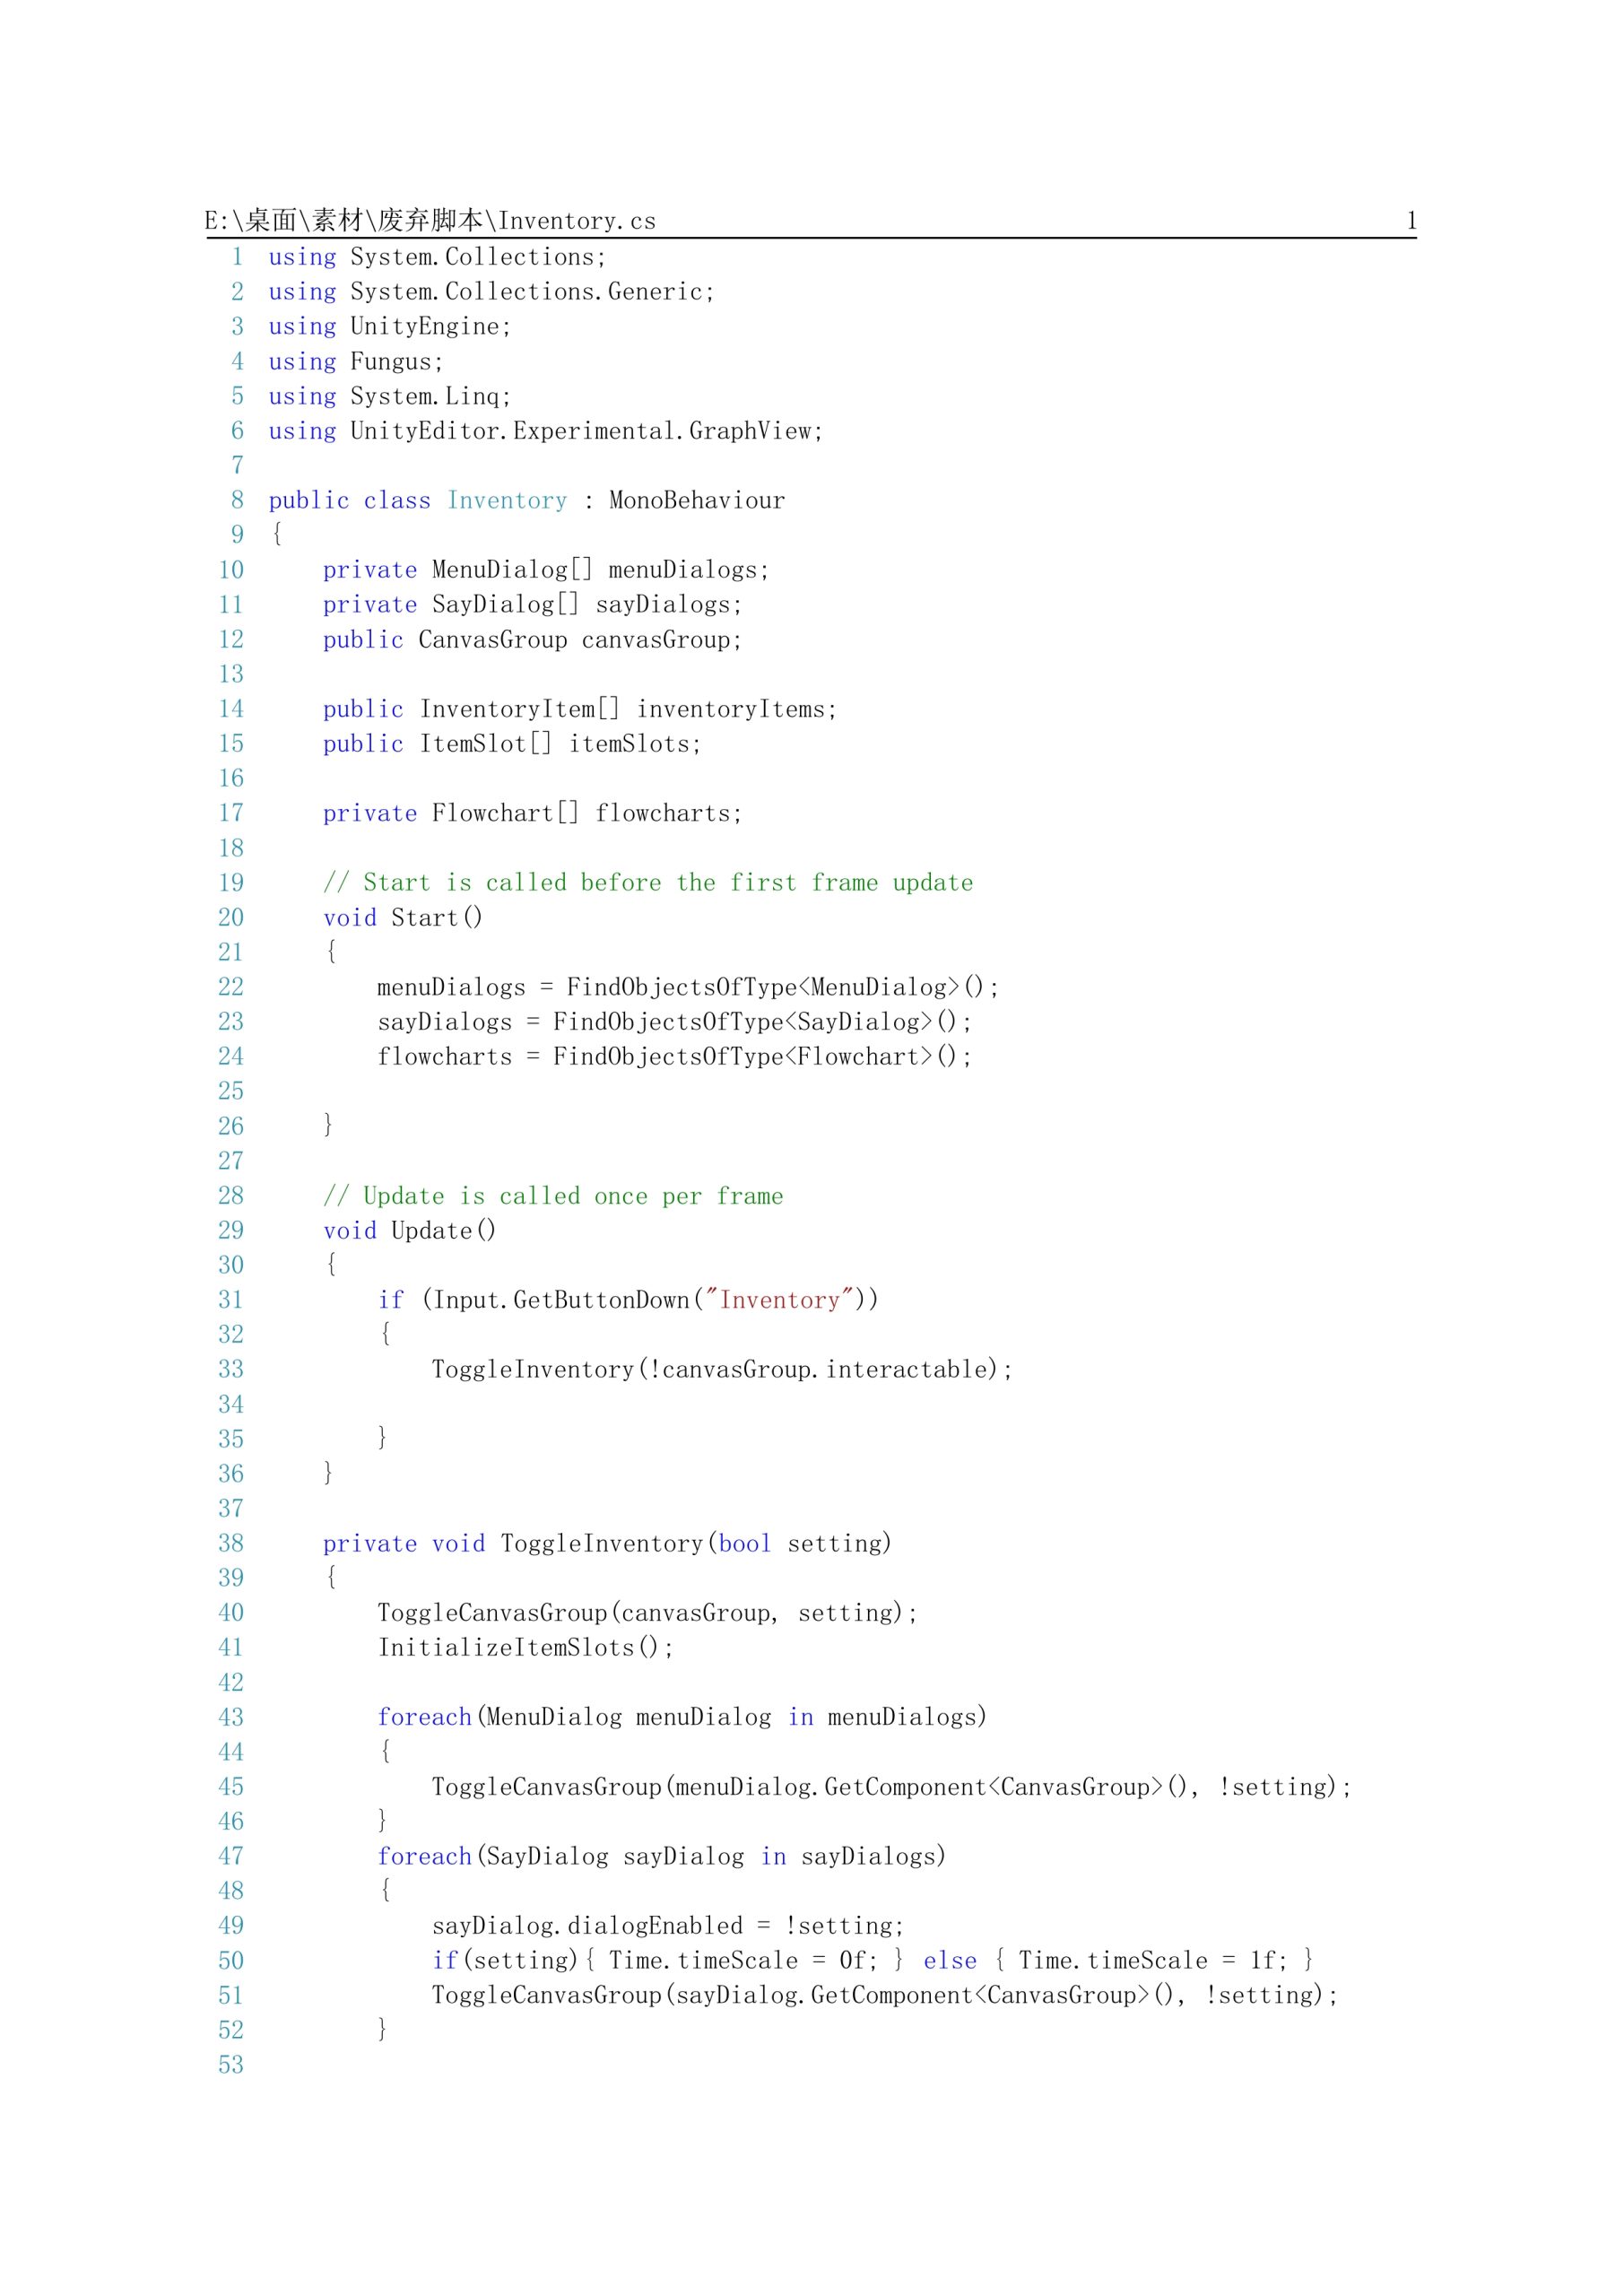
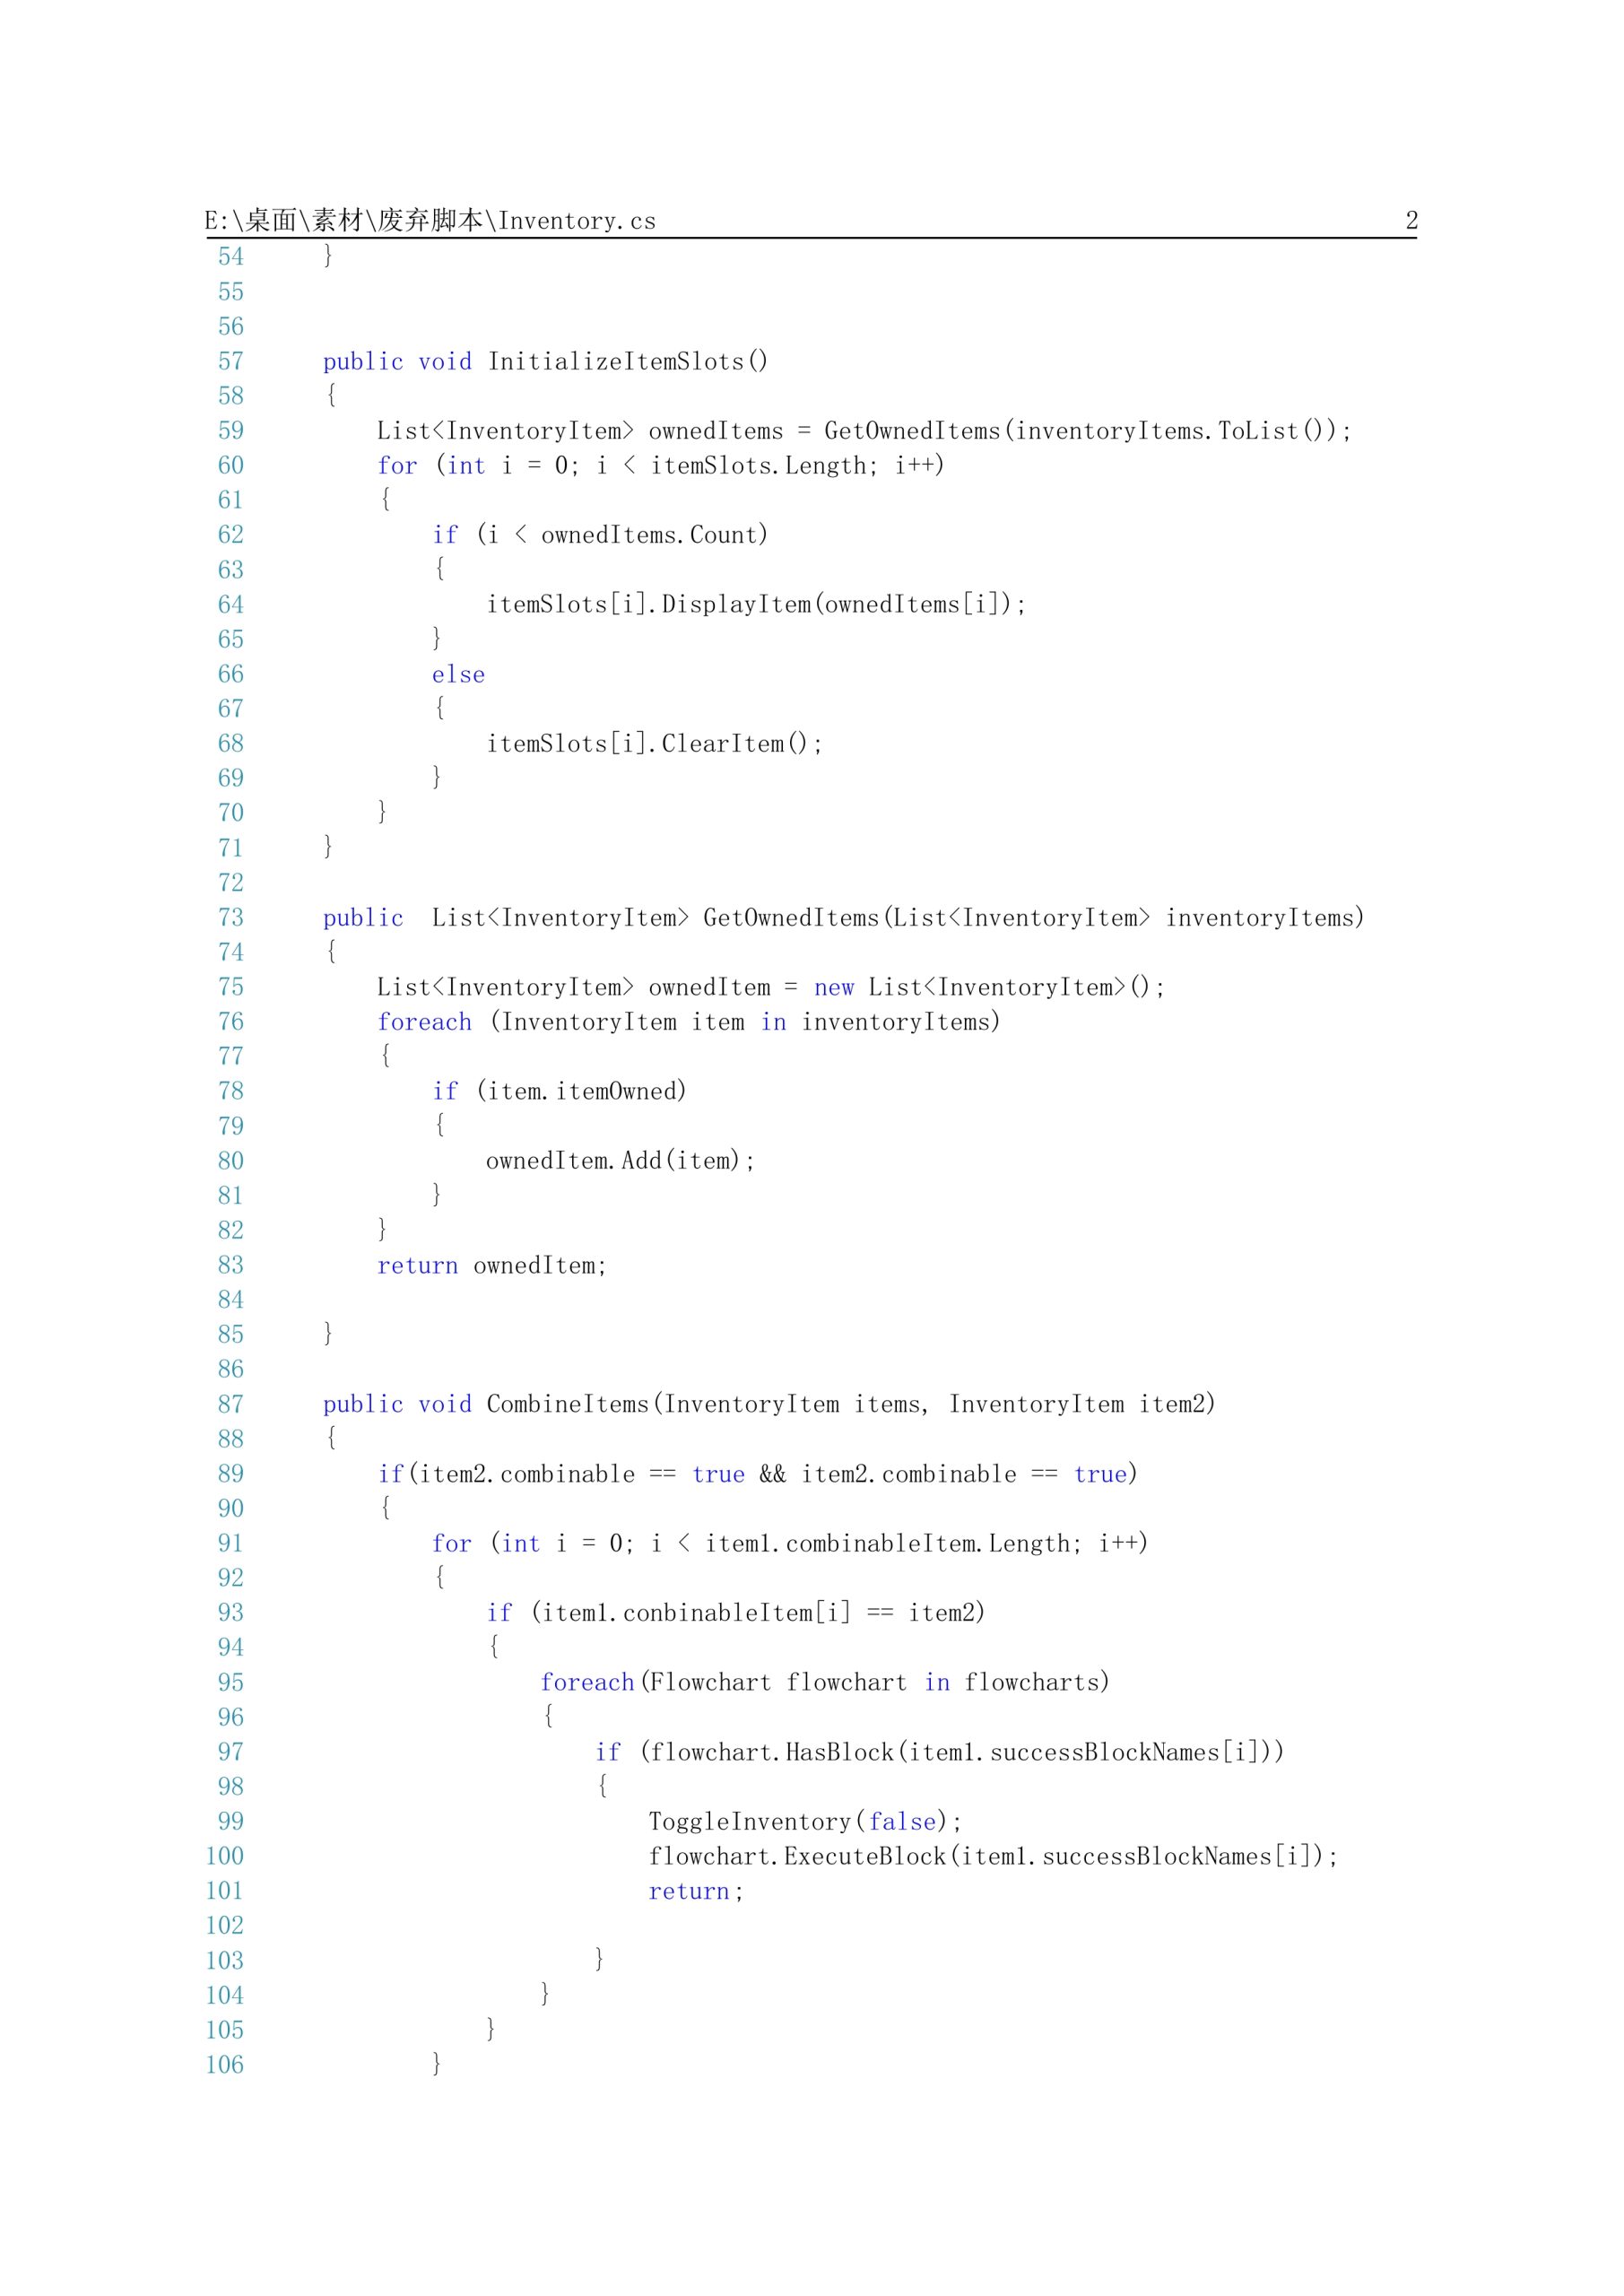
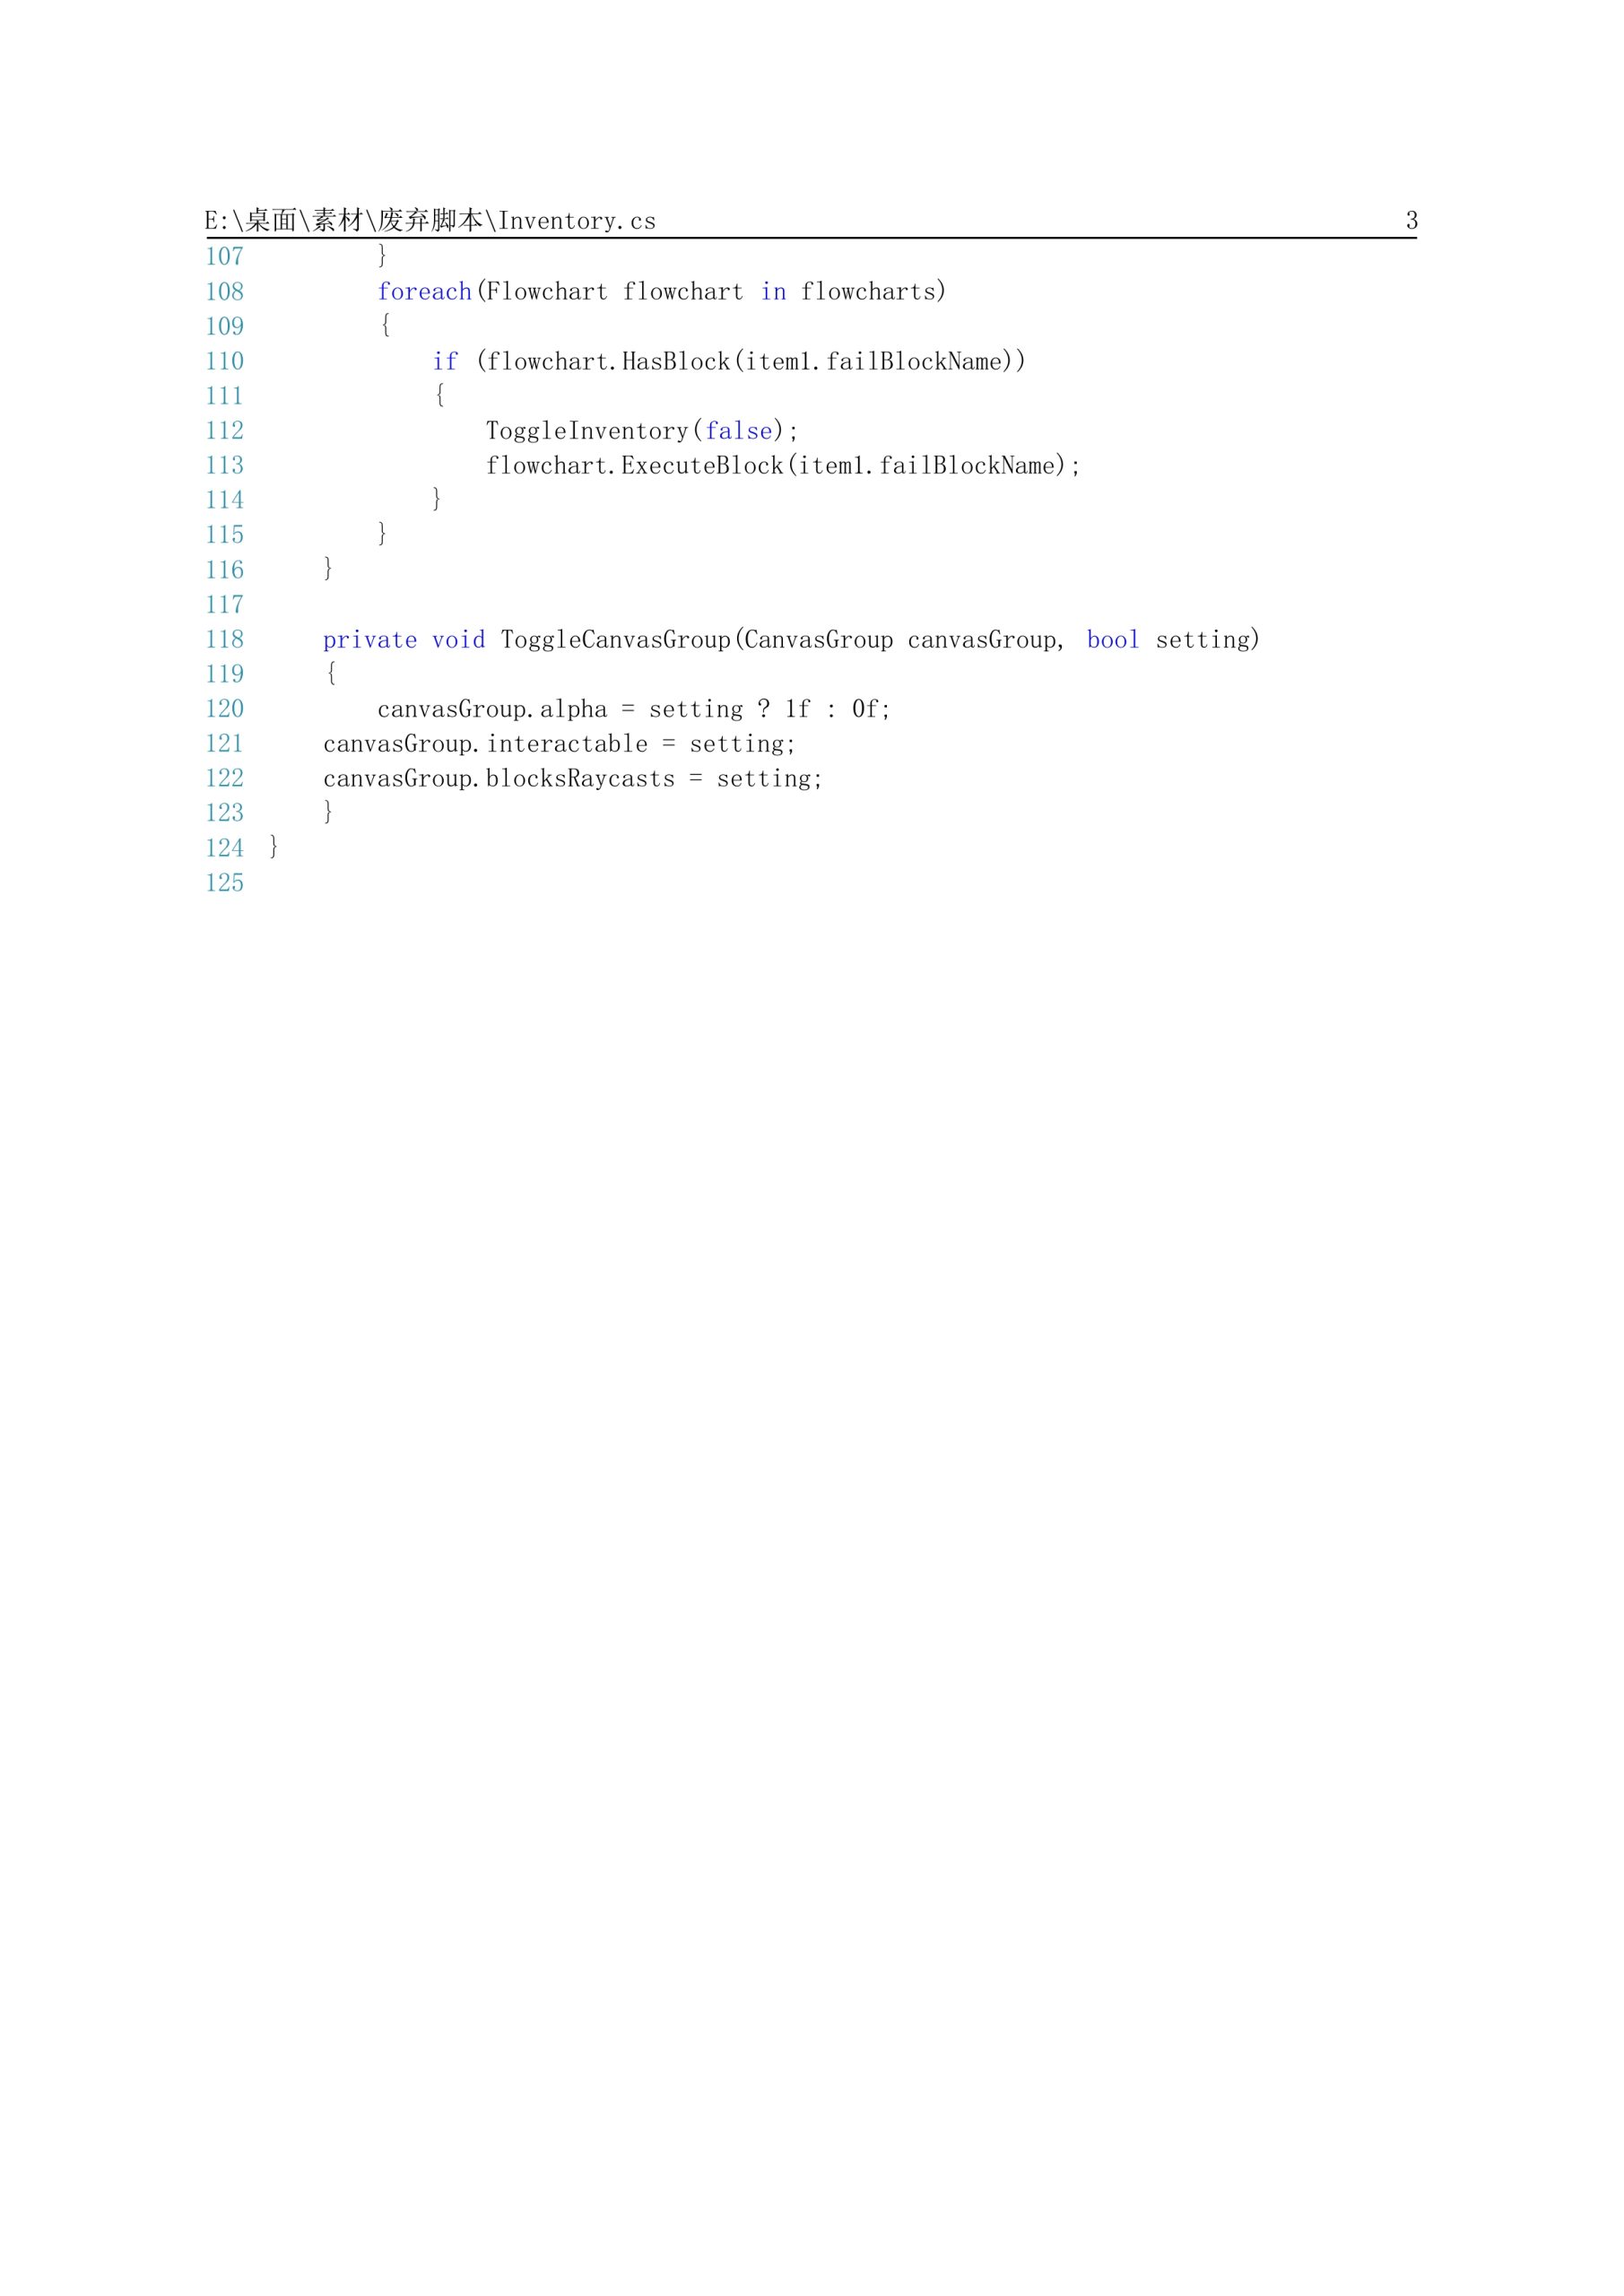
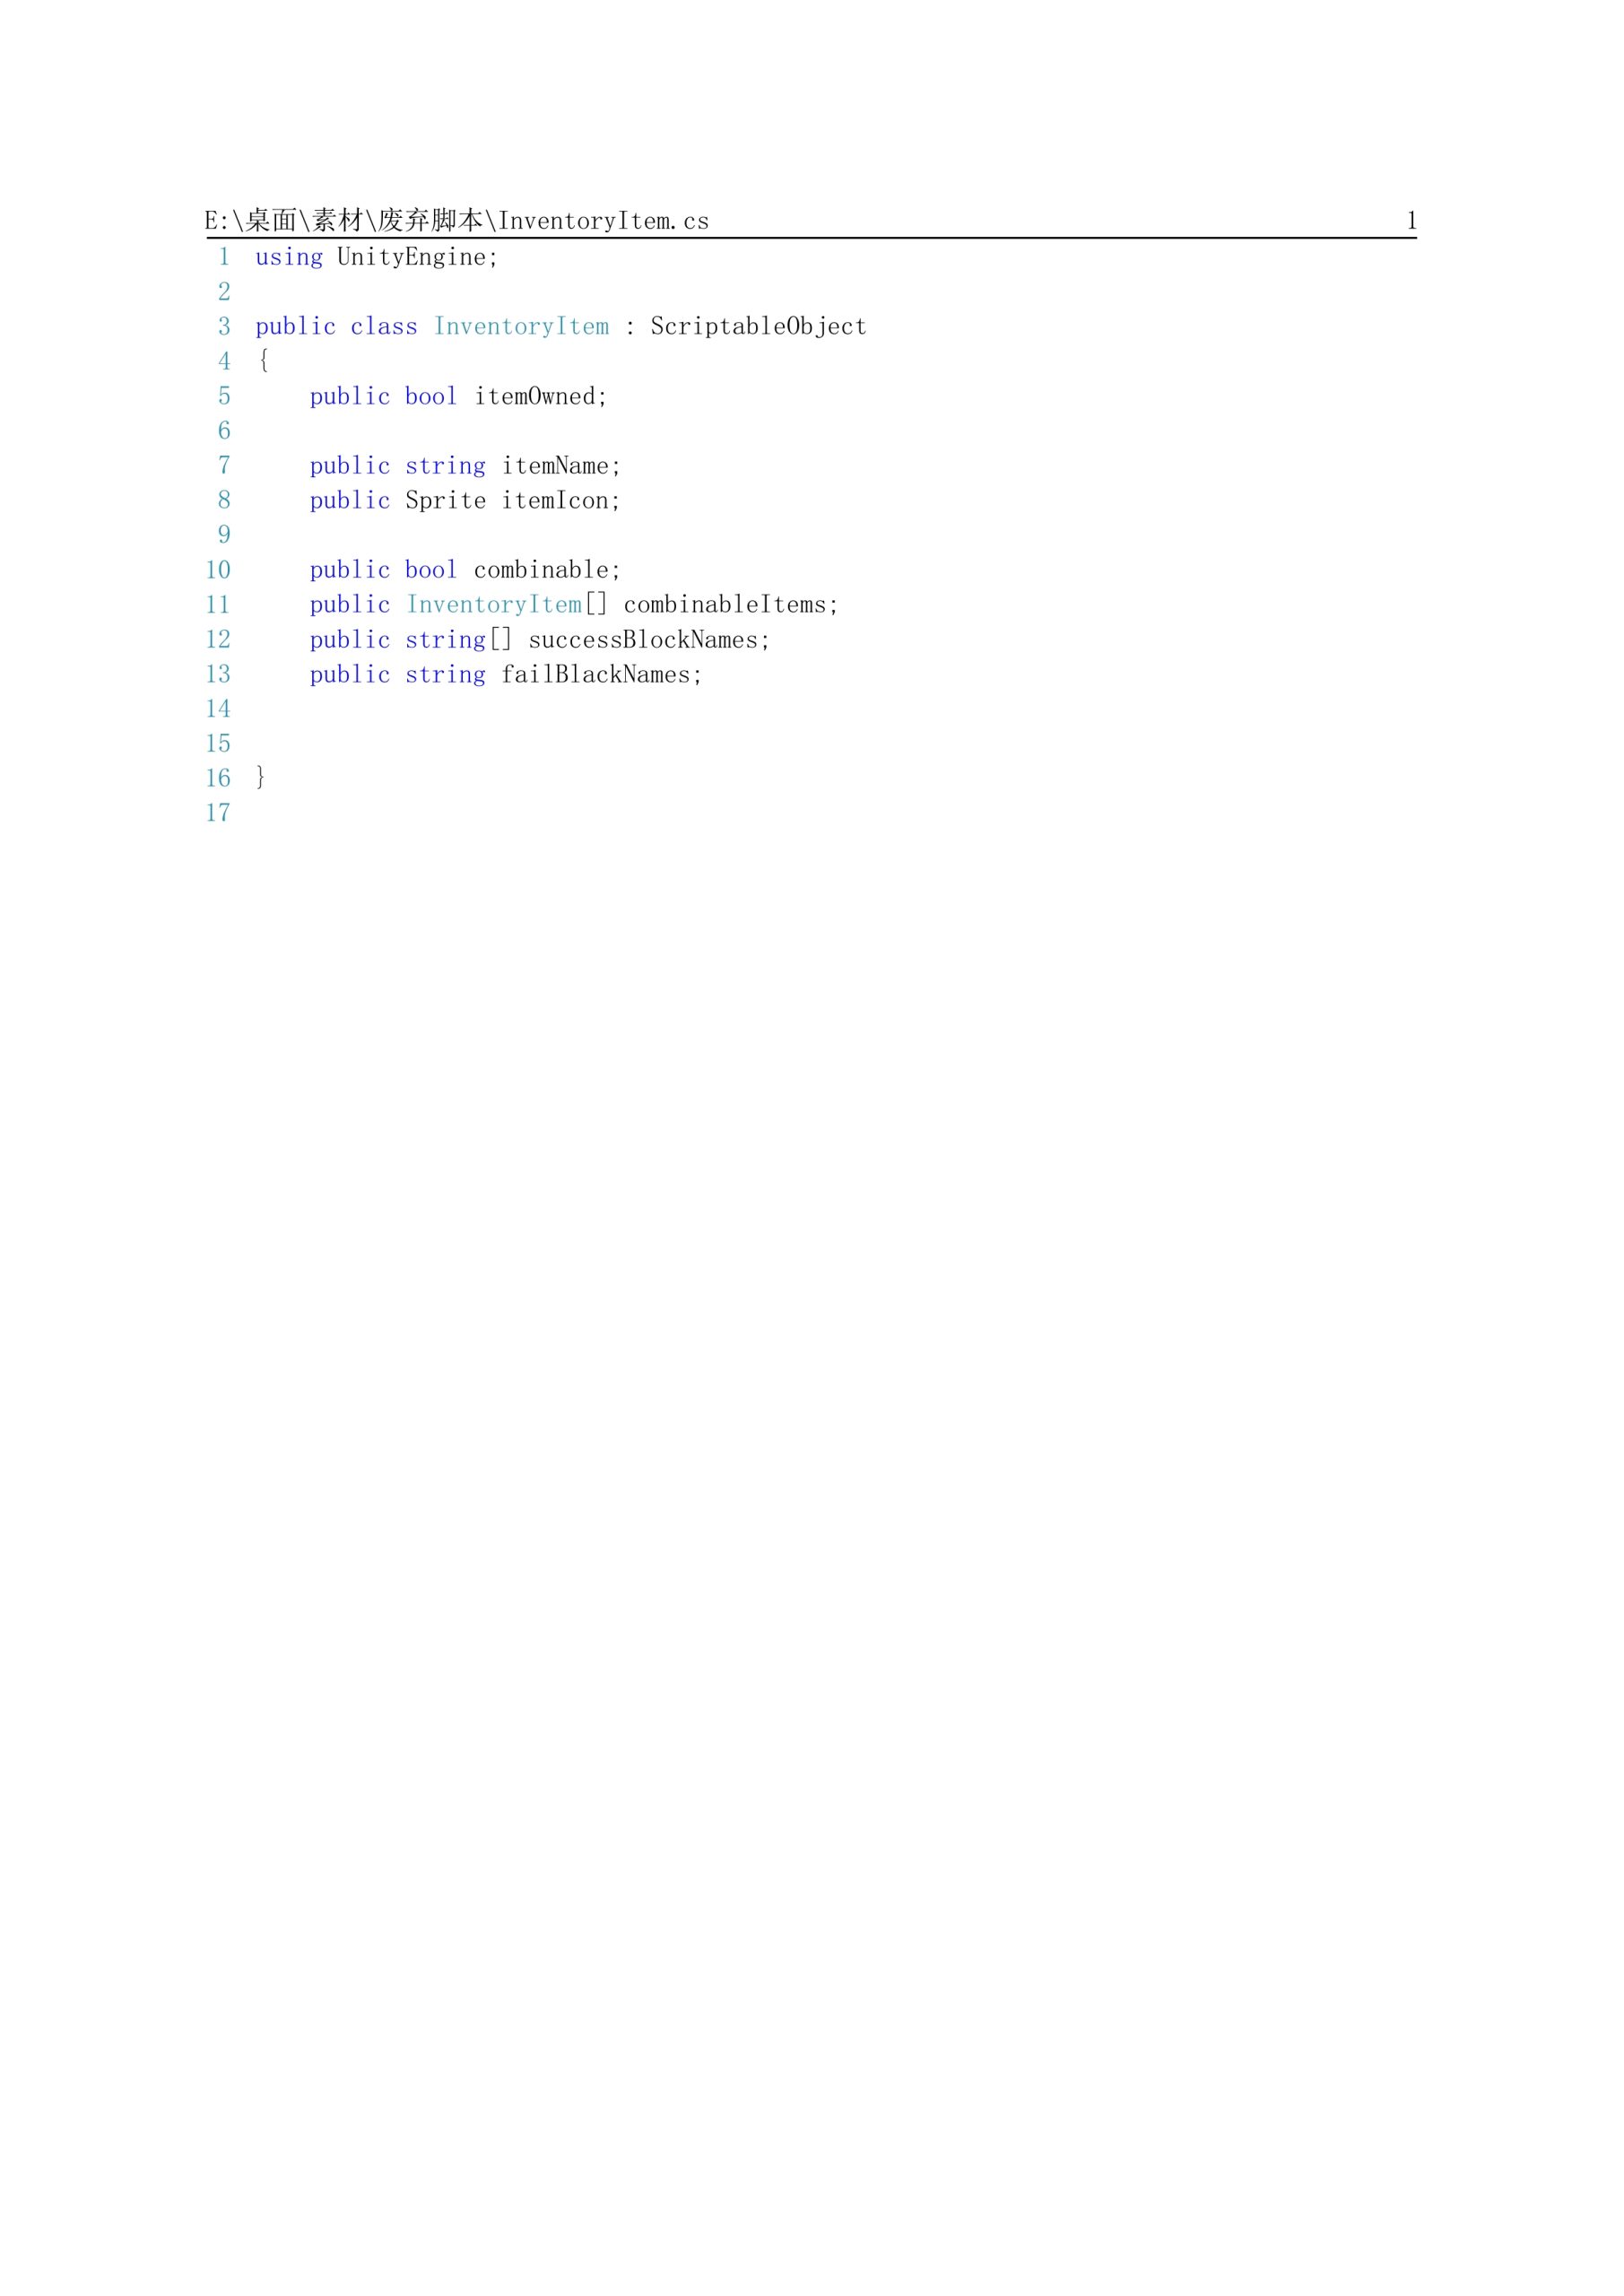
Discarded Script
Leave a Reply