Greybox Additions
This week’s development mainly consisted of making further additions and refinements the the greybox that Hugo made. For example, the entire level had to be scaled down to a human size.
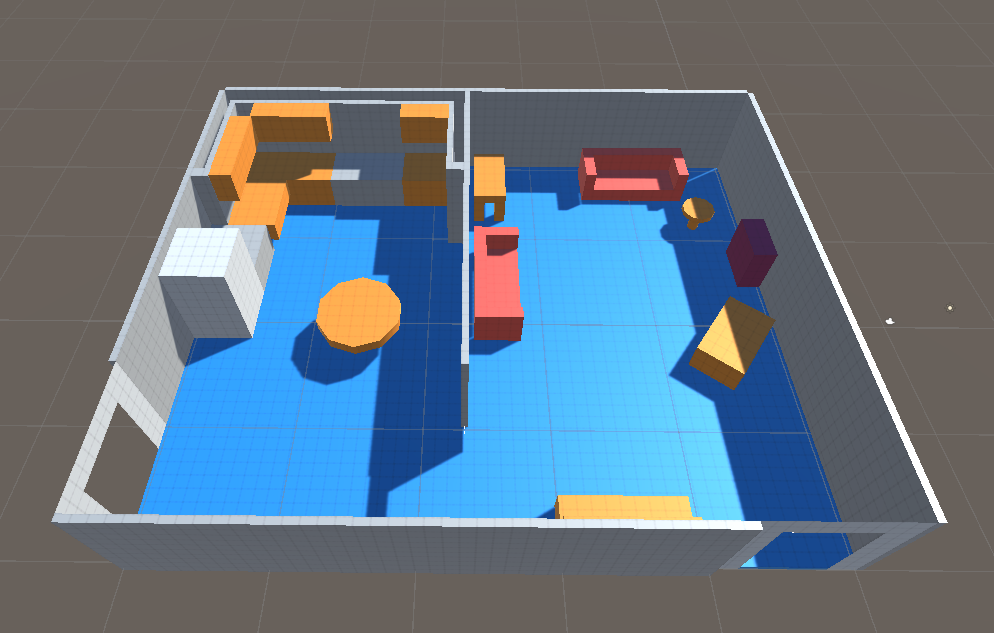
To do this we made new cubes in ProBuilder that estimated the size of objects such as an adult human and a standard door, then made an empty parent object of the entire house in Unity that we could scale down to fit the scale of these cubes. We also adjusted the size of certain objects like the fridge, the table and the couches
After this we had a chat about the level design, and what was necessary for the kind of gameplay we want. Ideally we wanted the rat to be easily able to evade human capture and sight by running around the edges of the map and hiding behind objects. As a result we thought that shelves would be a natural fit to solve this as well as add opportunity for clutter around the map.
On top of this we wanted to add some extra furniture to some “dead areas” like opposite the kitchen. To solve this we added a breakfast bar to the kitchen and instead added a square dining table with some chairs.
However, part of the living room still felt too dead with not much to populate it, with all the furniture scattered around the walls creating a wide open area in the middle which essentially acted as a no-go zone for the player. To fix this we pulled in one of the walls and also made where the player emerges from at the beginning of the level, from a vent.
The Abomination
We also encountered a glitched object accidentally when working in ProBuilder: an unselectable, undeletable one-dimensional face on the top of the house, that we could only describe by the name “The Abomination”. Even after deleting all the other objects in the level as well as painstakingly searching through our scene’s .unity file in raw text form to find some kind of reference to it, we could not find a way to rid our level of our creation.

Eventually we gave up and opted for the inevitable: Copying all the remaining objects in the level and pasting them into a new one. Finally we had a clean slate.
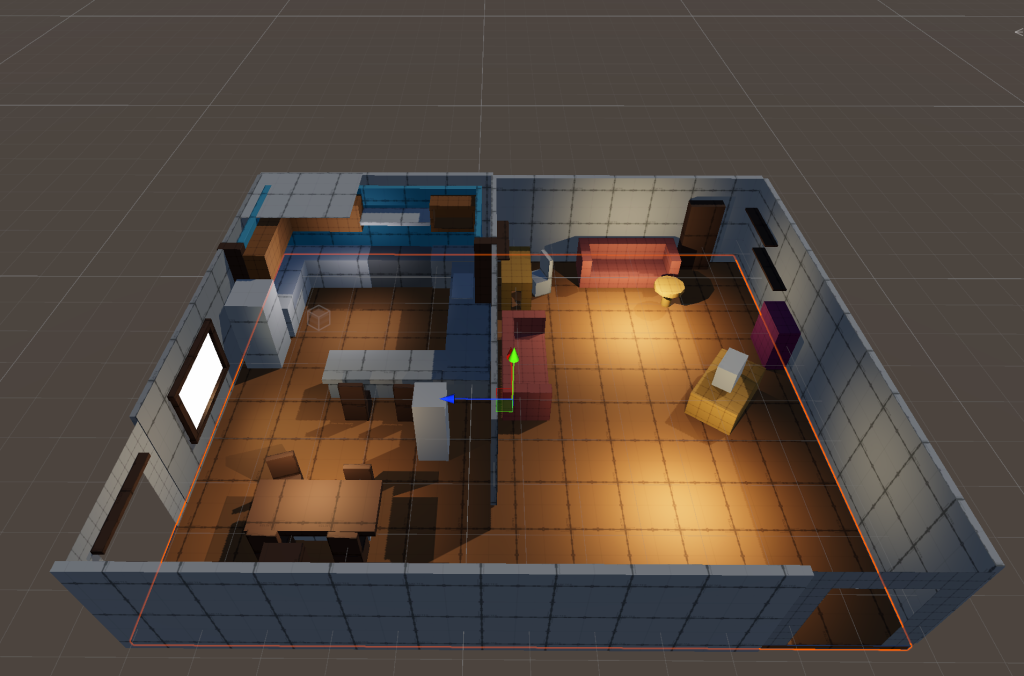
Further work on the level included shifting around the TV and sofas to be in the middle, as well as adding a fireplace. This sectioned off the living room into two areas, creating plenty of space for the rat to roam around in without feeling cramped. I also added tall windows to the living room, and with just a simple emissive texture it already felt more bright and airy.

Adding Cinemachine
In order to add cutscenes to the game and seamlessly switch viewpoints in them, the ideal choice to handle our camera would be Cinemachine. To start with this I removed the old camera script component and replaced it with a “rig” setup which essentially smoothly interpolates between 3 orbits: one above, facing and below the character, making sure it doesn’t collide with the floor.
We were also able to add a spring arm -like feature to the camera that allows it to collide with any walls and move forward towards the player to resolve the collision.
Making the camera move smoothly like the previous setup was quite difficult, along with resolving some bizarre issues with collisions, but it eventually resulted in a somewhat professional-looking third-person camera setup.
Adding Yarn Spinner
To implement Chen’s dialogue from Twine, we agreed on using Yarn Spinner as it was free and easy enough to drop into the game. It would require work from Chen to convert it into the Yarn format from twine but he was happy to help.
I would work on the yarn spinner implementation and quests more in the future but for now I will leave the work integrating triggers for dialogue in the game to Chen.
Leave a Reply