Adding Some Texture
On the beginning of Week 10 we did not have an in-class lesson, so we instead got straight into development. One big milestone we wanted to achieve for the week 11 showcase is finishing the new house in the whitebox scene.
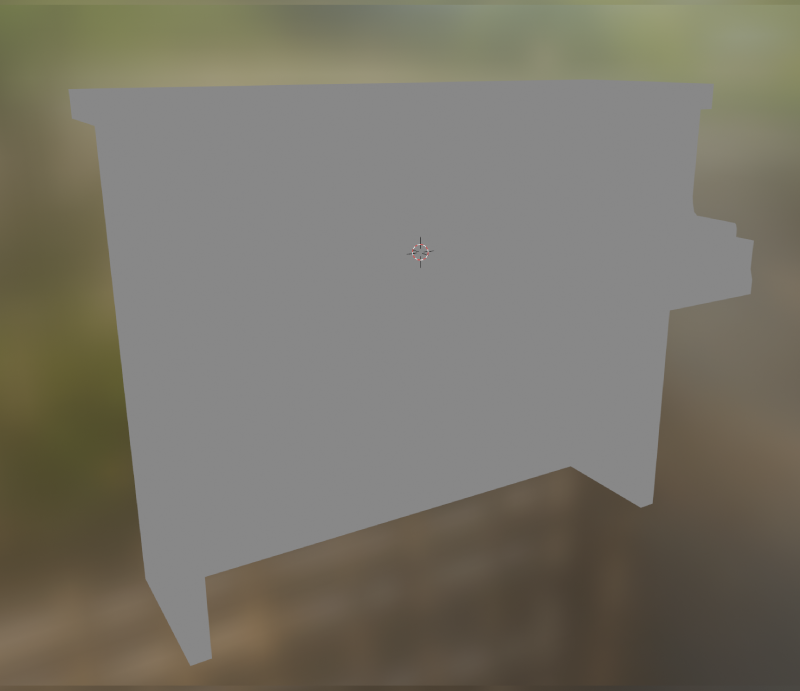
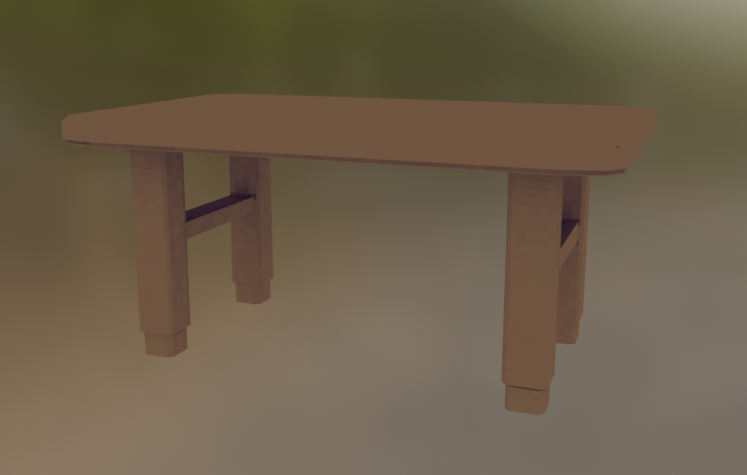
Indiana had made some great models for the furniture in the new scene but they still needed textures, as well as some tweaks to fix things like broken normals and incorrect scaling as well as minor changes to ensure a consistent low-poly look.
Inspired by the look of Nintendo DS and Gamecube/Wii games that Esi notes in her GDD as a major influence on Oh, Rats!‘s style, I wanted to have bold colours combined with low-resolution semi-realistic shading for the objects and environment. Hand painting this would waste too much time leading up to the showcase next week, so I devised a system to quickly generate pixelated shading and detail for objects using Ambient Occlusion maps.
Essentially, Blender has the option to pre-render (or bake) an approximation of shading under even lighting on an object, which generates a black-and-white image texture that can be added on top of any existing texture to give it a realistically shaded look without the need for expensive real-time shading effects such as ray-traced or screen-space indirect lighting.
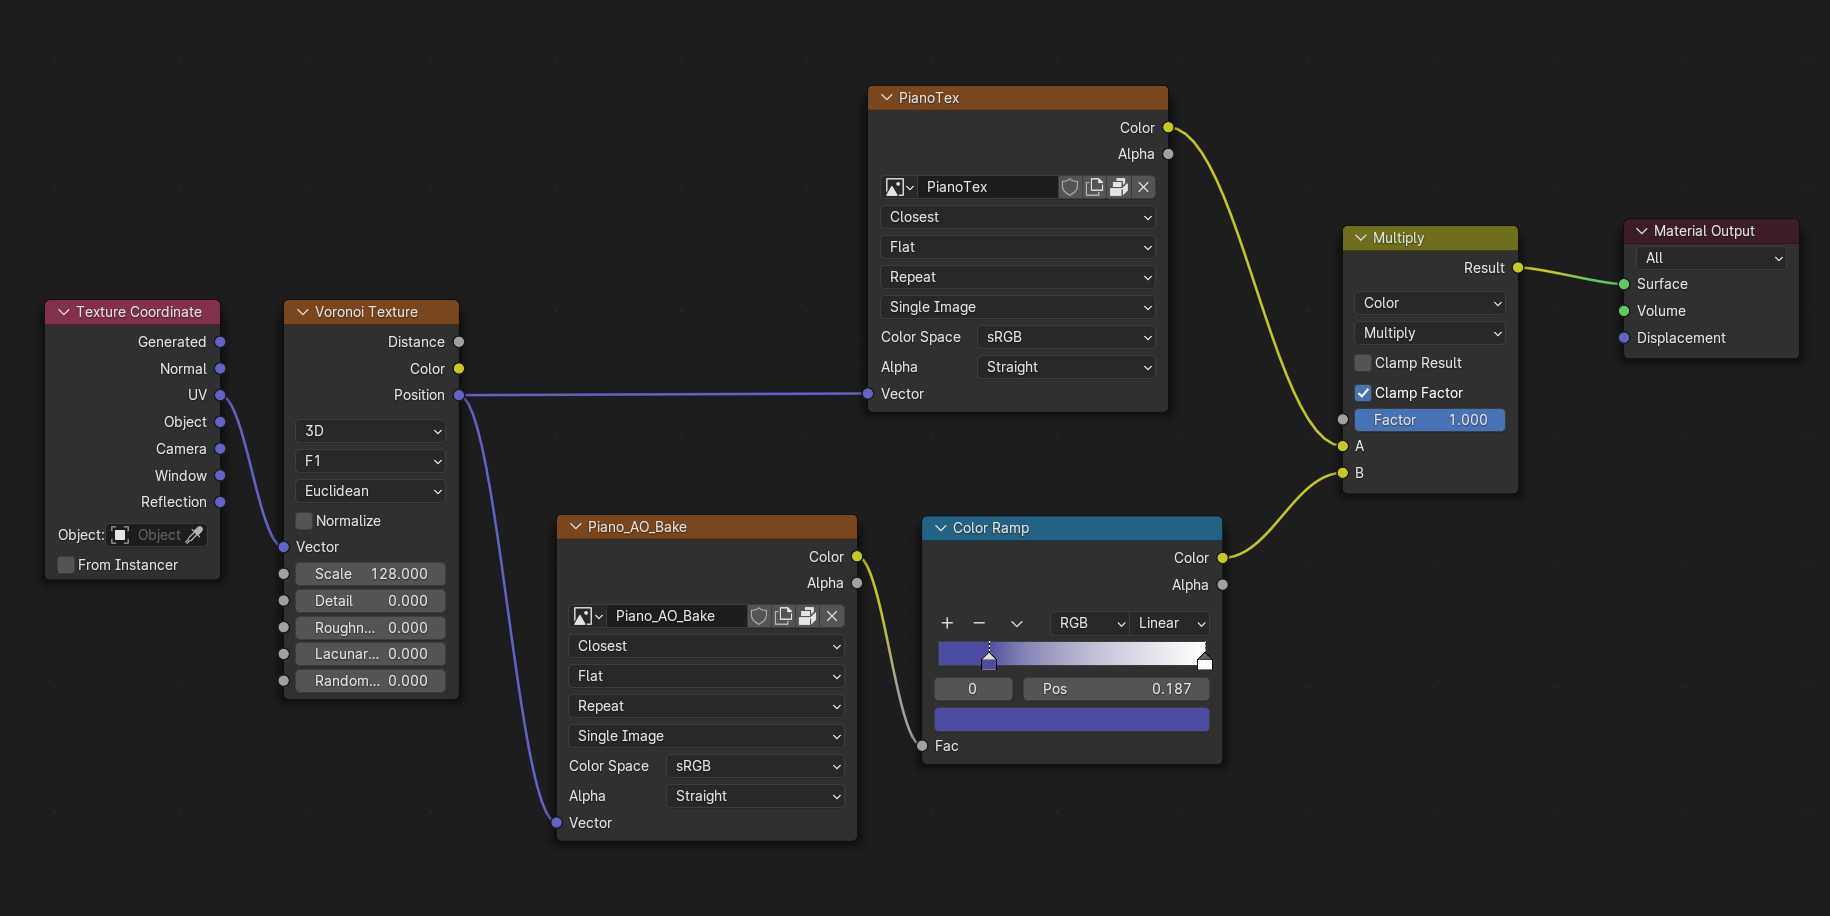
My idea was essentially to combine this with the technique used in the following video to pixelate both the image texture and the AO map, then combine them together and export the result as one singular texture to apply to models.
The result of this was the following node setup:
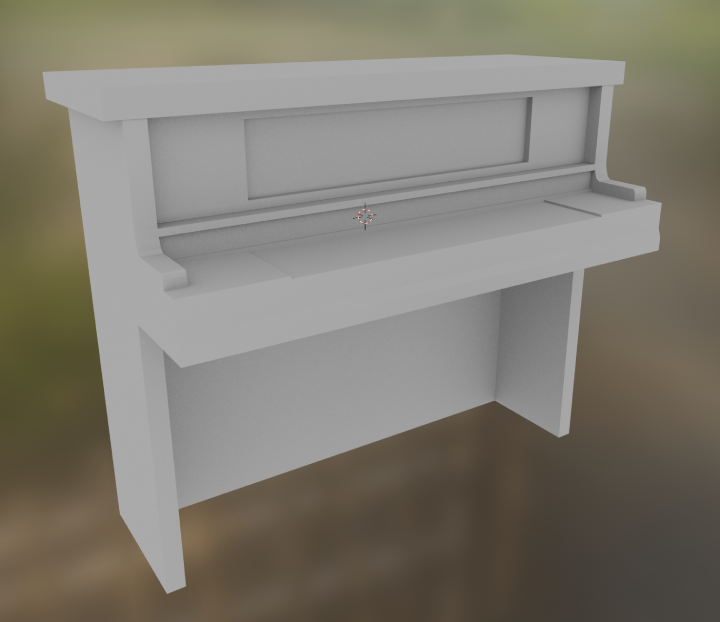
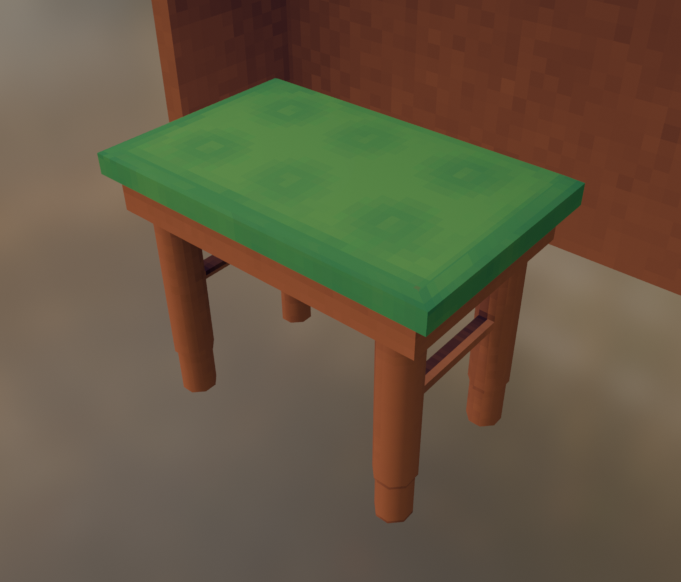
Which leads to assets looking like this with minimal painting needed!
The benefit of this setup is that it allows for very simple textures to look like fully painted objects, with the base colour texture being paintable in realtime while still being pixelated. The pixellation factor or “resolution” is controlled by changing the Scale value. One setback is that this needs to be adjusted to keep a consistent texel size for assets ingame.
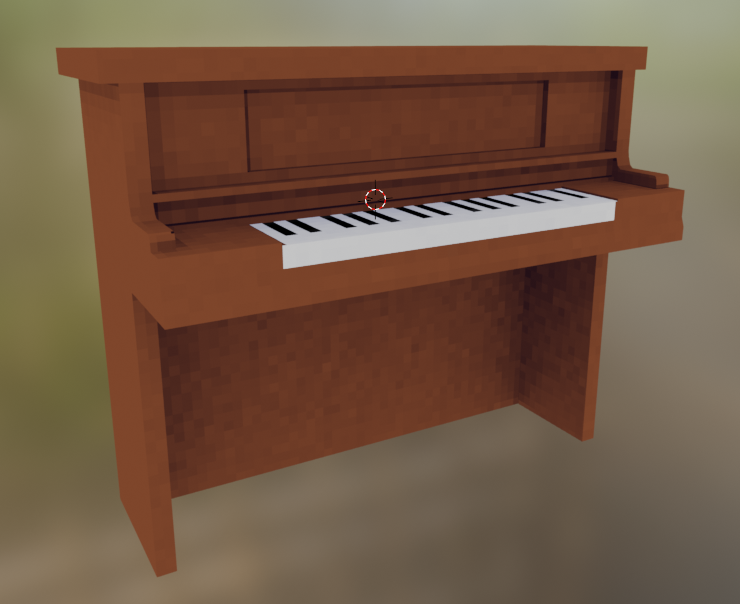
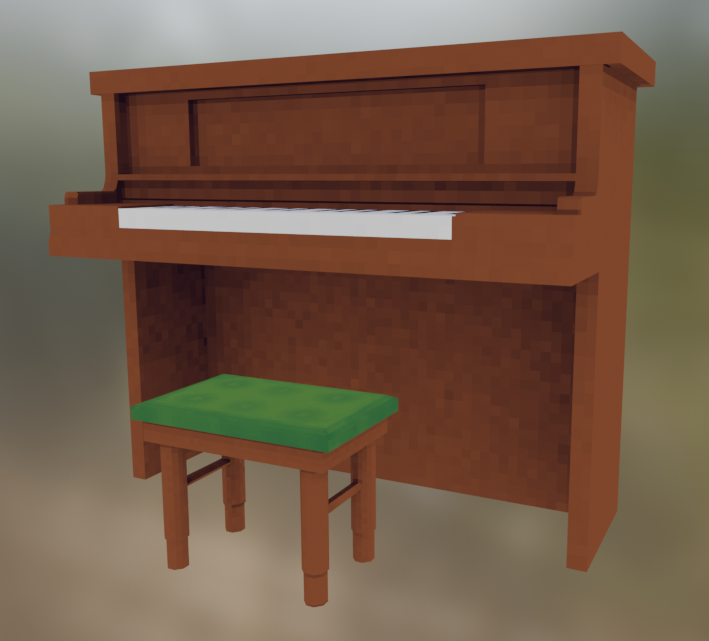
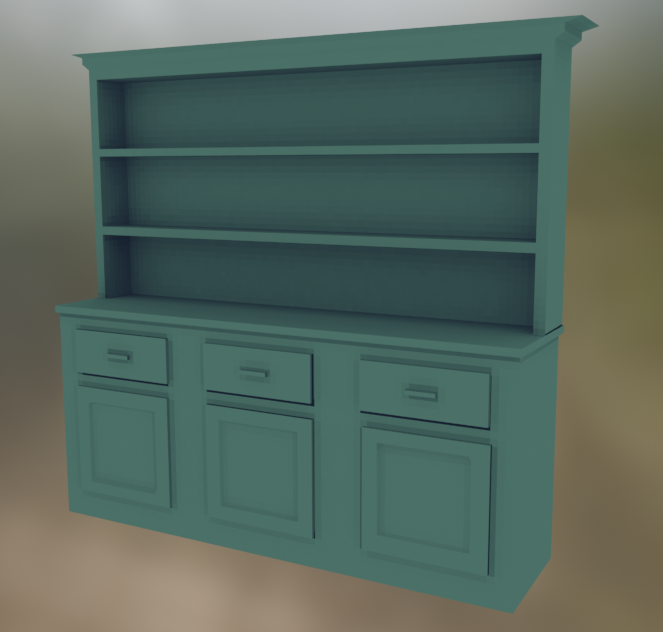
After sharing this technique with Hugo and Indiana we got to work on populating the new whitebox scene with textured assets. I edited the models and added textures to the piano, the fireplace, the dining chairs and the display cabinet in the dining room.

Level Work
After this I got to work on the geometry of the level, aka the walls and floor of the house. My previous attempt at fixing the missing geometry within the walls by using a solidify modifier in Blender did not work nearly as well as I wanted it to, and there were still colission glitches with the walls essentially being difficult to work with. Instead of this I simply extruded out some vents with an expansive dug-out “cave” in the middle. This would be textured later.
I decided to bake the ambient occlusion for the walls at a higher sample count, as too much visual noise would look distracting, especially if we wanted to add some texture such as wallpaper onto them.
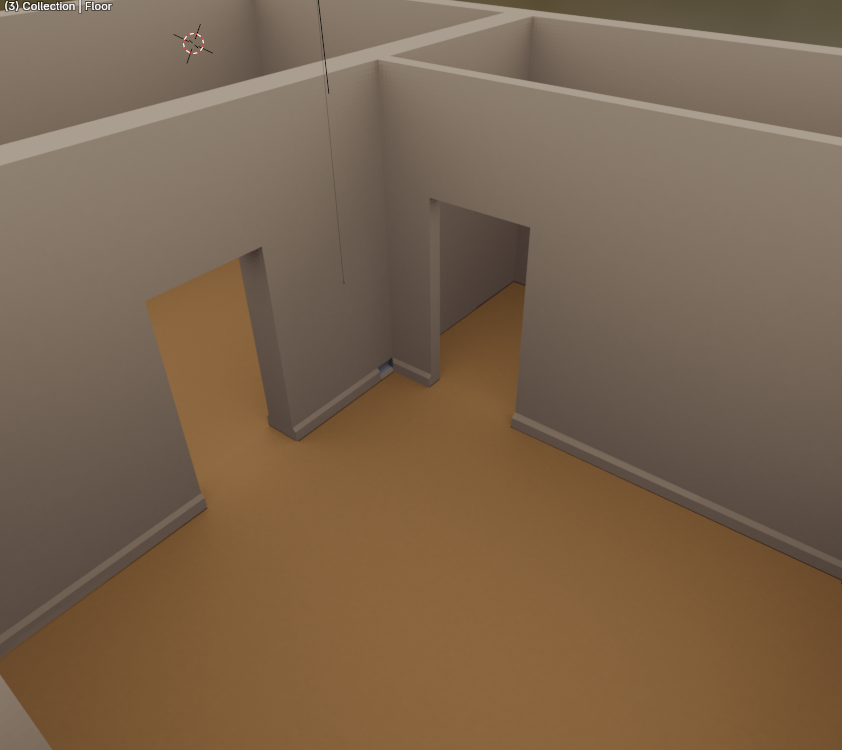
This ended up looking very clean but still needed some base colour textures to be perfect.
Adding Stamina
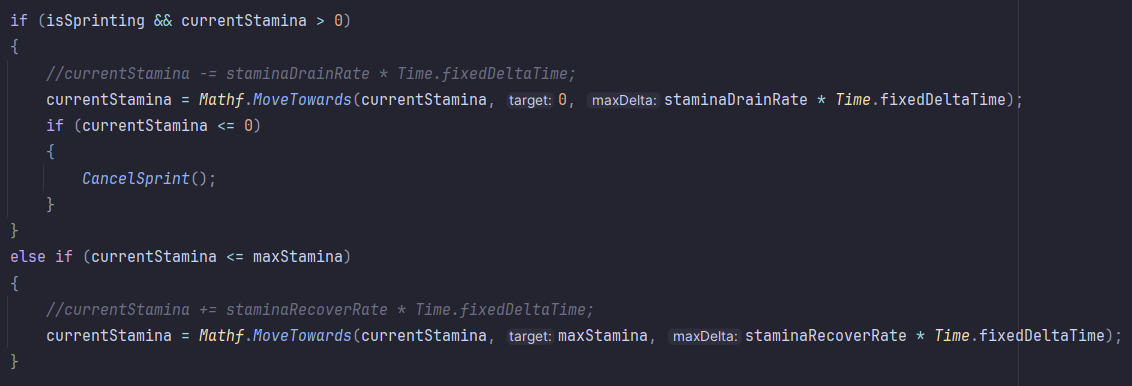
While we wanted players to have a certain degree of freedom to run around the house, we felt that being able to sprint everywhere could make encounters with humans trivial and discourage walking around when in safe areas to explore. To fix this we wanted to add a stamina system. This was quite simple to make: All I needed was one variable to track the player’s current stamina, and an editable one to define the max stamina they have. I also included some editable values so we can change how quickly stamina drains and refills. The code below reduces the current stamina at the given rate, and after hitting zero makes it recover at a slower rate and does not allow sprinting to start again until it has refilled to a certain percentage.

Leave a Reply