This week, before the playtest, my job is to import new assets and create a visually appealing start-up screen.
I began by customising the menu screen. The process was relatively simple, I just had to alter some of the code in the script. To start I moved the text to the right side of the screen.

To do this I had to open the screens.rpy script which is found under the edit file section on Ren’Py.
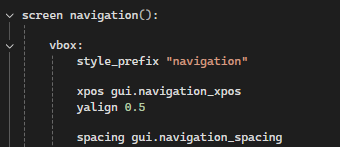
To move the text where I wanted it was a trial and error process where I changed the position next to yalign. After reloading the screen a few times I found 0.5 was the perfect amount.
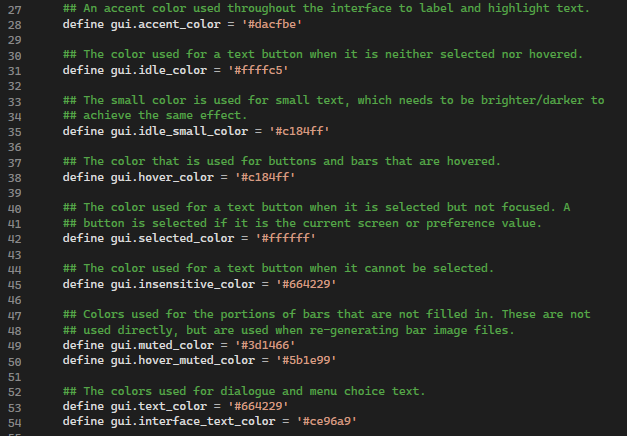
After moving the text, the next step was to change the colour and font. To do this I had to use the gui.rpy script. Ren’py already has fonts and colours built in, so to change it I just needed to go in and replace it.
With colours it was just as simple as finding colour codes online that went with the colour scheme.
Idle colour

For the idle state I decided to go with a pastel yellow as this matched the colour pallet.
Hover colour

For the hover state I chose a pastel purple.
Fonts
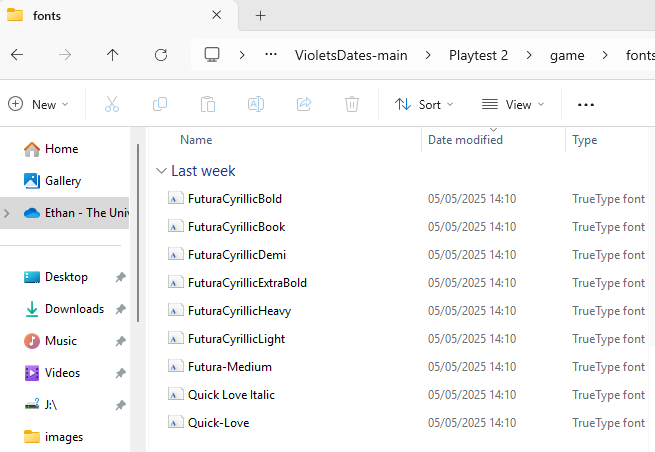
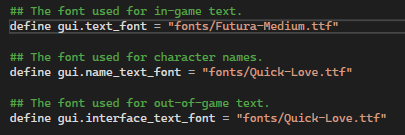
Changing the font was a bit more complex. As the fonts I wanted aren’t already built in, I had to download the font, create a folder called fonts in the game folder, and drag and drop the fonts to use.
The font I used for the main menu was Quick-Love, as this is the font Riya used for this game concept in her GDD. I’ll add the link to where I downloaded it from below.
Whilst I was on this part of the script I also changed the in-game text font to Futura. The download link will also be shown below.
https://www.dafont.com/quick-love.font
https://font.download/font/futura-pt
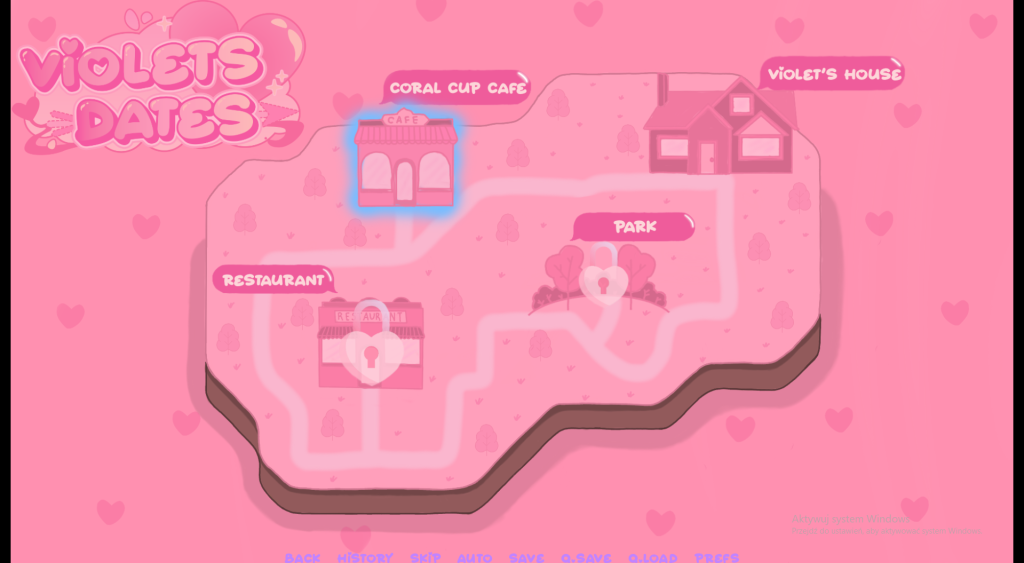
Changing the Main Menu image
This is a video I followed to customise the main menu.
To change the main menu image to this, it was as simple as naming it main_menu, dropping it in the GUI folder and replacing the old main_menu.
This is what the GUI folder looked like after I had done this.

To replace the old main menu heading I opened the old one and customised it in photoshop. I changed the colour to a pastel pink with a yellow outline. I also added the title that Riya made, at the top of it.
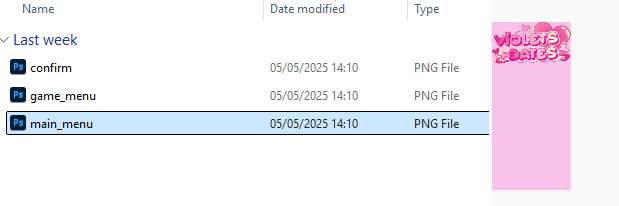
This is what it looked like in the overlay folder, inside of the GUI folder.
Final Result
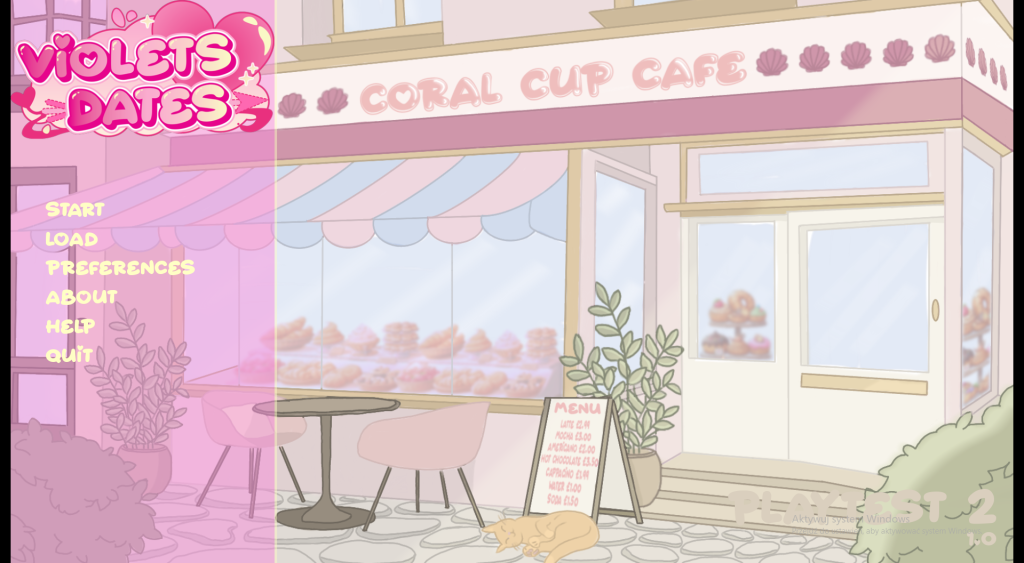
This is the final result! I’m really happy with how it turned out and it was much easier to customise than first anticipated.
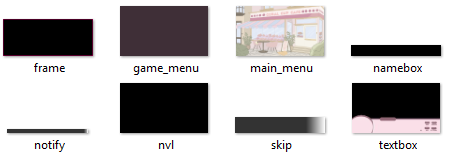
Replacing the textbox and headshot
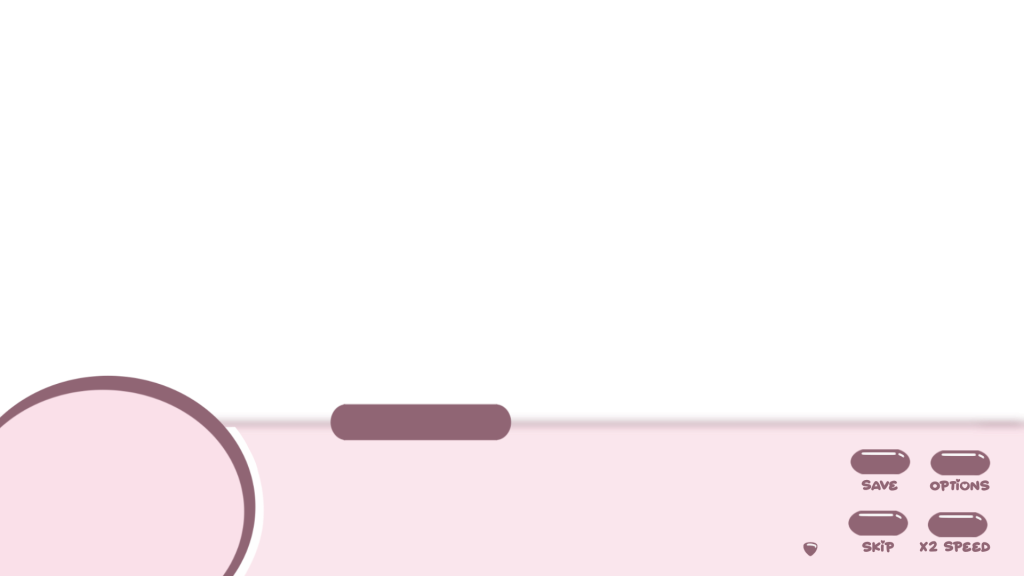
The next step before the playtest was to replace the old textbox with the new colour scheme Maja had come up with, as well as replace Violet’s headshot with Paula’s version.
Using the same process as the main menu, I replaced the original textbox to the new version in the GUI folder.
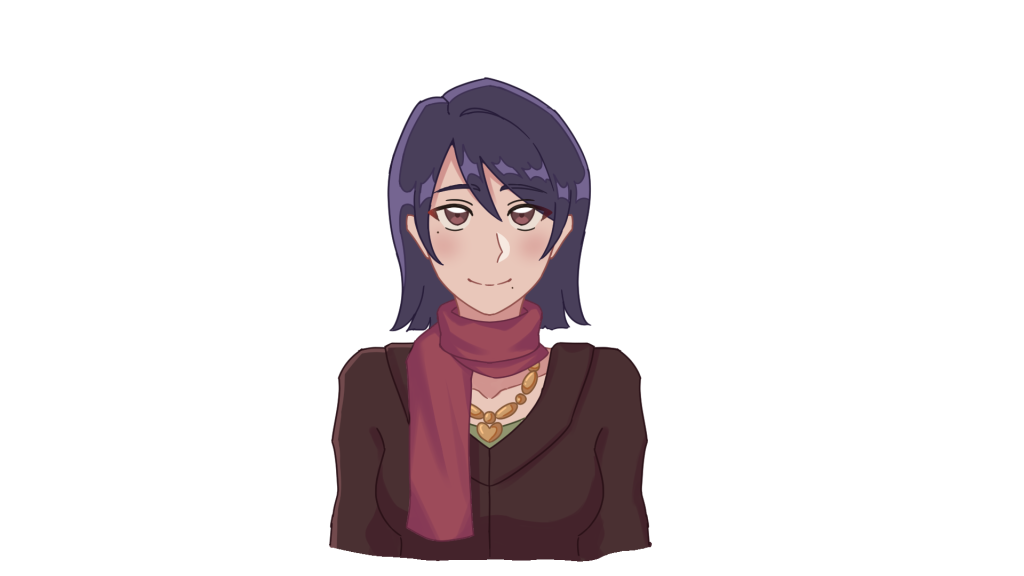
I then did the same process with Violet’s headshot in the images folder.
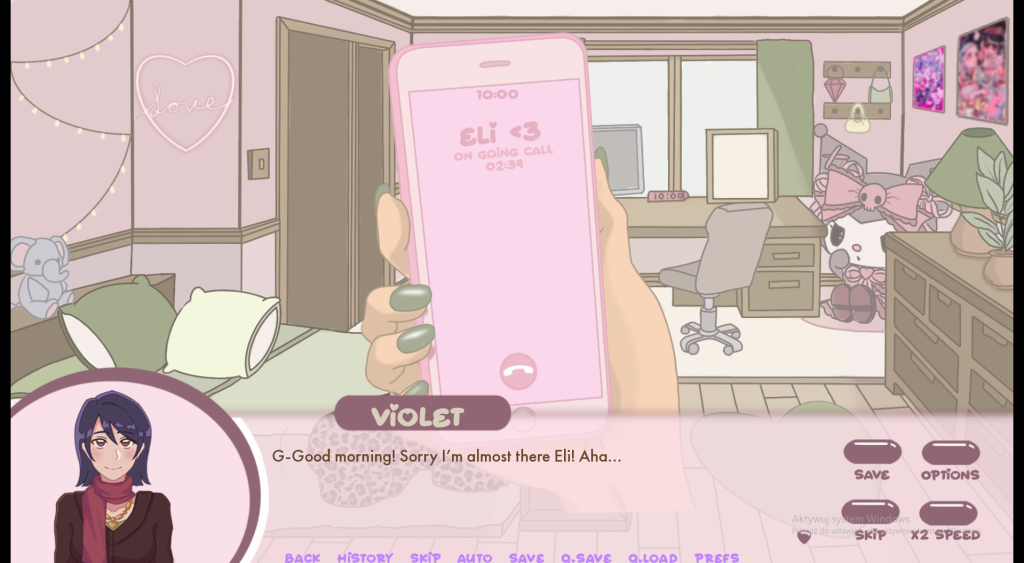
In-game screenshots
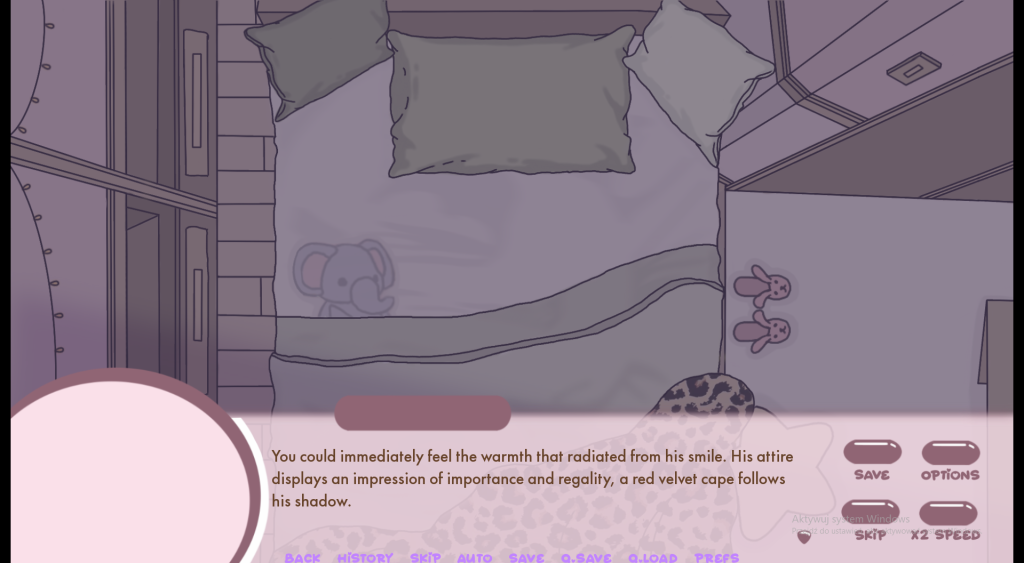
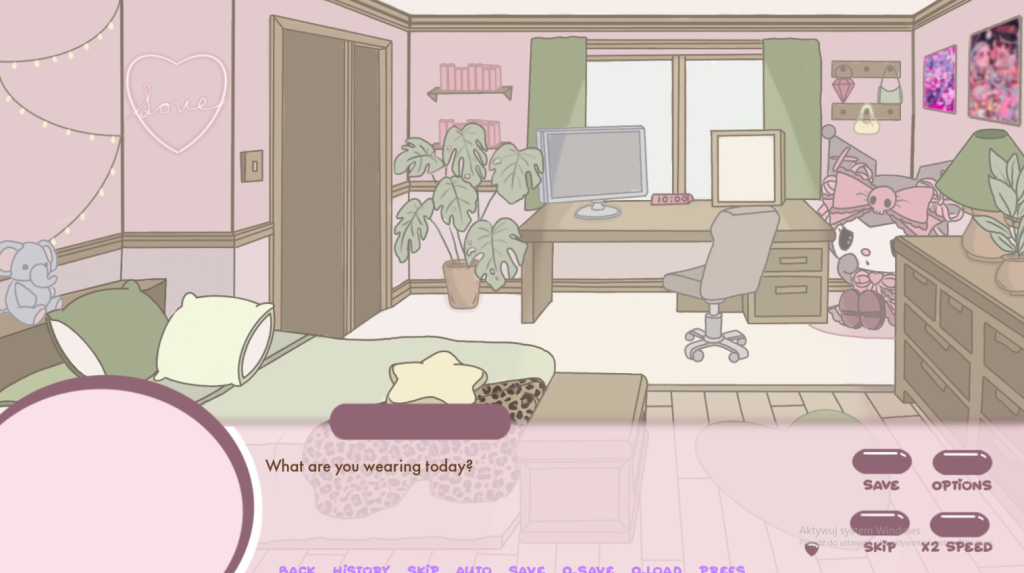
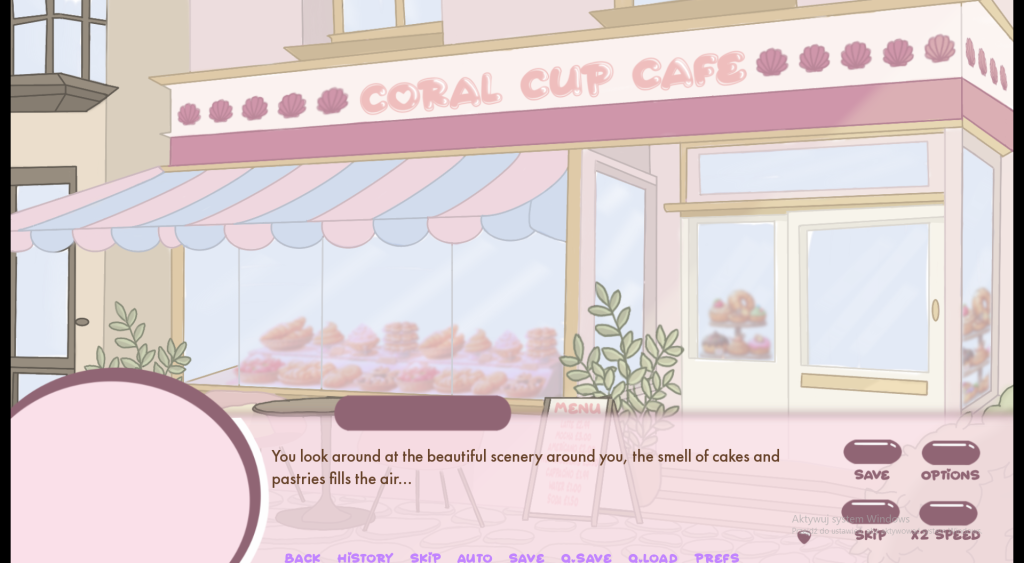
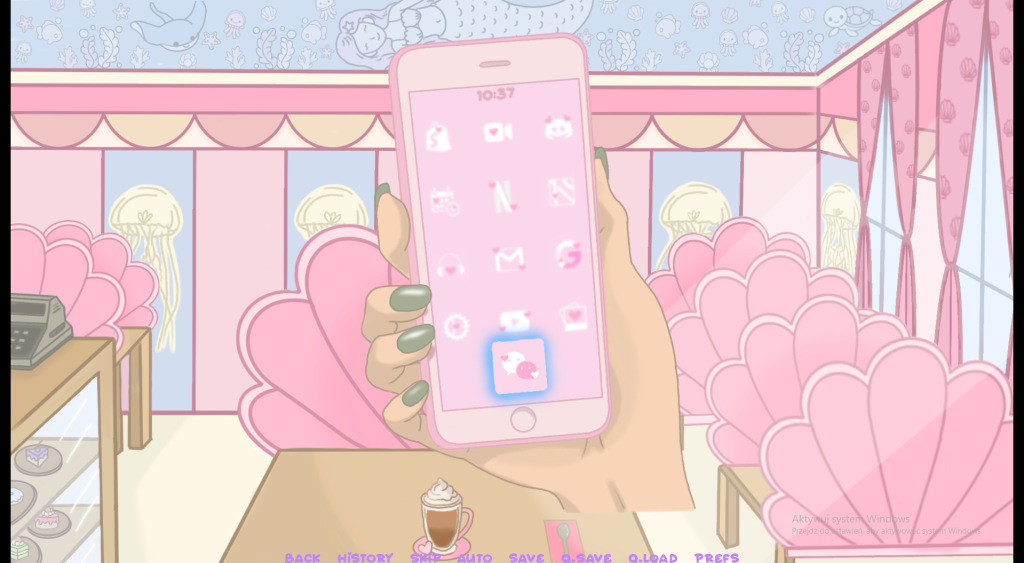
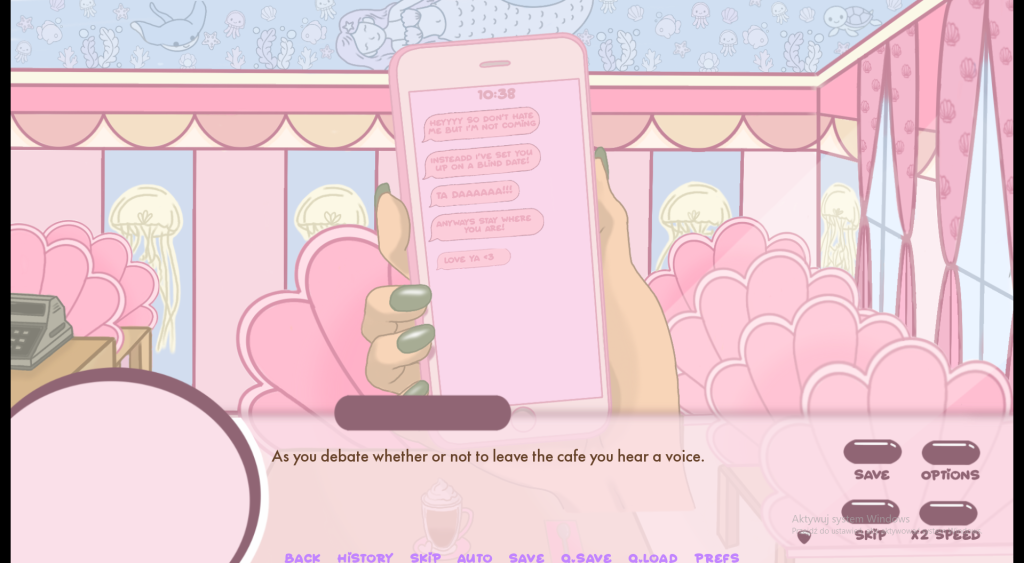
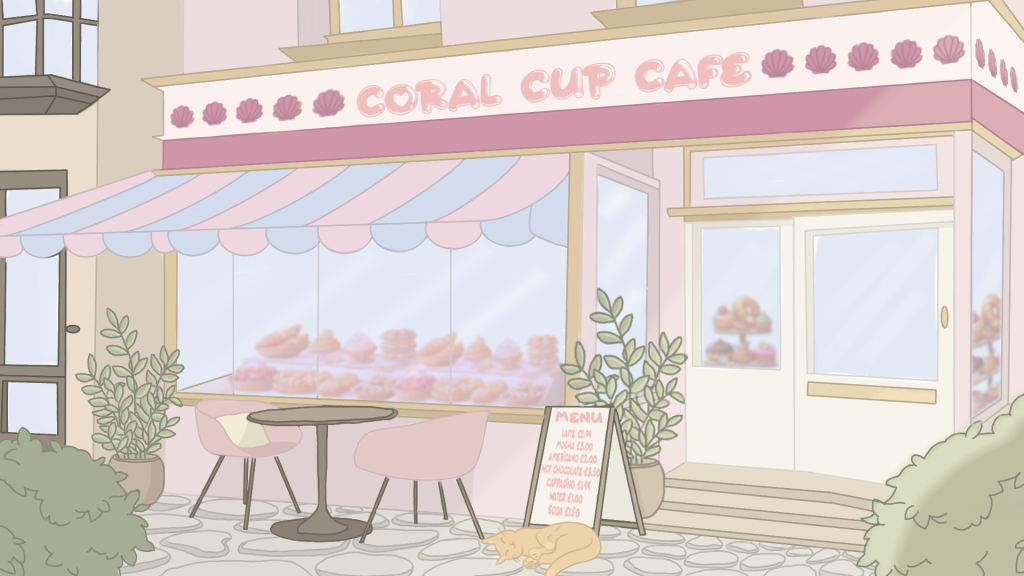
Cafe interior scene

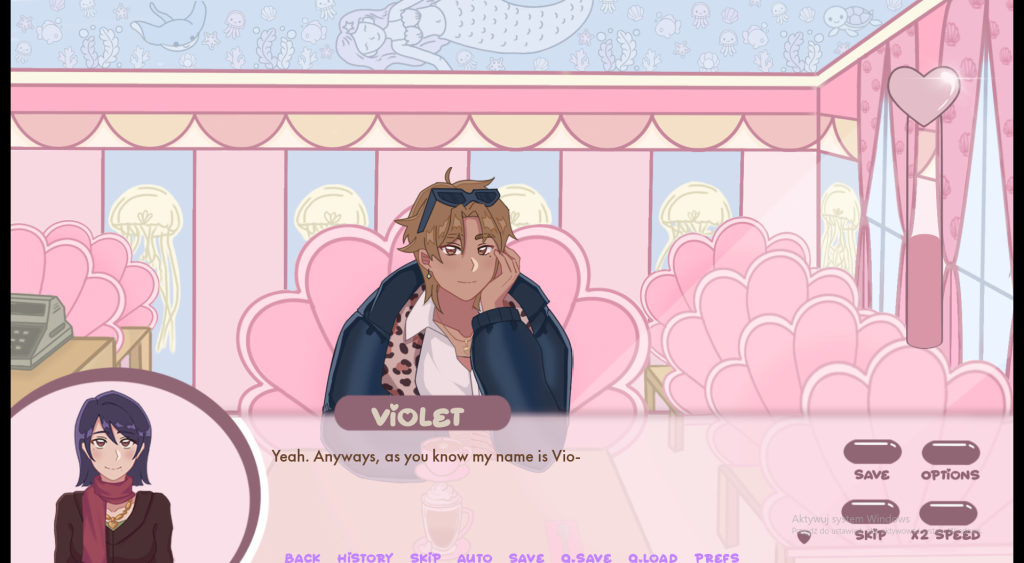
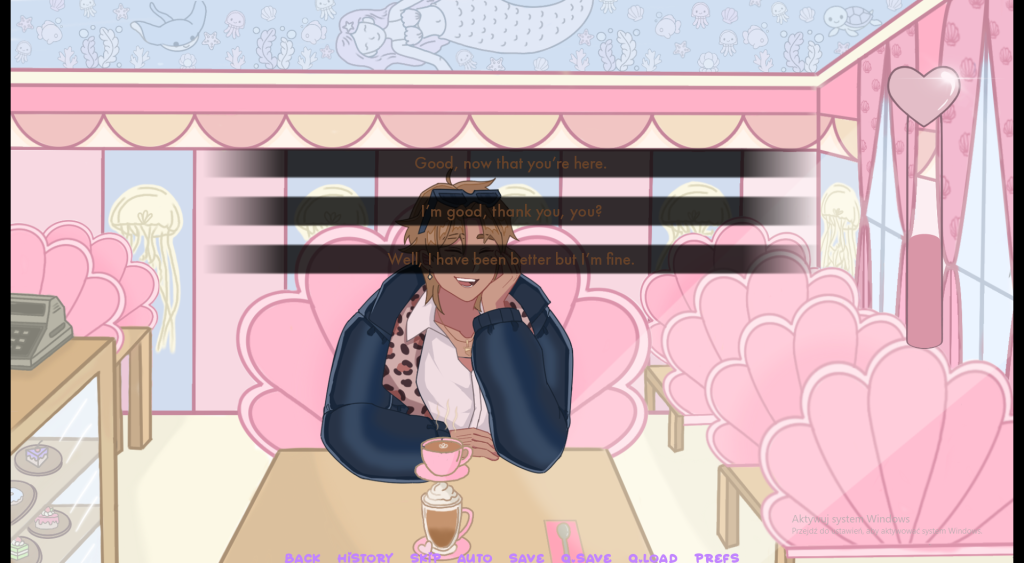
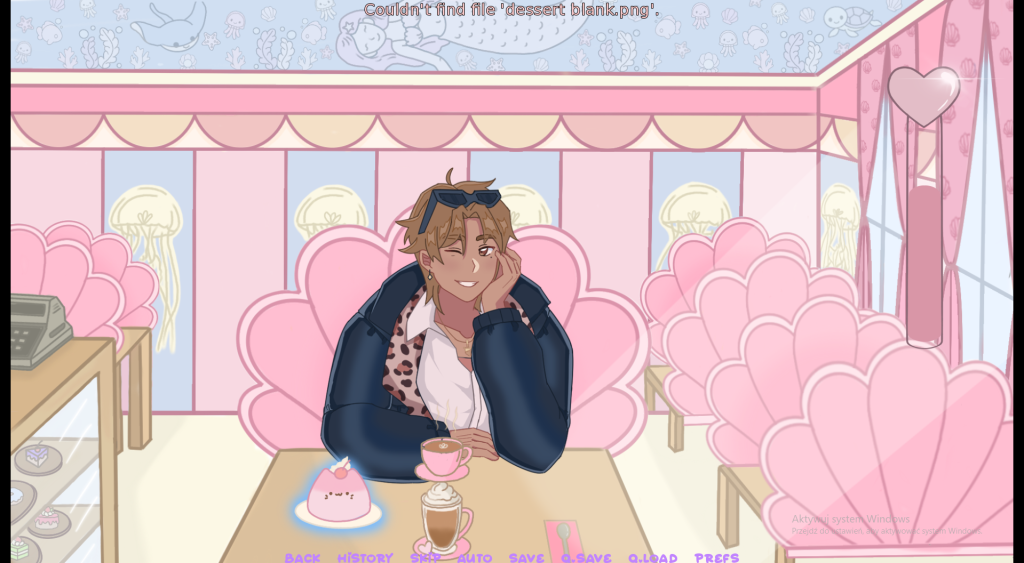
After completing everything above this is what the game turned out like! Overall it’s coming together nicely, however there are still some things that need changing. The options need move and the colours need changing on the bars.
From the playtest we received some really helpful feedback. Click below to see my playtest page!
https://year2.wsagames.com/jr16g23/%e2%99%a1playtesting-feedback%e2%99%a1/
Problem solving
- Issue- I needed to completely customise the start-up screen, text box, and character headshots to match the finalised visual style before the playtest.
- Challenges- Positioning menu text correctly using screens.rpy involved unfamiliar layout properties like yalign, which required a lot of trial and error. Changing the fonts was also more complex as my desired fonts weren’t already built into Ren’Py.
- Solution- I followed a youtube video (above) where I learnt how to customise everything.
- Outcome- I successfully implemented a fully customised main menu. I also managed to replace and add the new headshots, along with the new textbox.