Parker found a node system for nice, pixellated textures, but it required a more complicated setup. Firstly, every object had to be UV unwrapped. Then a specific set of nodes had to be plugged in to give it lighting effects.
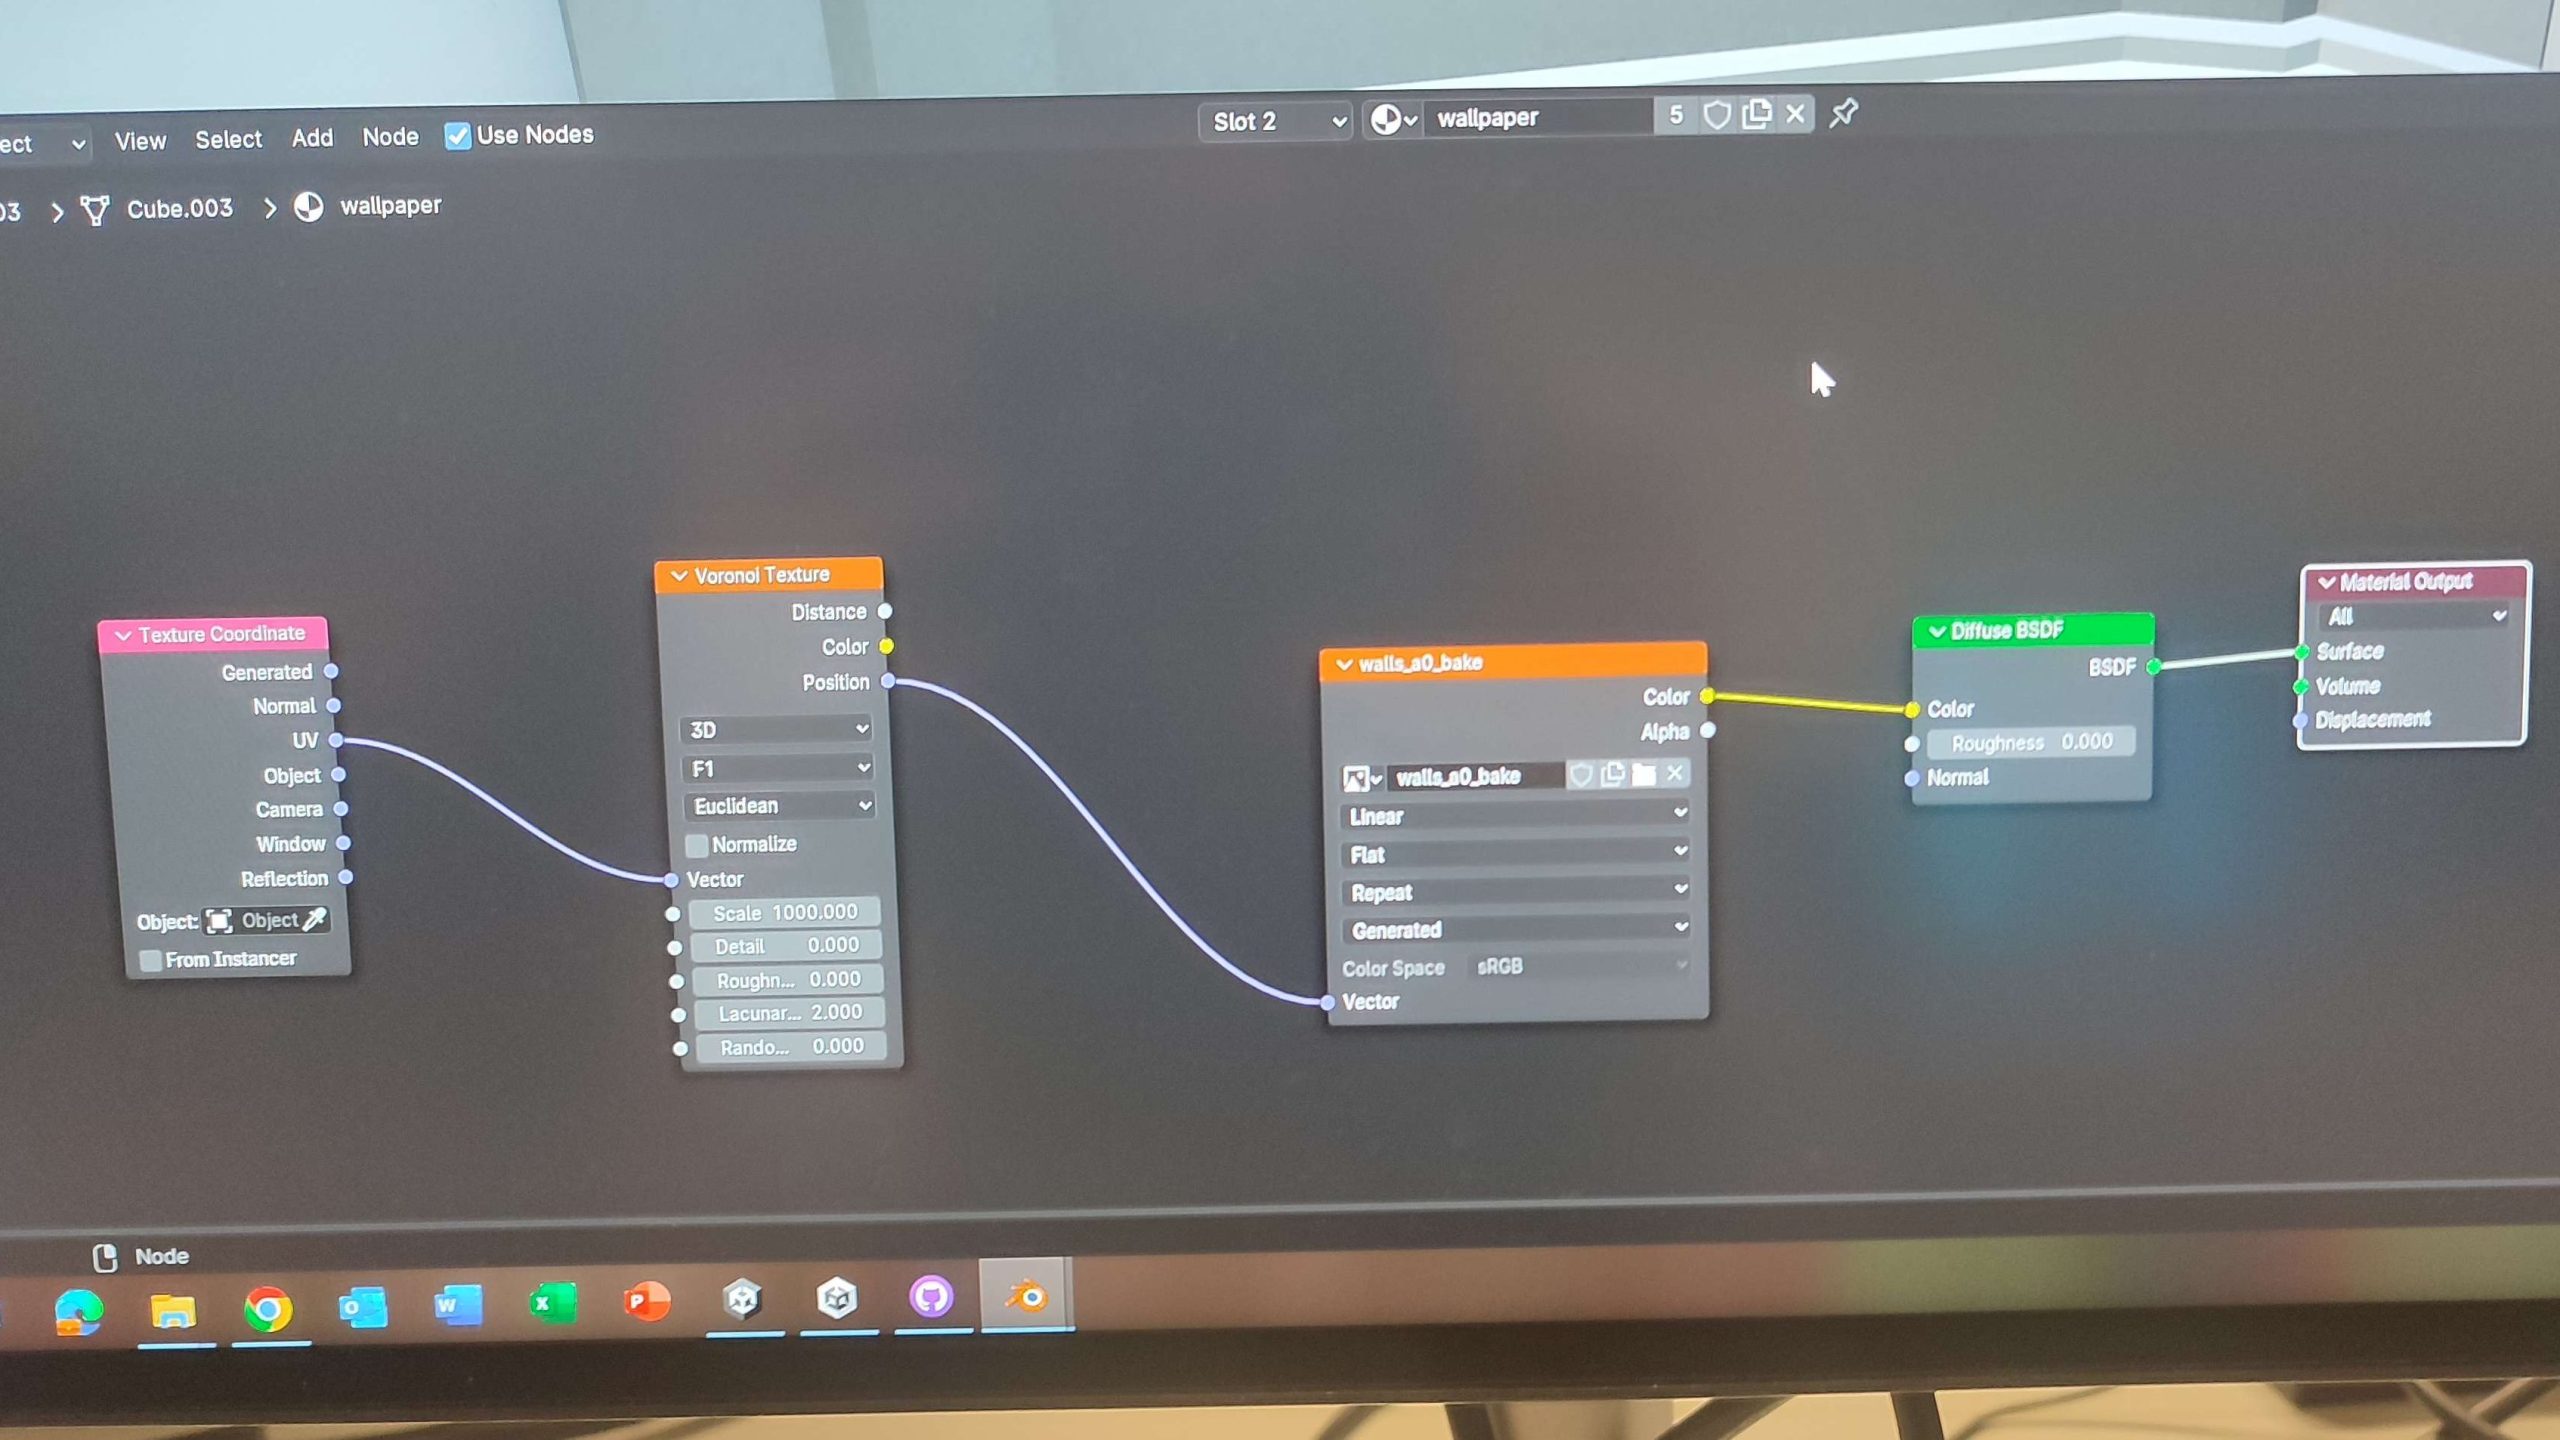
This is the simplest version of the texture nodes, which makes the Ambient Occlusion – the baked-in lighting for the mesh. It starts with a Texture Coodinate, which tells the program how to effectively stretch the texture over the 3D space, which leads to a Voronoi texture (that must be set to 2D and have all settings lowered apart from the scale, which we put at 128) – the Voronoi dictates how pixellated the texture will look, and in our case we wanted it fairly grainy. This was then plugged into an image texture (which will create the texture map, size 2048 by 2048), and that was plugged into a diffuse BSDF (we didn’t need to use Principled as we were going for a lowpoly look), which is finally plugged into Material Output.
To bake, we used Cycles, and put the bake type to “Ambient Occlusion”. From there it just takes hitting the bake button, which should give a texture map for the lighting effects!
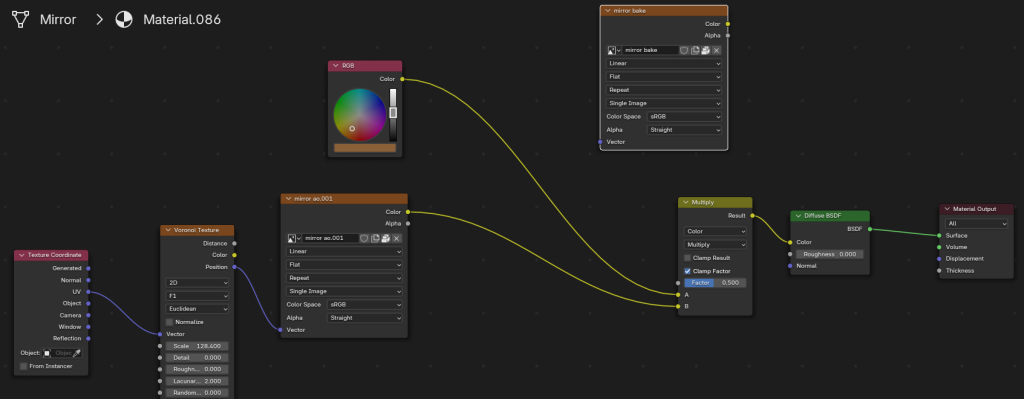
There are a few more variations of this system in order to bake in image and colour. For meshes with a single, solid colour, an RGB node needs to be added that also needs to go into the Diffuse BSDF. Since that and the Image Texture can’t both be plugged into the same Colour circle, a Mix node needs to be added. The top setting should be set to “colour”, and the second to “multiply” – this should combine both the Ambient Occlusion and the flat colour.
If it’s a mesh with more than 1 colour, the same process needs to be used, excpet this time instead of an RBG node, it’s another Image Texture. Bake the image texture with any setting to see the UV in the Texture Paint window (I tend to just do another Ambient Occlusion), and paint directly on the mesh.
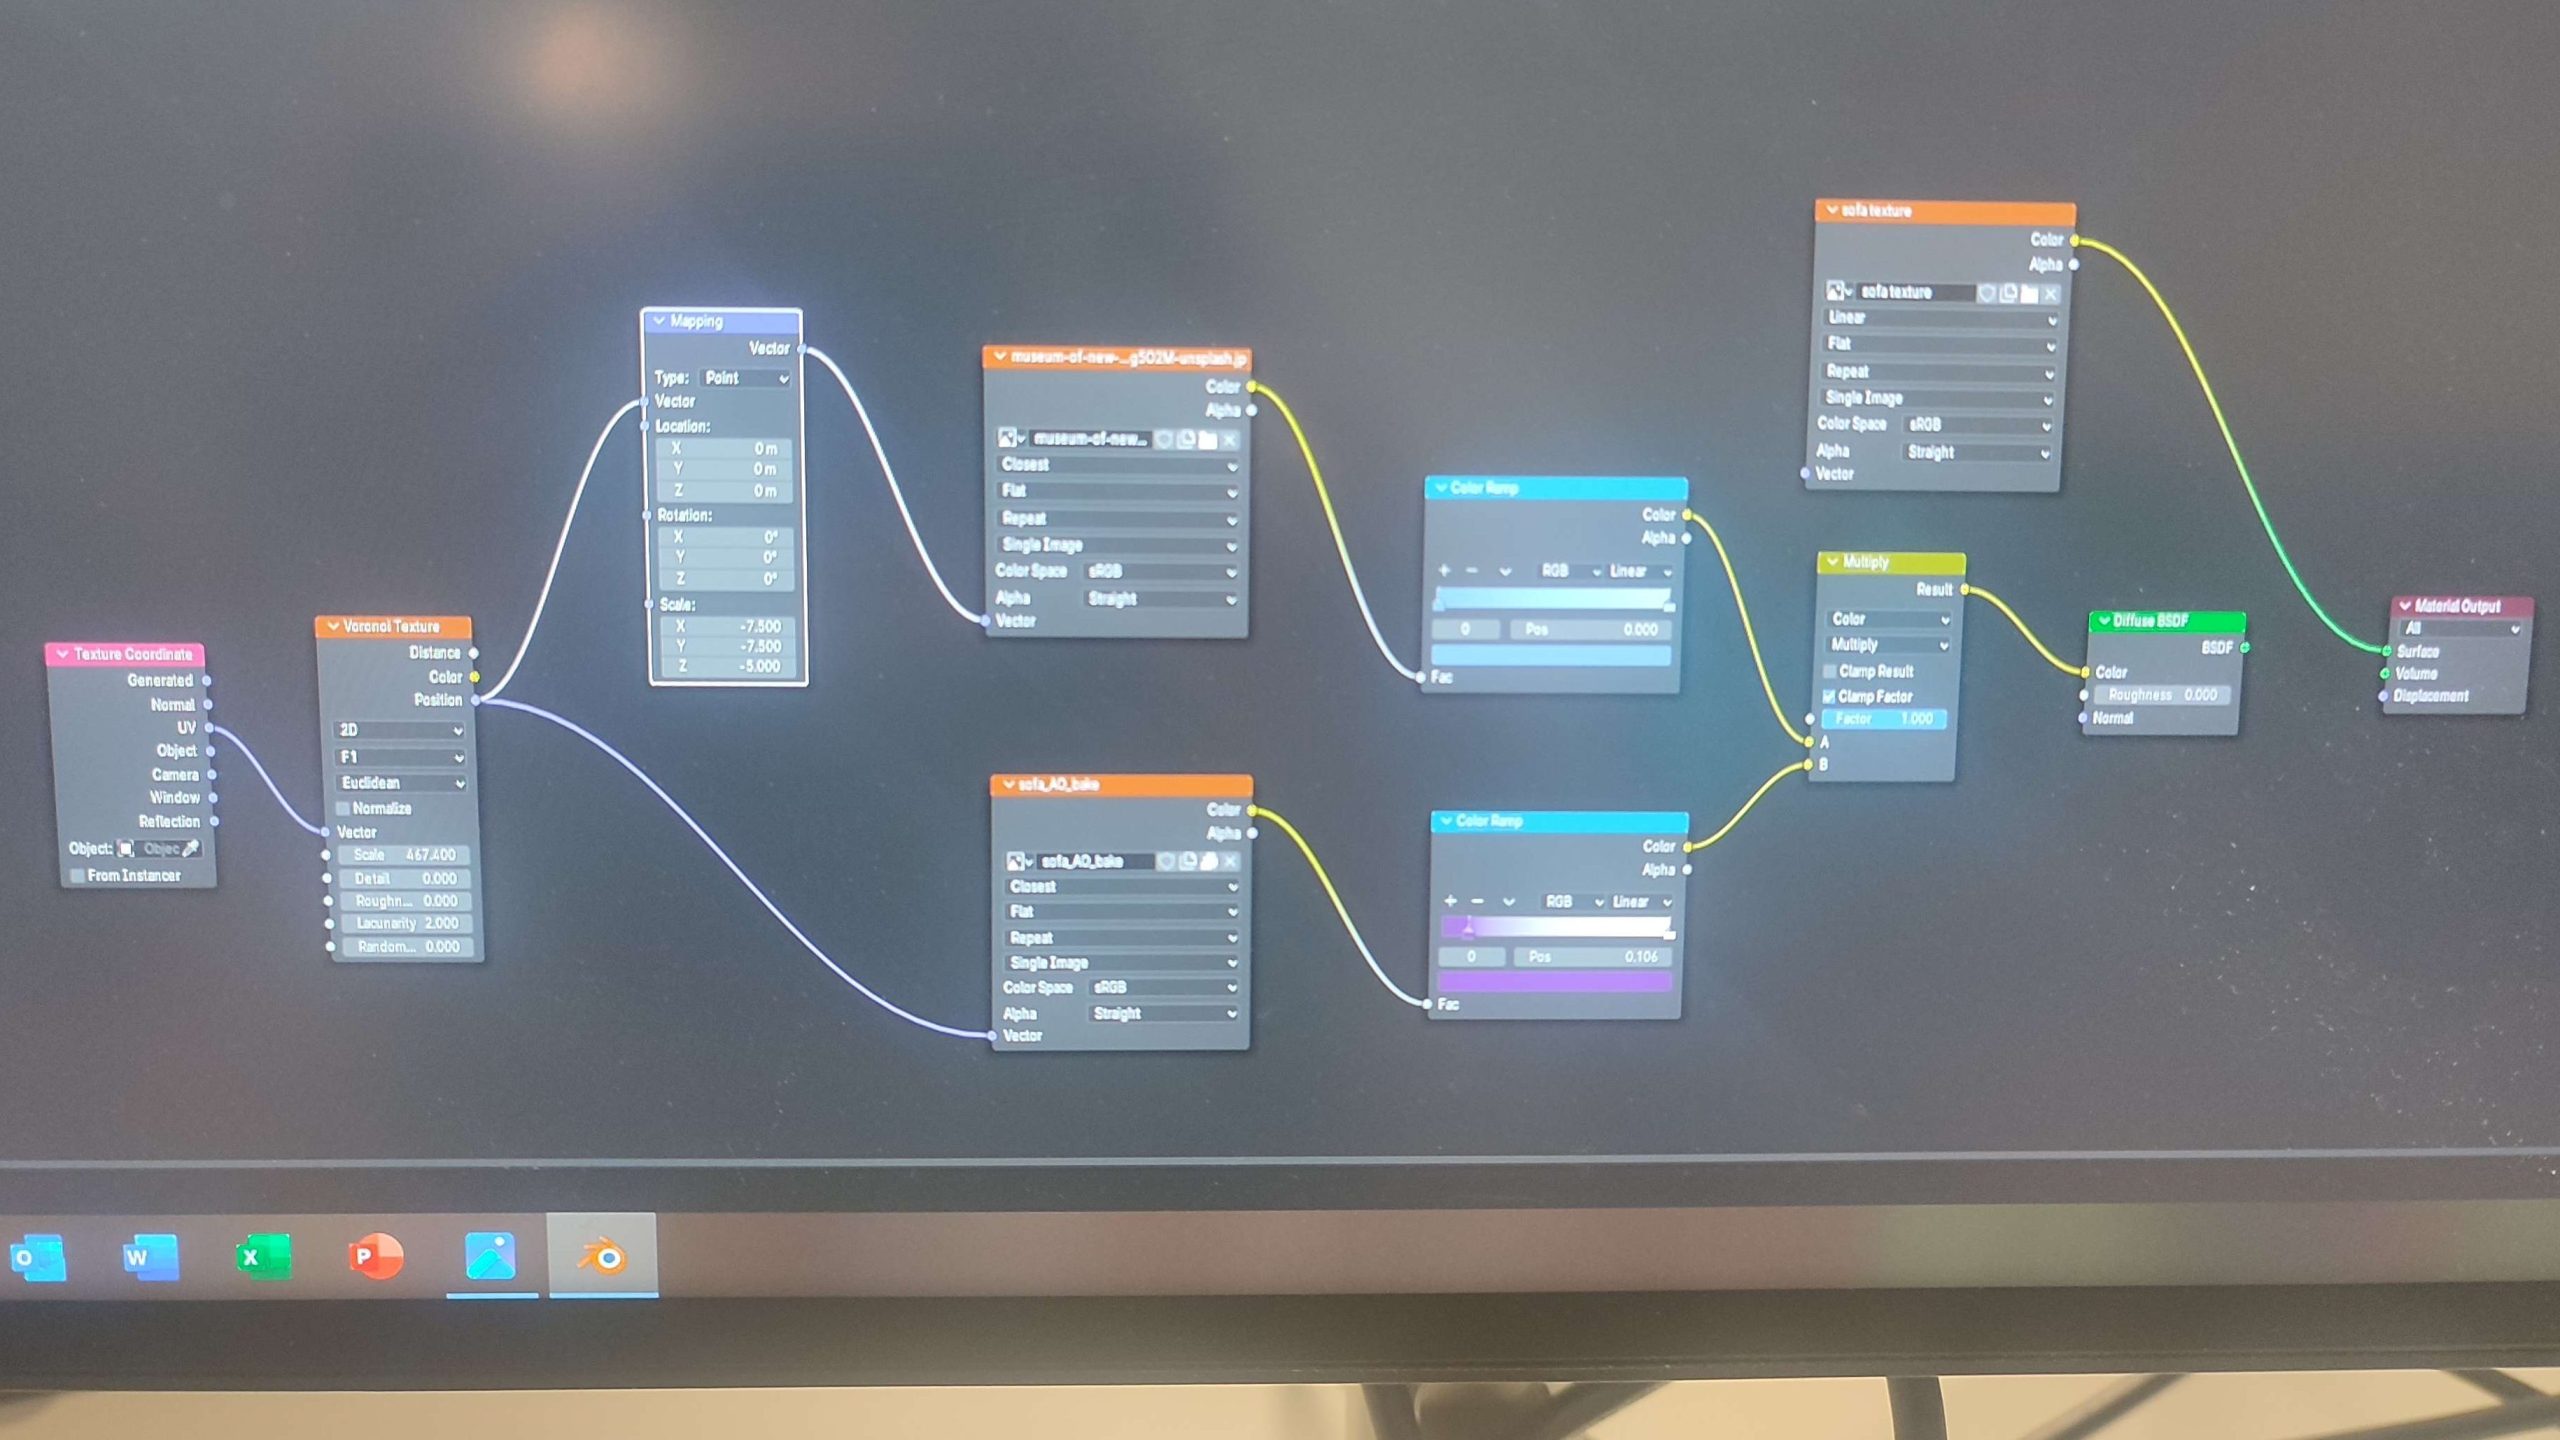
If it’s a mesh with a pattern from an image, instead of baking a new image onto the second Image Texture, add the .jpeg or .png, and create a Mapping node to plug back into the Voronoi Texture – the Mapping should dictate the size and scale of the image. Baking will not be necessary. To be extra-fancy, I also added Colour Ramp nodes from both the AO node and the Image node, to give colour to the shading for extra depth. These were combined with the Mix node and plugged into Material Output. I used this technique for the sofa and wallpaper patterns.

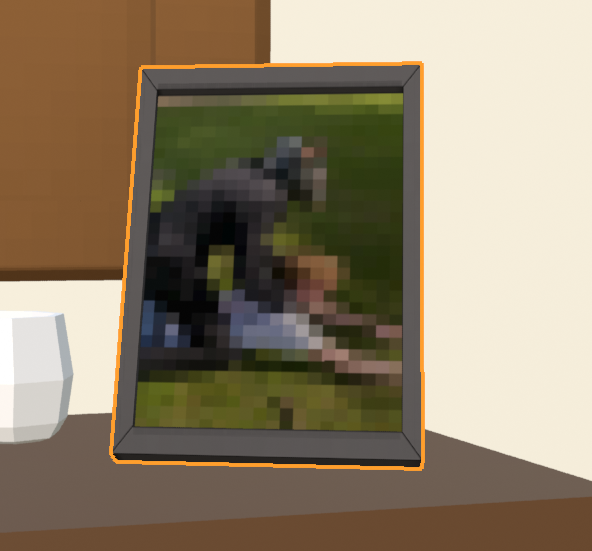
To add an image to only a specific part of the mesh, UV’s were once again needed. Create and export the second image texture after Ambient Occlusion, and put it into a photo editing software like Photoshop. Beforehand, I seperated off the UV that I wanted to put an image on. Then re-export the edited UV back into Blender, replacing the Image Texture’s old UV map with this one. The image should appear over where you want it. For the rest of the mesh, use either an RGB or another Image Texture to create the right colour effects, and combine it all with a selection of Mix nodes.
Finally, to bake, set the Render Engine to Cycles (and switch on GPU computing for faster results), and set the Bake Type to “Diffuse”. This should give the final texture map in the lower lefthand corner. Then click the burger menu and save!
UNITY IMPLEMENTATION
The texture maps also needed specific instructions to be implemented in Unity. Firstly, import the texture map into the Texture Map folder. Then in the Materials folder, create a new material from the cel-shader, and set the (IDK) to “Cel Shader Lit”. Add the texture map to the texture window. This should give the material the texture map. Lastly, drag and drop the material onto the desired mesh.

Leave a Reply