Moodboards:
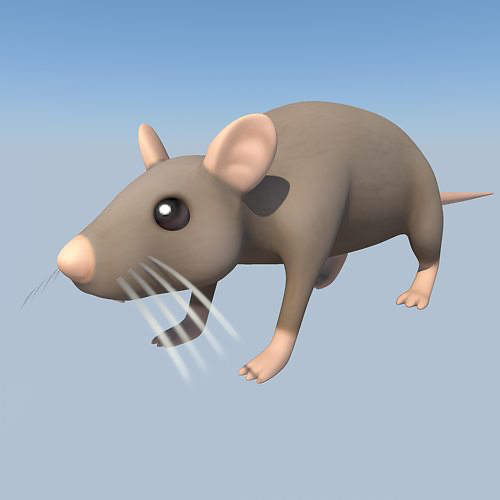
Cartoon style:

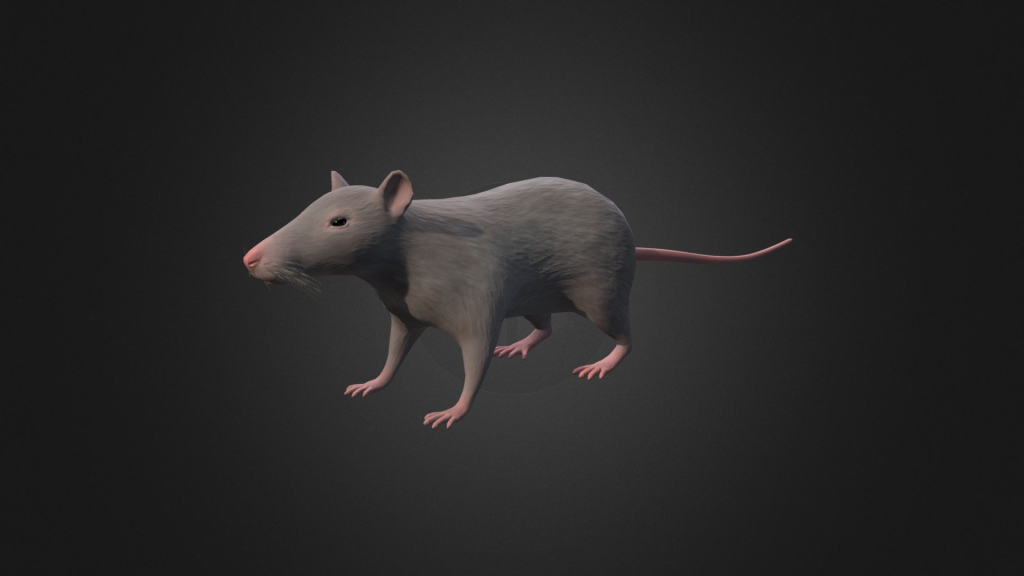
Low poly:
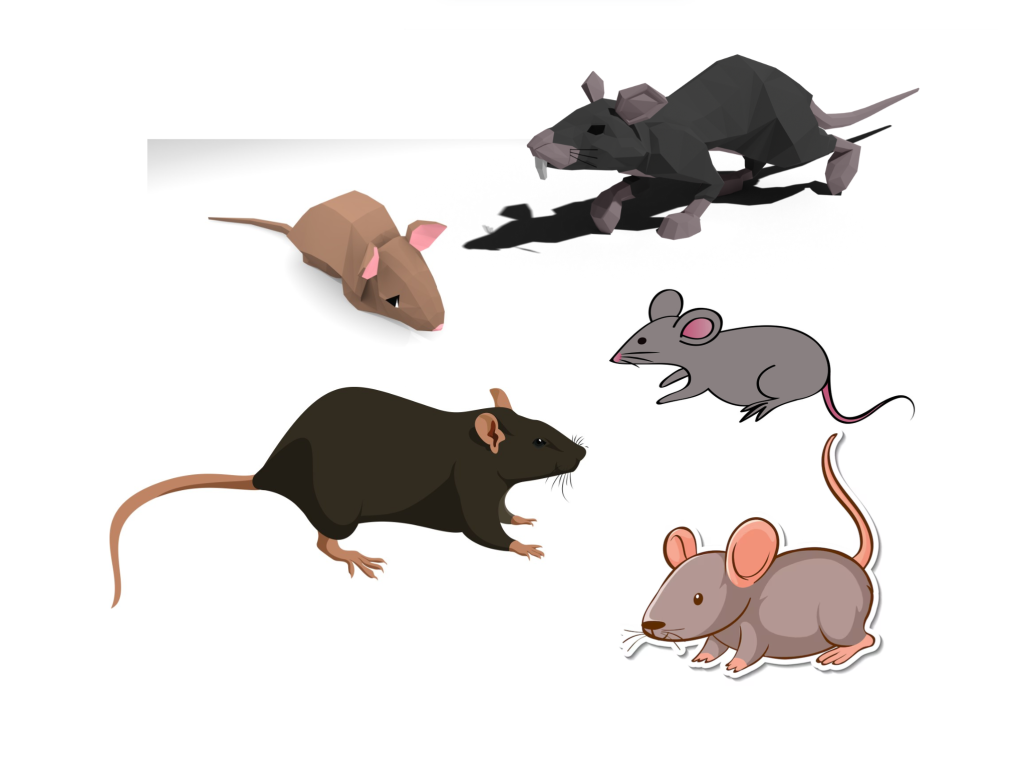
Rat Features:
Low Poly Topology:
rat images, rat paws , rat postures, low poly rat, intended art style
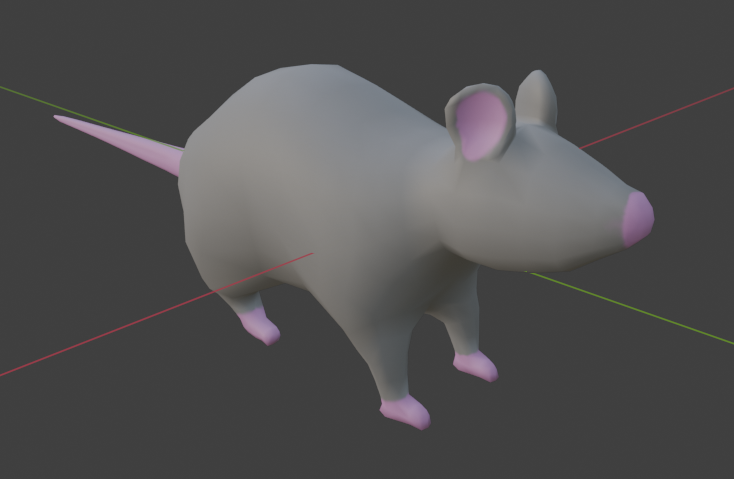
Modelling:
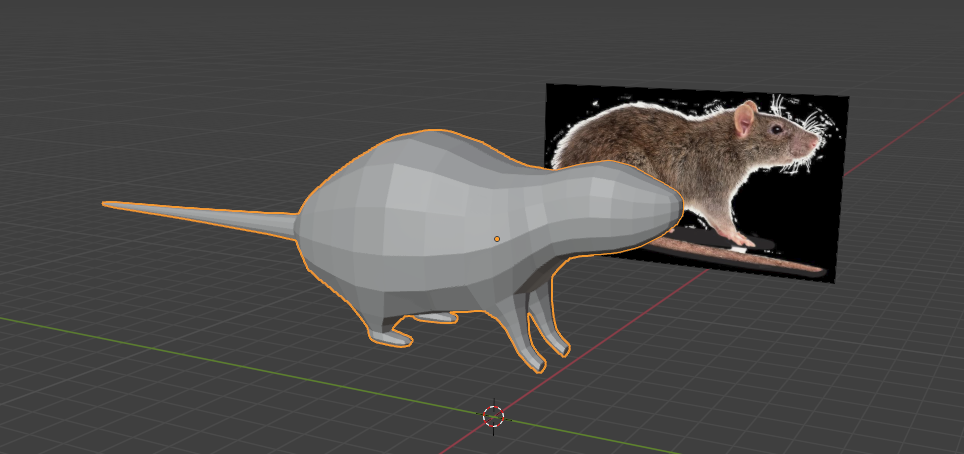
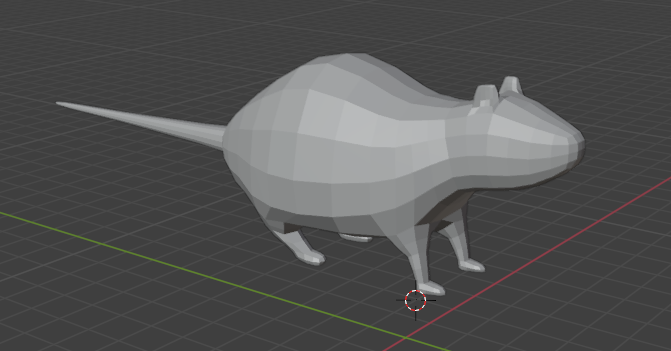
After a group meeting and having a discussion about the model, my team members and I decided on a couple changes I should make to the model:
- Round the ears and make them stick out a bit more
- Thicken the legs
- Add thighs by adding volume to the side of body
- Get rid of eyes
- Make the face a bit sharper
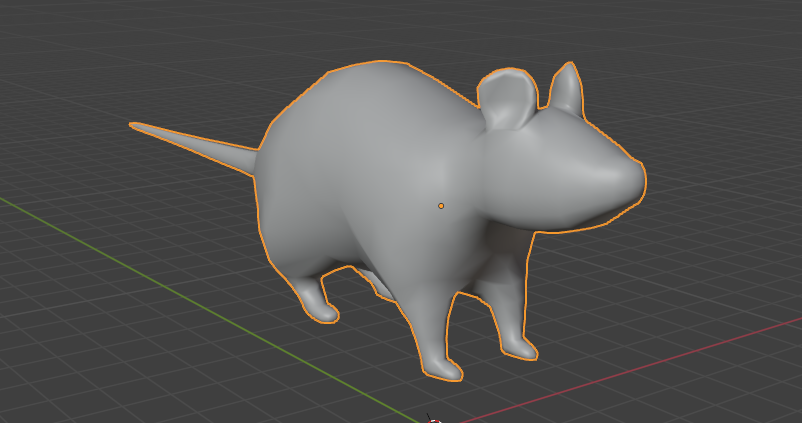
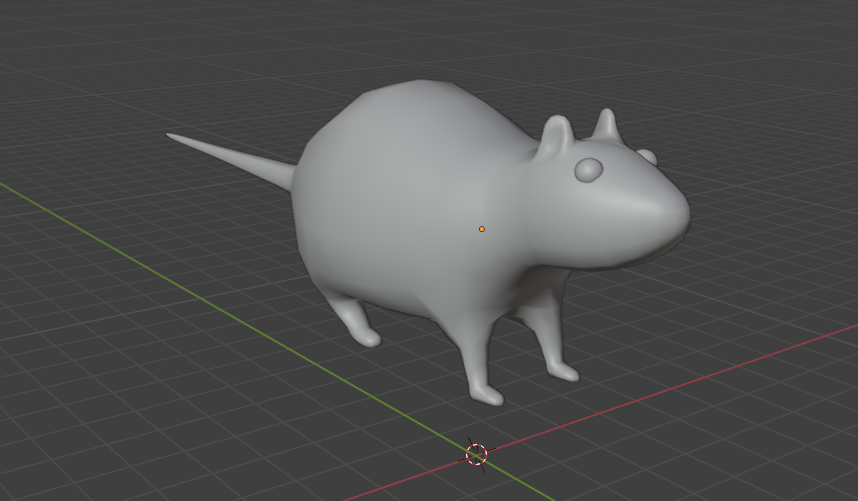
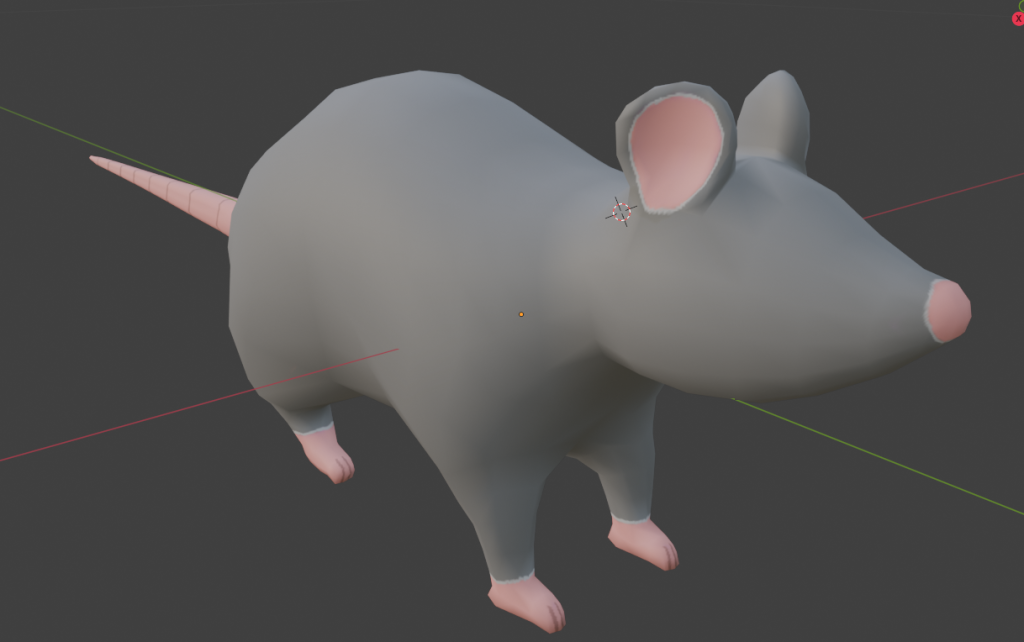
This is the improved version.
UV Editing:
This was my first time UV unwrapping a model on blender so I used a Youtube tutorial by ‘On Mars 3D’.
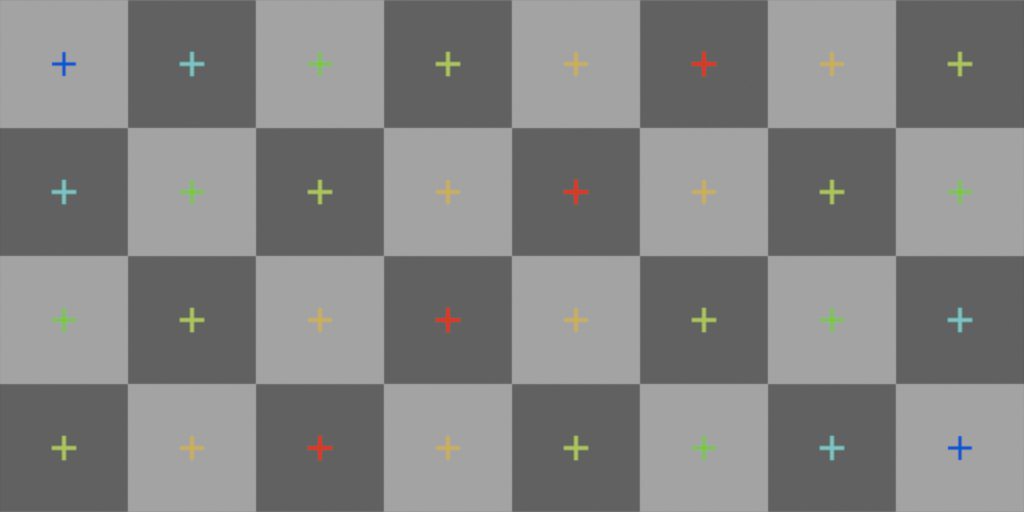
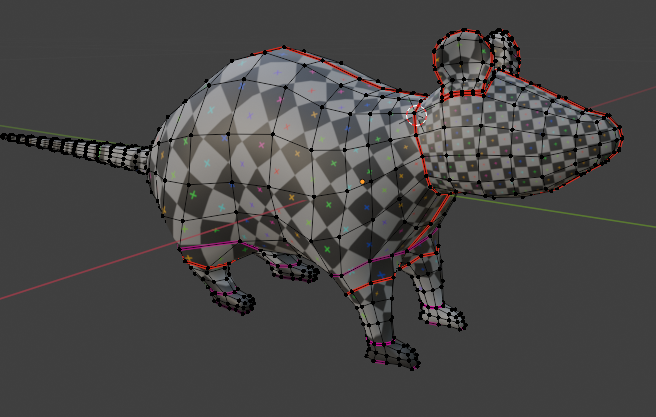
I began UV unwrapping it after marking the seams on my model, I’m using a UV checker texture to check the distortion on the texture. As you can see above the first attempt was really messy with different sizes on each art of the model.
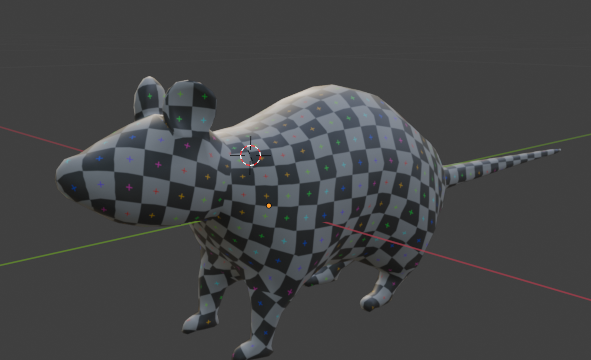
I managed to fix the distorted texture by unwrapping the unwrapped selection with minimal stretch option in the UV editor. Its not perfect but since we are going to do a very simple texture paint over it, it doesn’t matter too much.
Texture Paint:
Google images:
Inspiration for the texture paint I will do on the rat model, the team is aiming for a low detailed rat since we want the game to look like a nitendo ds game.
I found a website for the sun and moon Pokémon game showing the 3d models and textures on a UV image:
https://www.models-resource.com/3ds/pokemonsunmoon/model/18938/
I’m hoping to create something like this.
Really simple YouTube tutorial to begin the texture paint:
Began painting over the model with texture paint
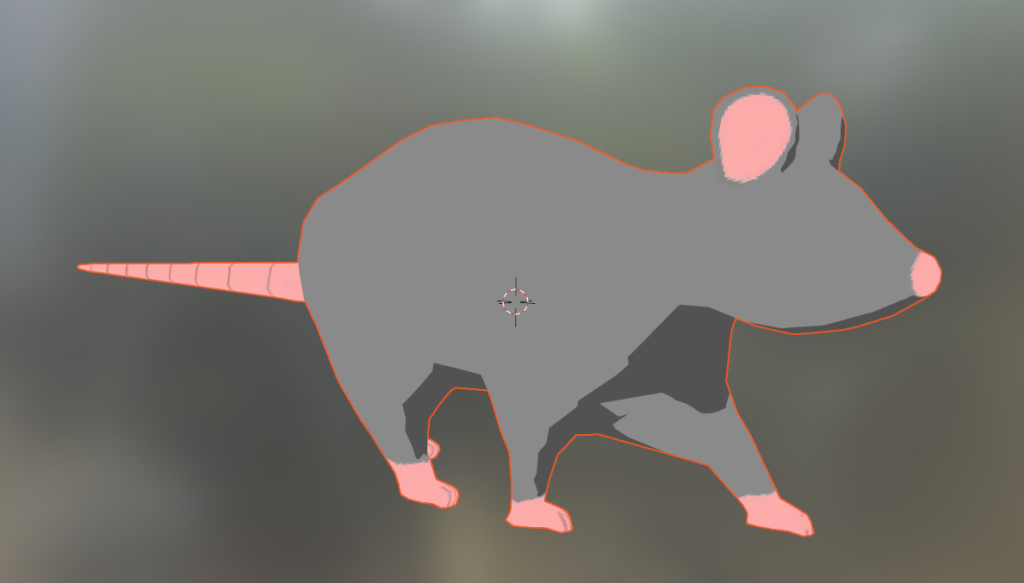
After going back to the cartoon styled images I collected for reference I chose to change the skin tone to a more realistic pink. Along with that I added some more detail with darker skin tone, textured some white tone/ fur where the skin and fur meet and made the nose a little sharper.
I managed to save the UV image of my texture like how it was displayed on the Pokémon website I found.
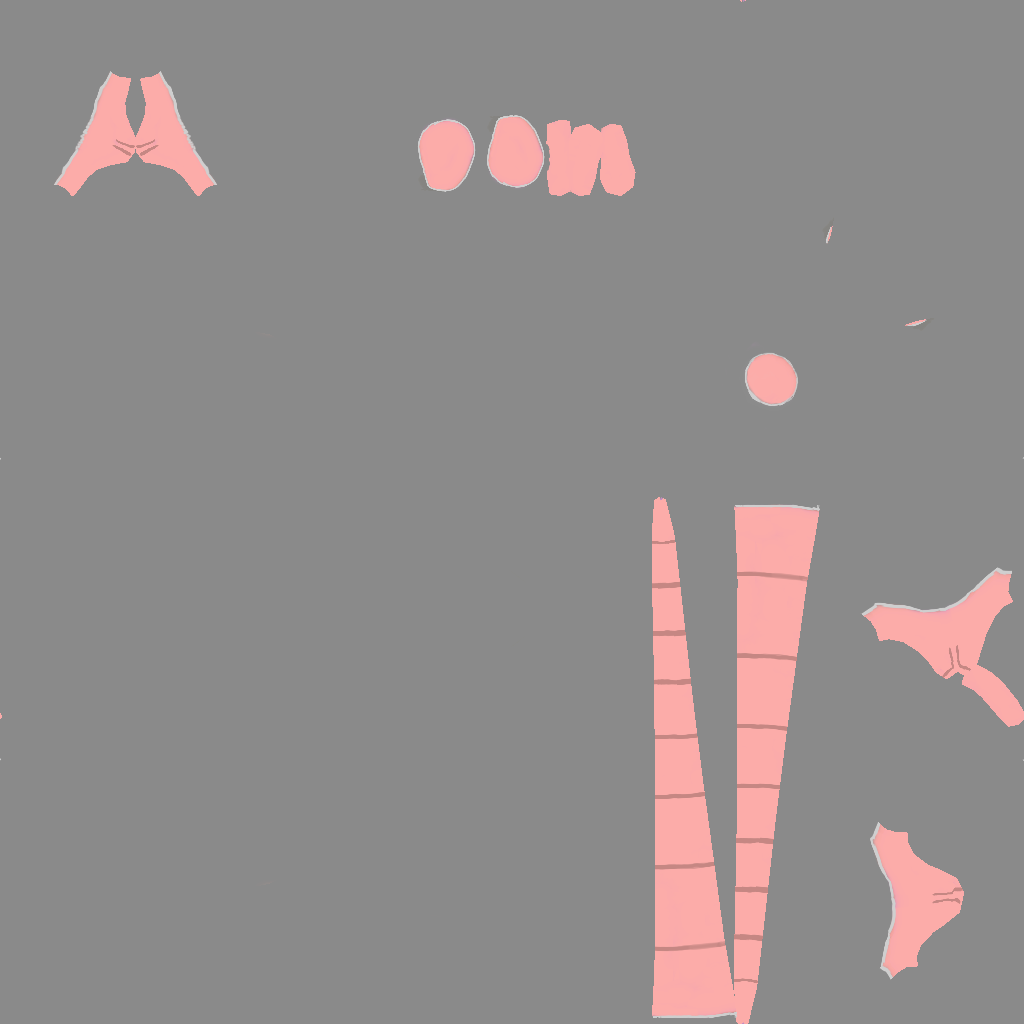
This is essentially a blueprint texture for the 3d model, I did this encase we have trouble exporting the textures into unity.
Cell Shading:
I wanted to add cell shading to just preview how it will possibly look in our game slice, however I will not be exporting it into unity since unity has its own cell shading package.
For the cell shading I used this YouTube video below to help:
All I have to really do is add two nodes to my principled BSDF, a shader to RGB and a colour ramp to control the sharp shading.
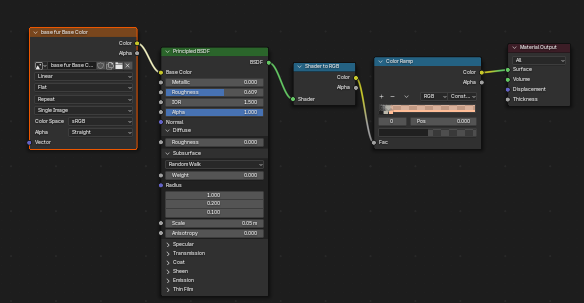
It has a cartoonish feel and looks good but I was having trouble with my textured paint material since the cell shading completely covered the textured paint removing some of the detail. It isn’t too big of an issue since this was just an experiment to see how it could possibly look.
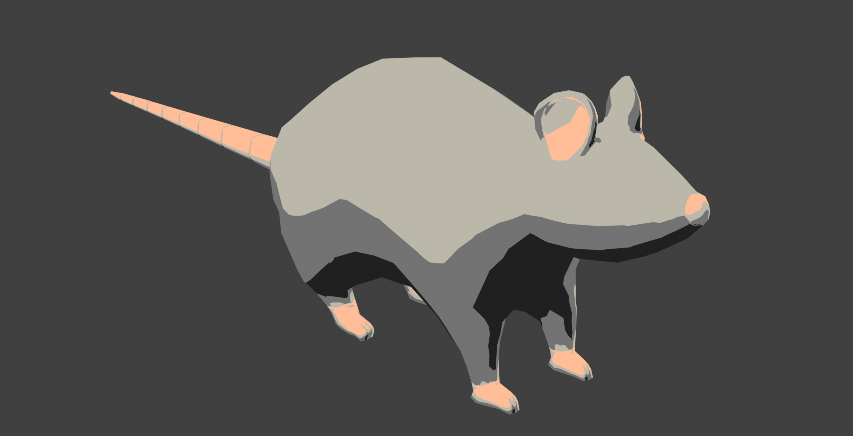
I came back to this later and managed to create a better cell shading texture. I also lowered the resolution for the UV image to give it a more pix-elated look.
I managed to fix this with an emission node, there are still some problems with the shading not working on areas like the nose but apart from that it looks really good and gives the team a chance to preview what our final game asset could possible look like.
Rigging:
All that’s left to complete the model is to add an armature so that I can later create animations, this process is normally called rigging.
I’m going to be using Rigify, an addon on blender that generates armatures for certain models like humans cats and dogs. There isn’t one for rats so I will have to choose the one with the most similar anatomy to a rat.
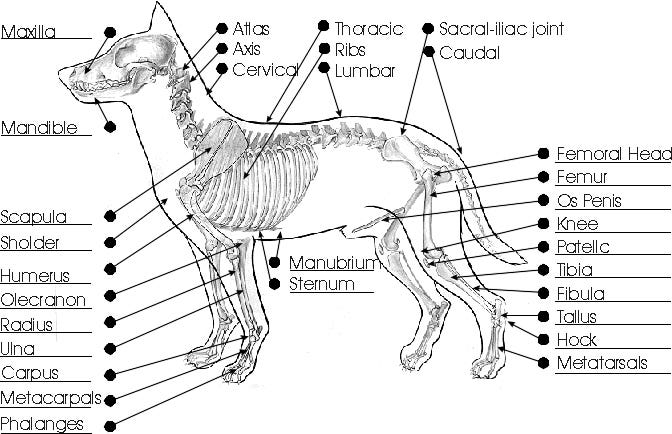
Dog anatomy:
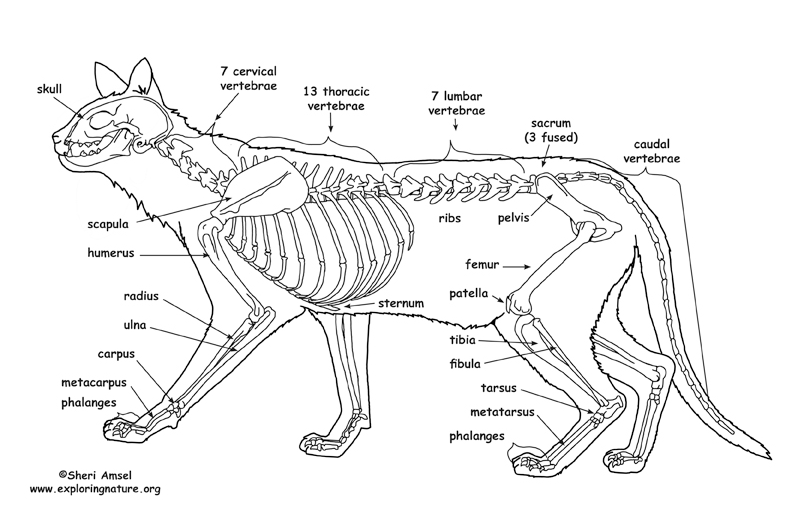
Cat anatomy:
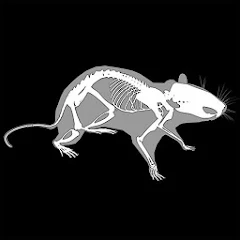
Rat anatomy:
Both the dog and the cat have very similar skeletal structure so it doesn’t matter too much which one I pick. I’m going to go with the cat armature and restructure it to resemble the rats skeleton, I will be using the image above as reference.
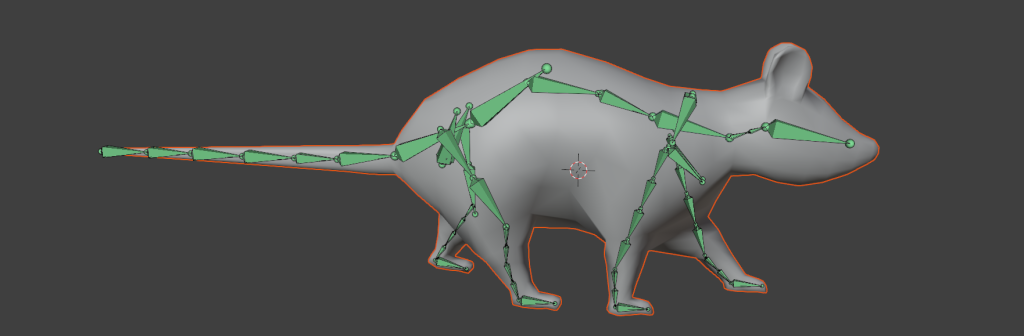
Modified armature:
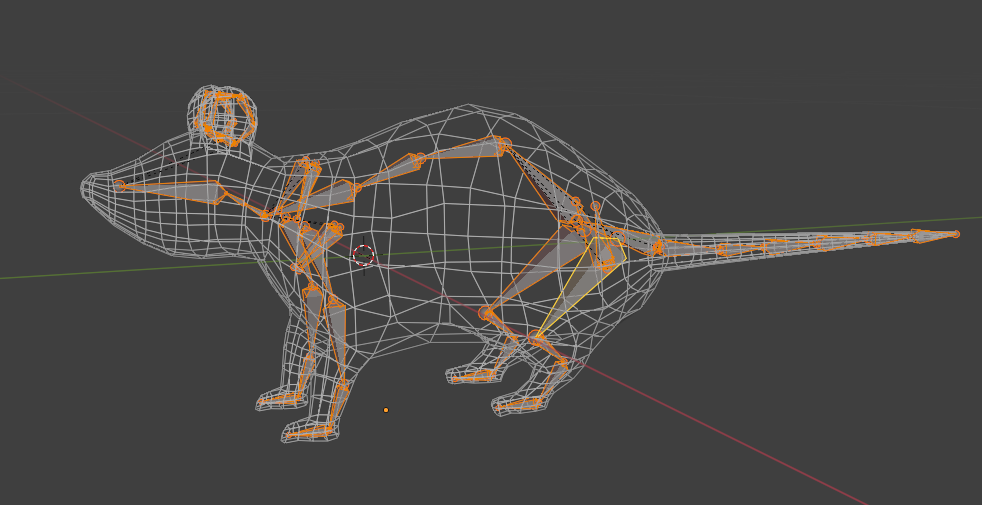
I modified the cat armature to resemble a rats skeletal structure to allow for good movement later on.
Generated rig:
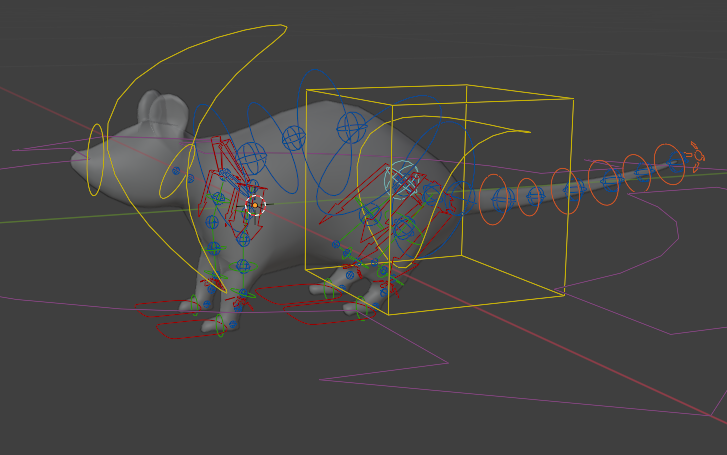
Creating a functional rig that can manipulate the model well enough is the final step for this character model. It is now ready for animation and then finally exporting it into our game on unity.
I had to come back to the rig since we were having problems with the animation on Unity. It turns out that rigify didnt work well with Unity so we found an add on that lets you regenerate a different rig for your model.
After using this everything was alright.