I didn’t really have any concept art to work with so I will be doing some research on reference images and Esi’s GDD for inspiration.
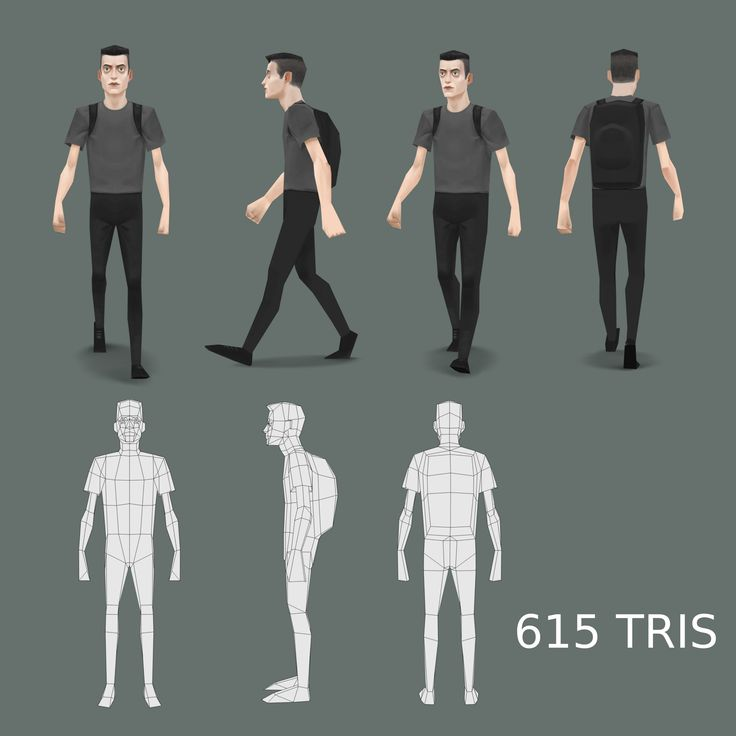
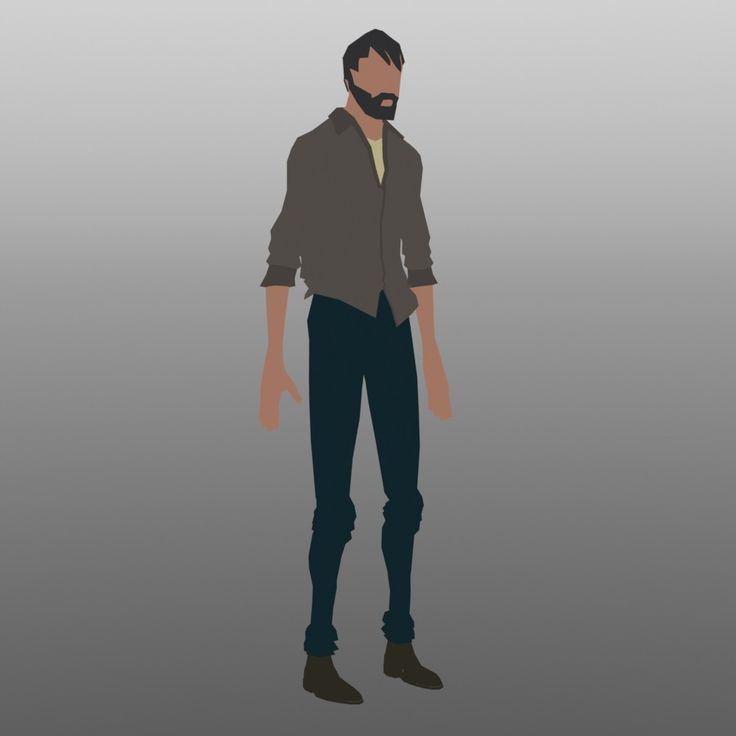
These are some images on Esi’s GDD for showing the intended art style for the character, a low poly low resolution Nintendo look.

In the GDD it was intended for the player to not see the humans faces, it is said in the GDD that the player will mostly see only the humans feet. However if somehow the rat does manage to get to a place which shows the humans face it will be covered by a dark cloud.
The ‘Oh Rats’ GDD has a very useful tutorial for making low poly humans in blender that I will be following to create the human models.
I will be making 3 human models for each member of the family, the mum, the father, and the son.
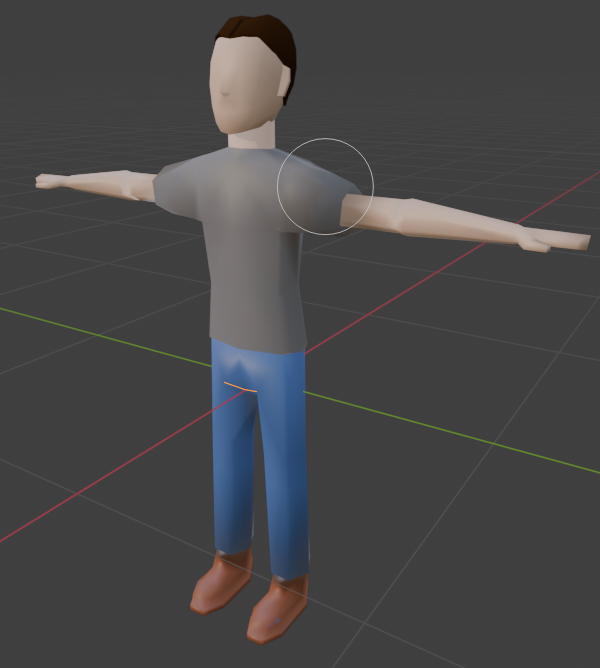
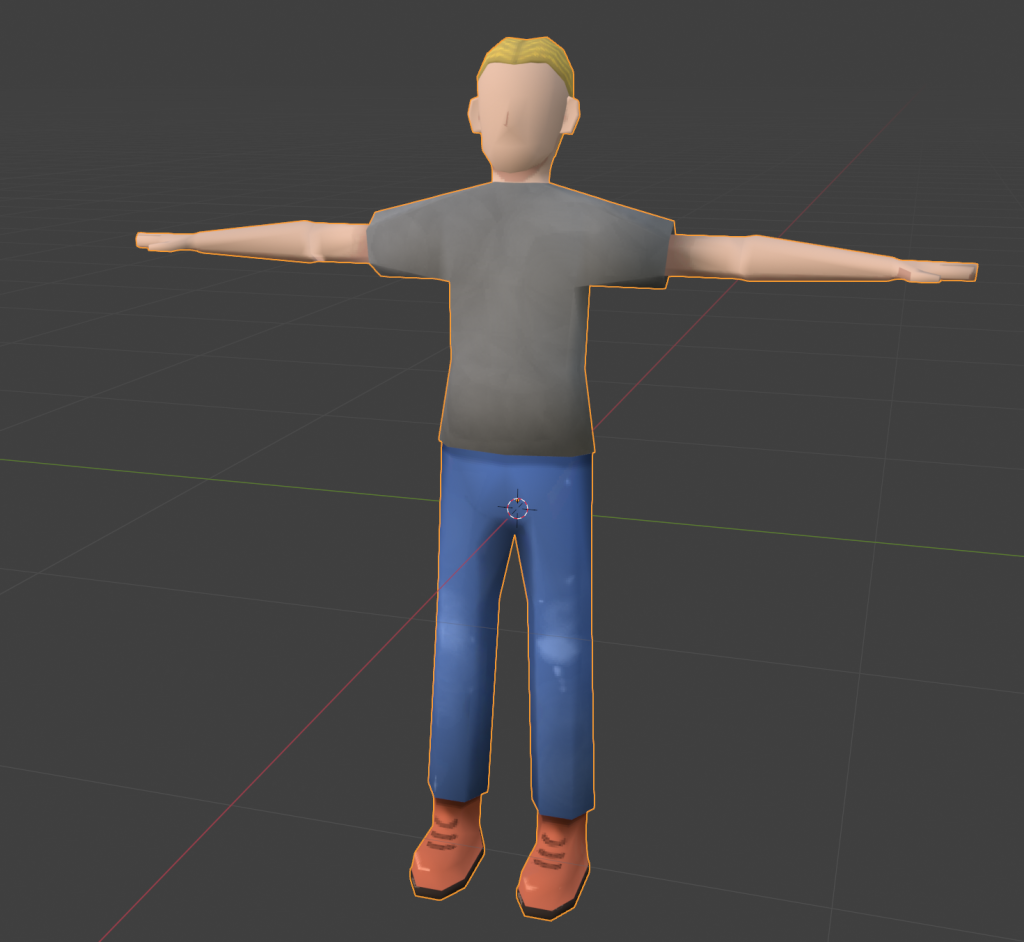
Father Model:
I’ll be working on the father first so I wanted to get a basic idea of what he would be wearing and his hairstyle.
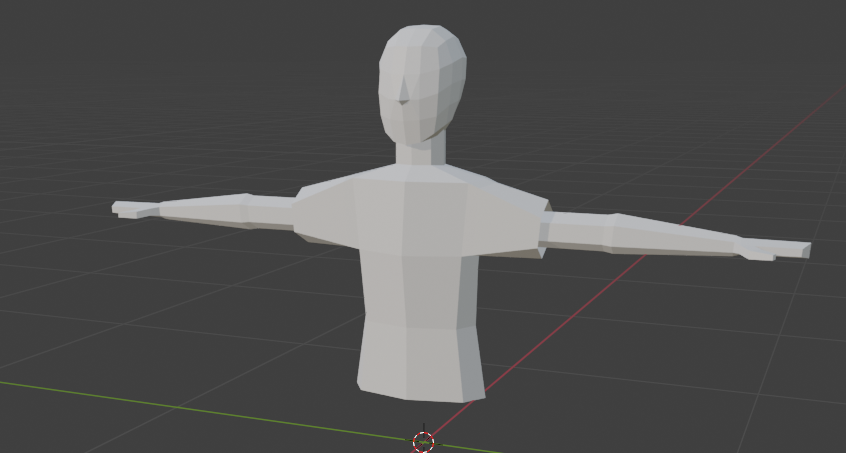
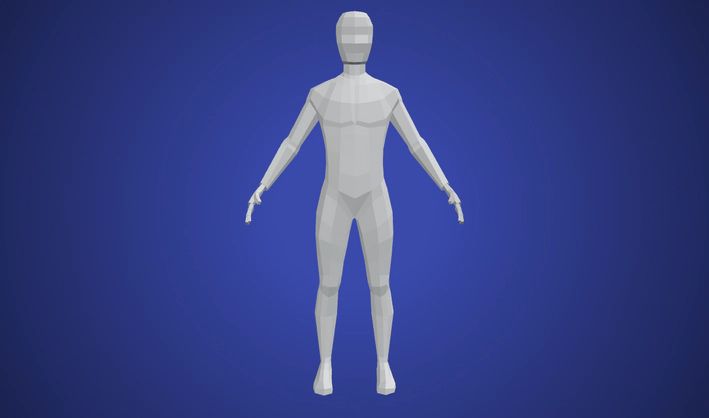
I began by modelling the head out of a cube and then modelling the body out of a cylinder. For every section of the body I model I’m using a mirror modifier to make it all symmetrical.

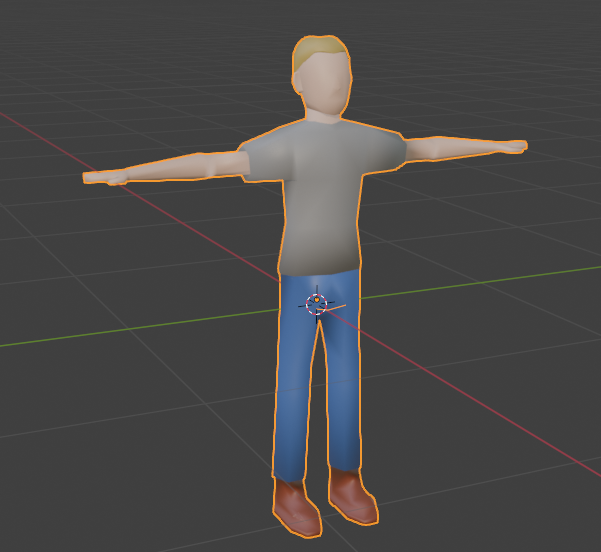
I’m going with a really simple style for the dad, just some jeans a shirt and boots.
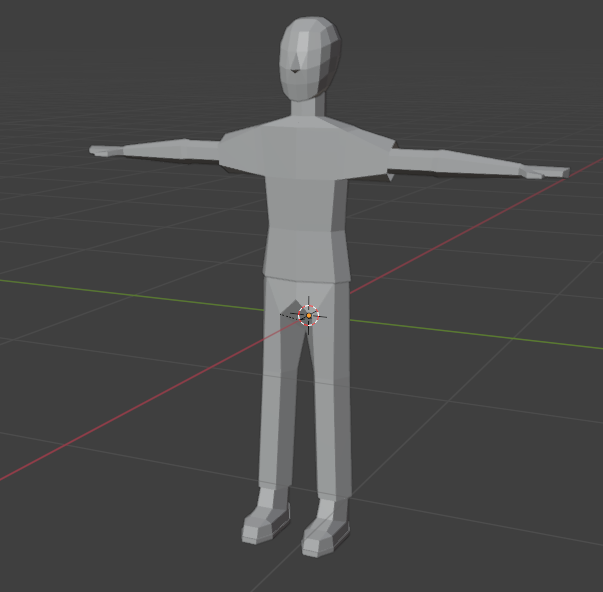
I’m making sure to add extra geometry to the joints such as arms and knees for rigging later on.

Adding ears and hair, in the end I went for a really simple middle part since the face of the humans are going to be covered anyways.
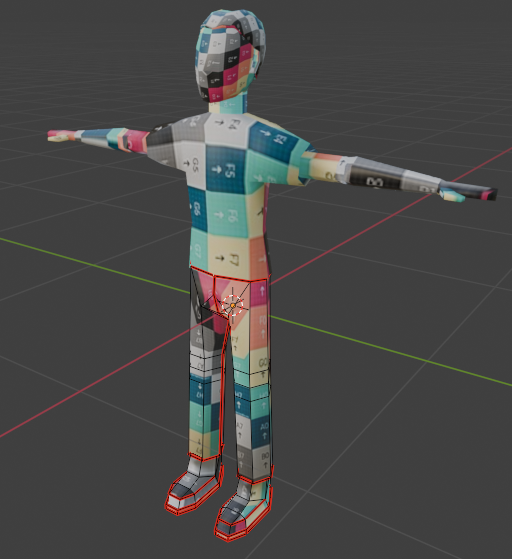
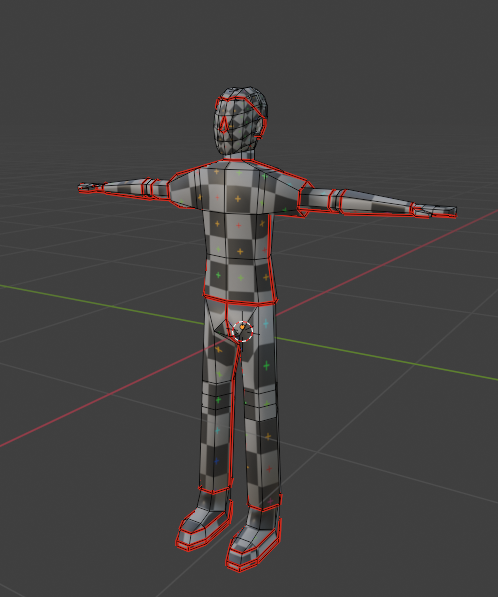
UV unwrapping same as I did with the rat, however this time I used an addon which lets me straighten the UV image into grid layout making the whole process much quicker and efficient. I got this from Radivarig on GitHub, https://github.com/Radivarig/UvSquares. The only problem with this addon is that if you have any triangular geometry it will mess it up a bit.
Texture painting the father model, Esi has put a texturing example on her GDD to show the intended art style I will be using it as reference.
I forgot to merge all the different body parts which ruined the unwrap and the texture paint meaning i would have to do them again.
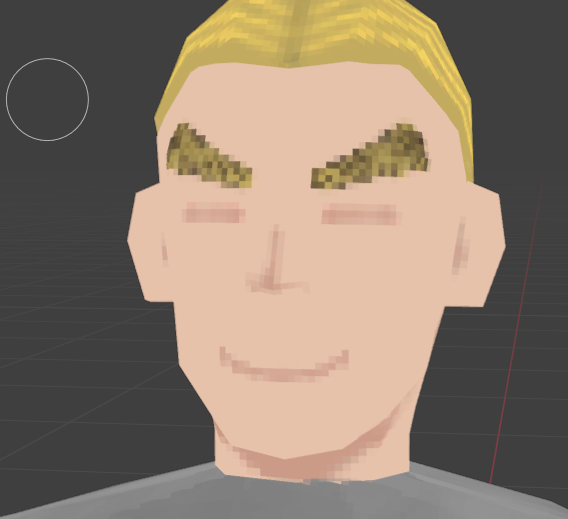
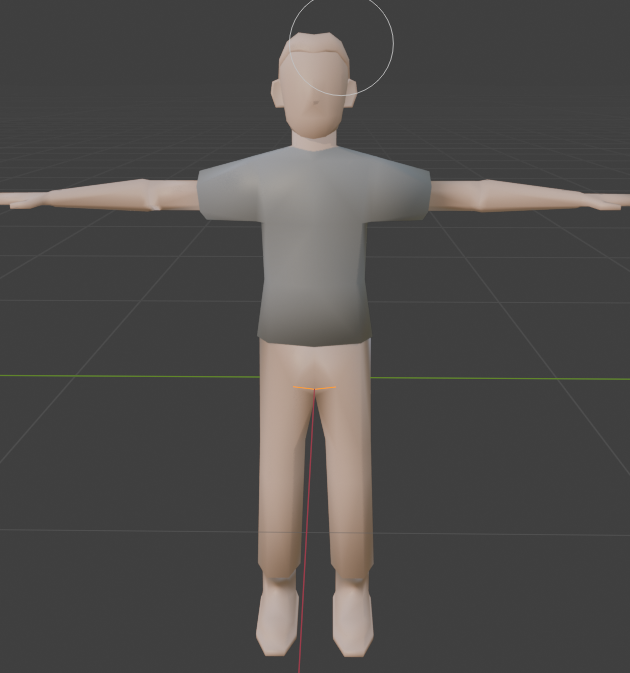
After Joining the meshes correctly and texture painting everything i showed it to my team, everything was good be we all decided to add a face since we wont be doing the cloud covering the face of humans.
Unfortunately had to re-texture most of the model again since it didn’t save proper;y
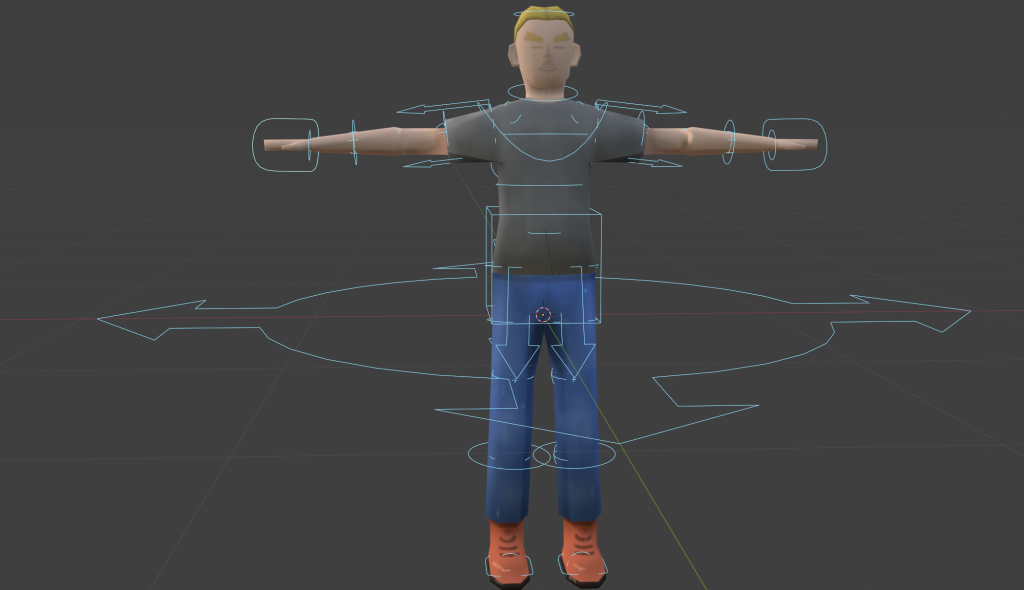
The final step to making this model was the rigging, I used rigify the same addon i used for the rat.
Child Model:
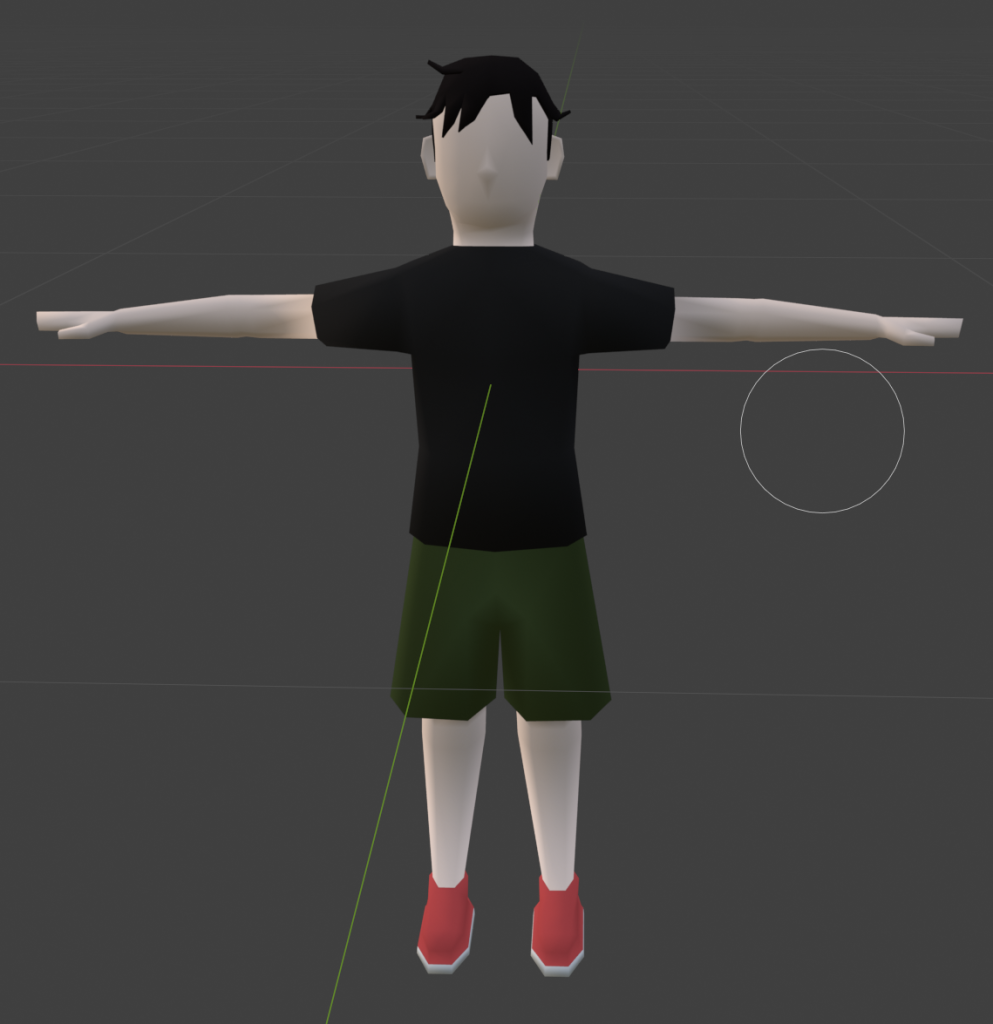
We had plans to make the child a stereotypical emo which already helps me decide his hair colour and clothing. Since hes going to be using the same model as the dad but adjusted the kid will have a shirt the same as the father and I’ll change the trousers into shorts.
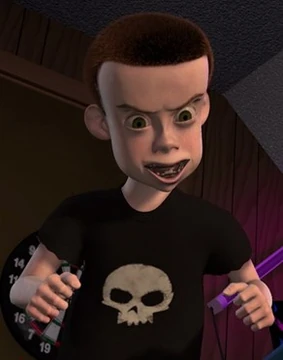
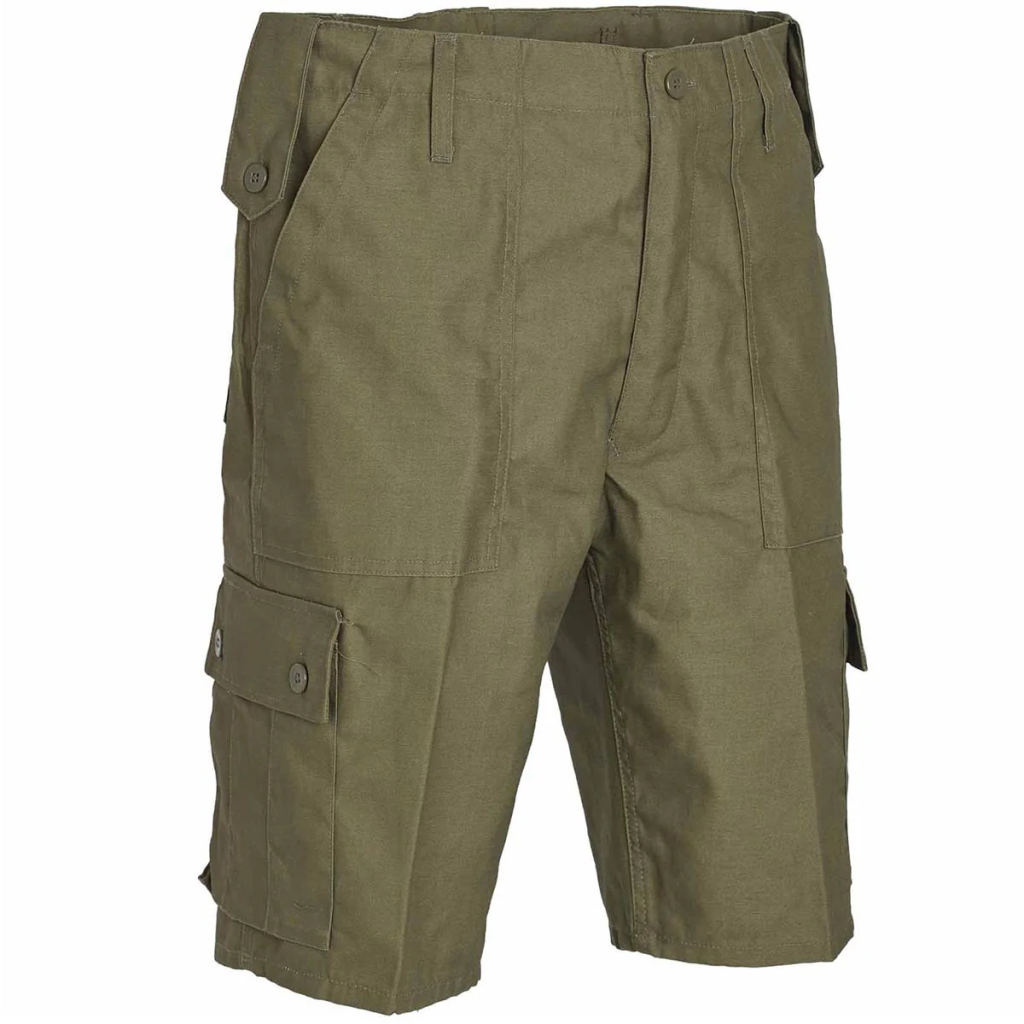
I wanted to have a simple black shirt with a skull and Sid fro toy story is the best reference for that. For the shorts I’m thinking some cargo shorts.
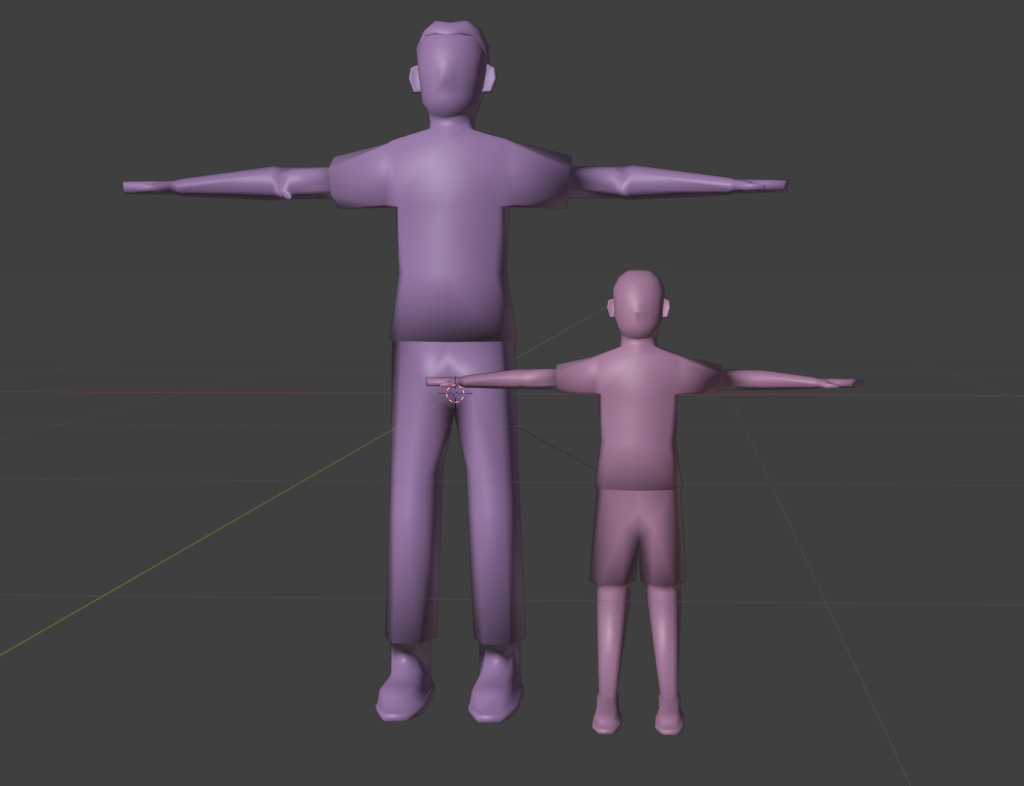
I started the child model straight away and it would be a bit easier this time since I could just duplicate the fathers models and make adjustments to it. The first changes I made to the model was the size and I altered the proportions a bit lie the length of the arms and legs. I also turned the high top boots to just a normal pair of trainers, and made the trousers into shorts.
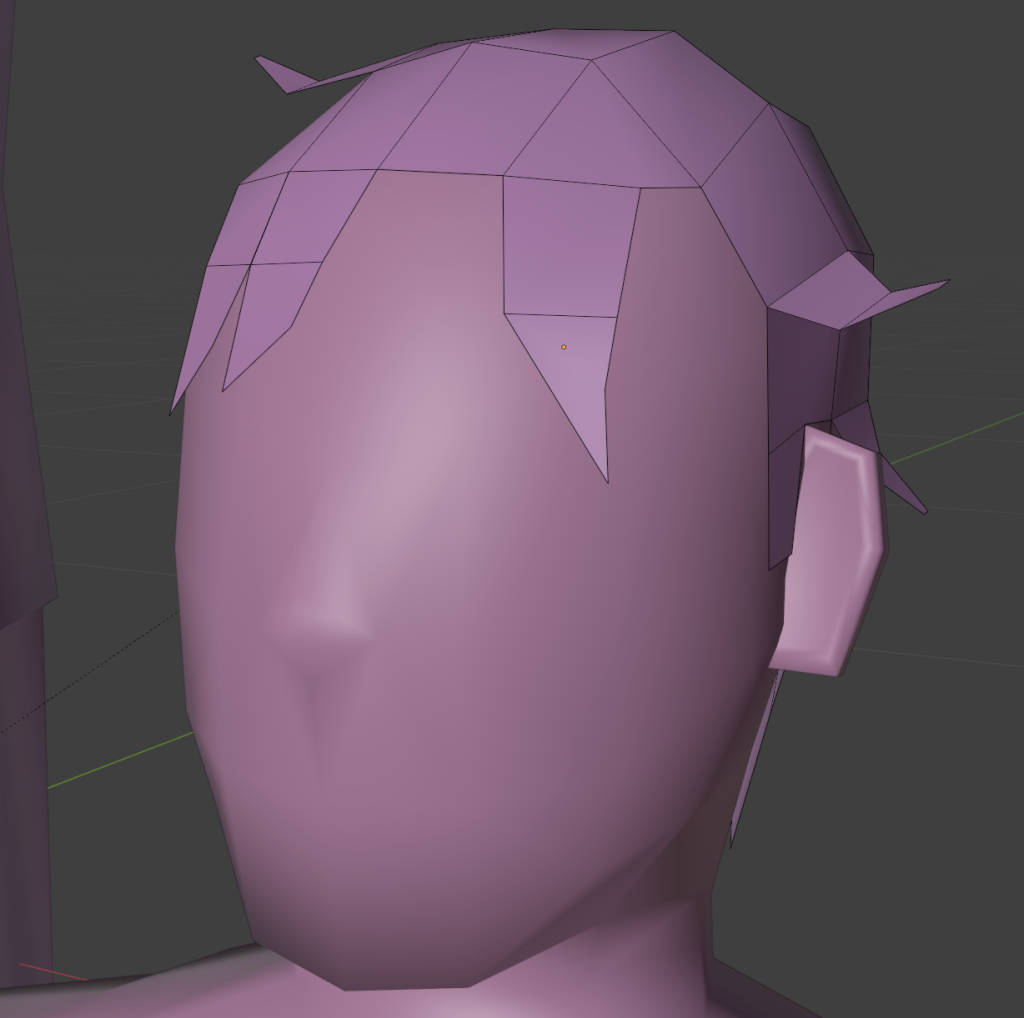
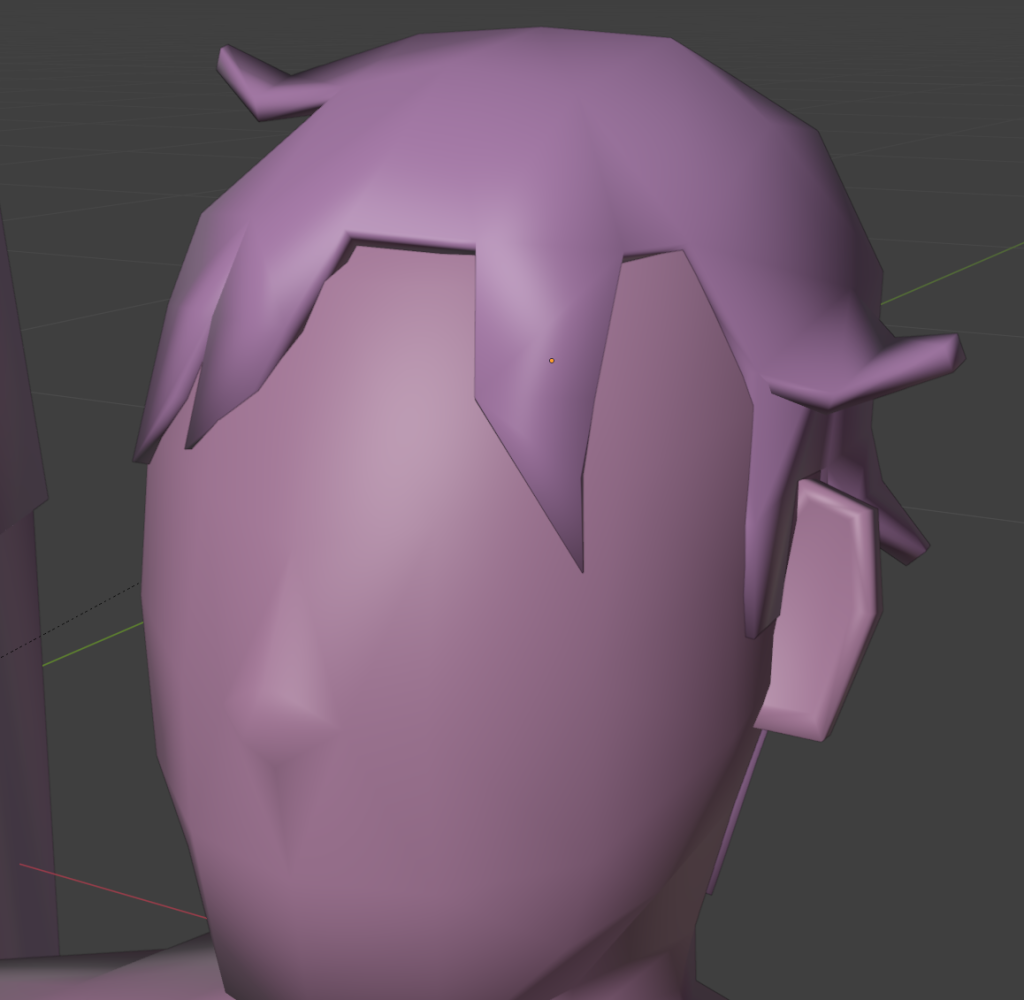
The next thing I worked on was making the hair, for this i simply duplicate the areas of the scalp that I want to be hair and separate them into their own object. After this I adjust the mesh to the desired look I want, for the child we decided he would be a bit emo so I gave him a messy hairstyle. I achieved this by extruding the edges of the mesh and then later used a solidify modifier to make it more full.
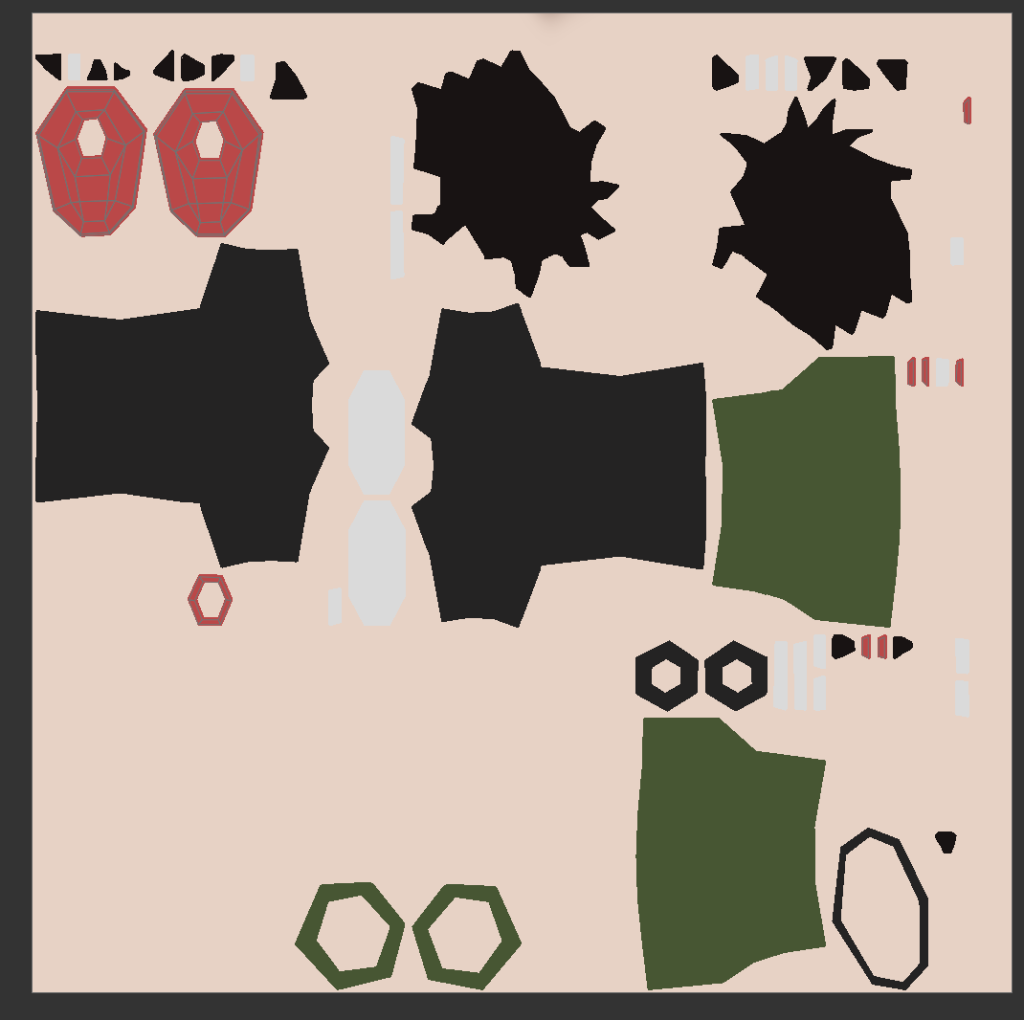
After UV unwrapping it i began to texture everything in its correct base colour.
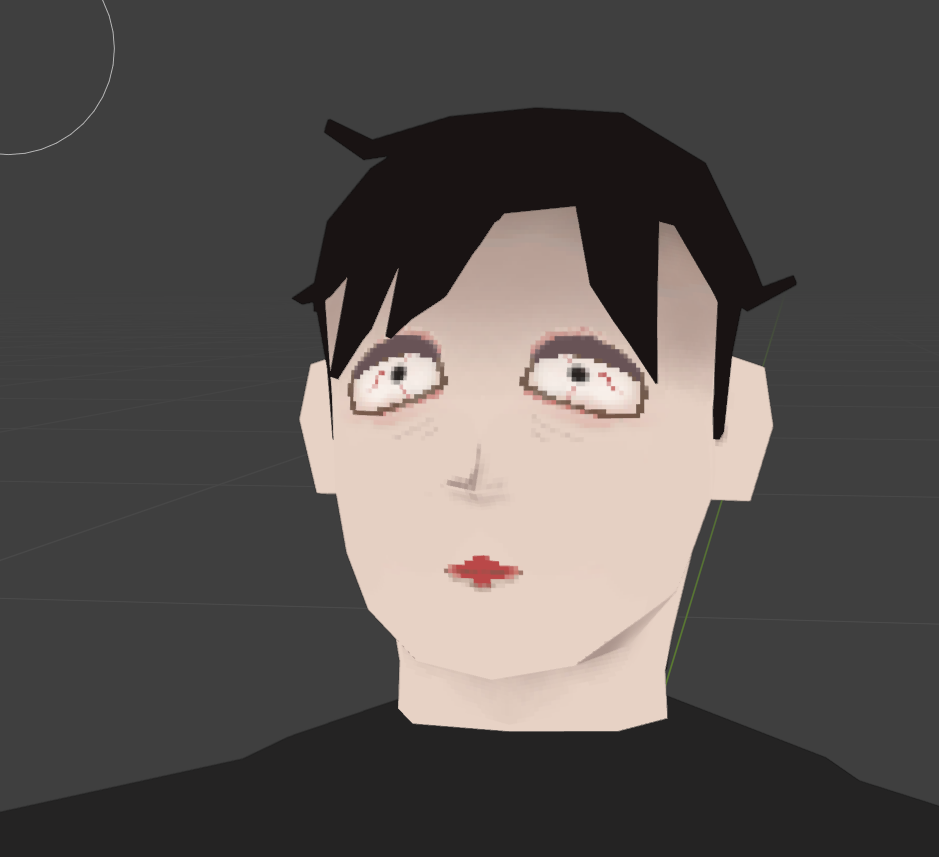
I began the more detailed facial textures and decided to go with a scary look, it was a lot of fun t create this.
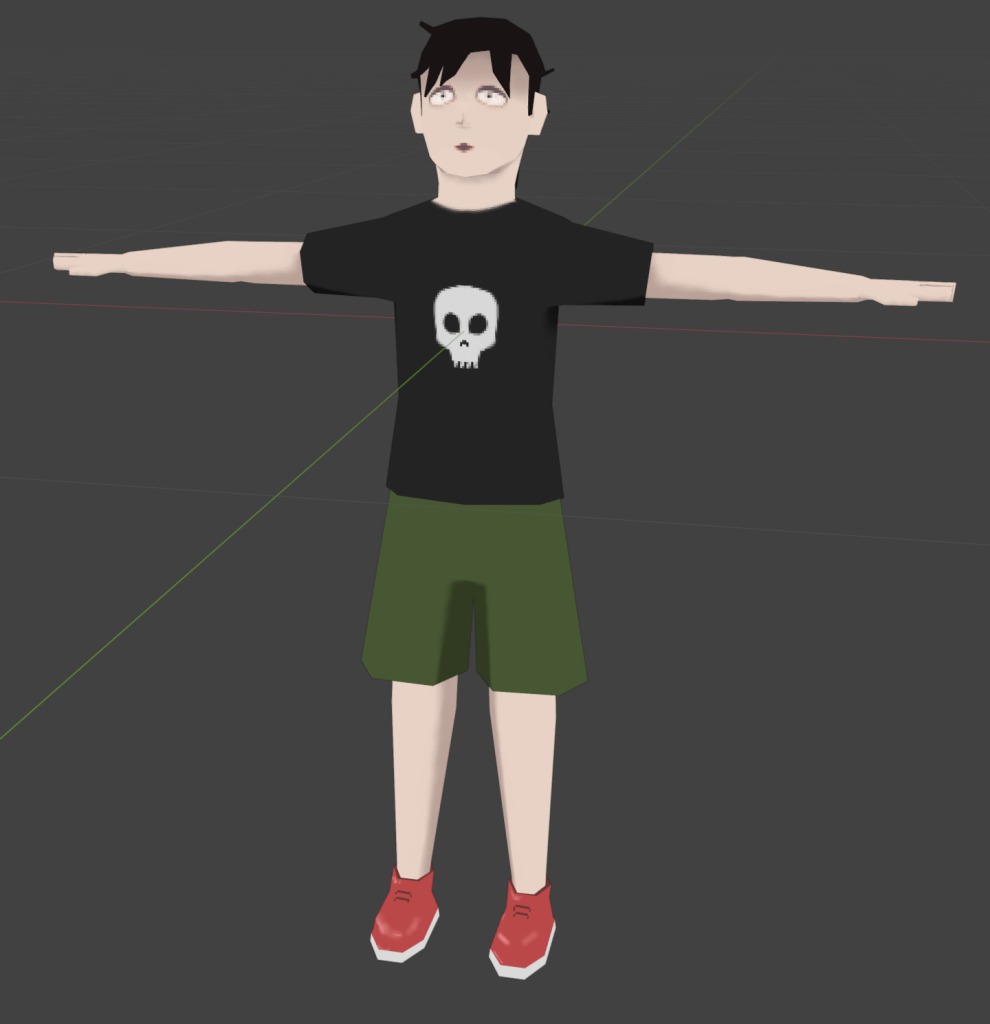
Finished texturing the child model by adding some details to the shirt and highlights to the shoes.

Finished the child model by making a rig for it, same as always I’m using Rigify for the rigs.
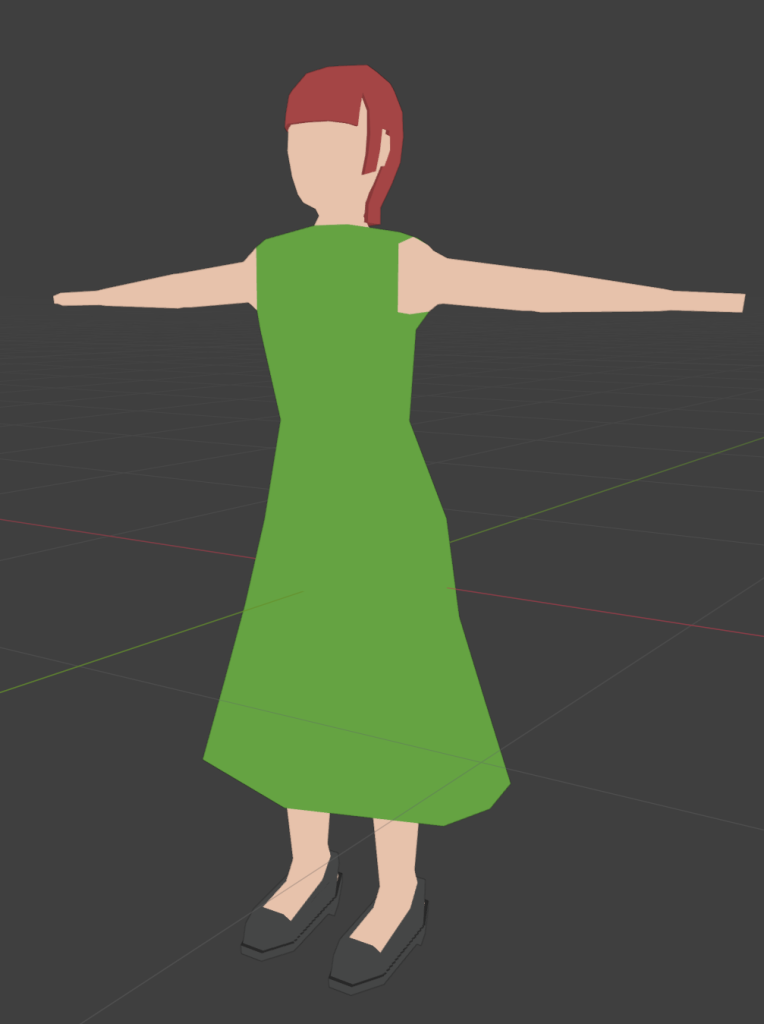
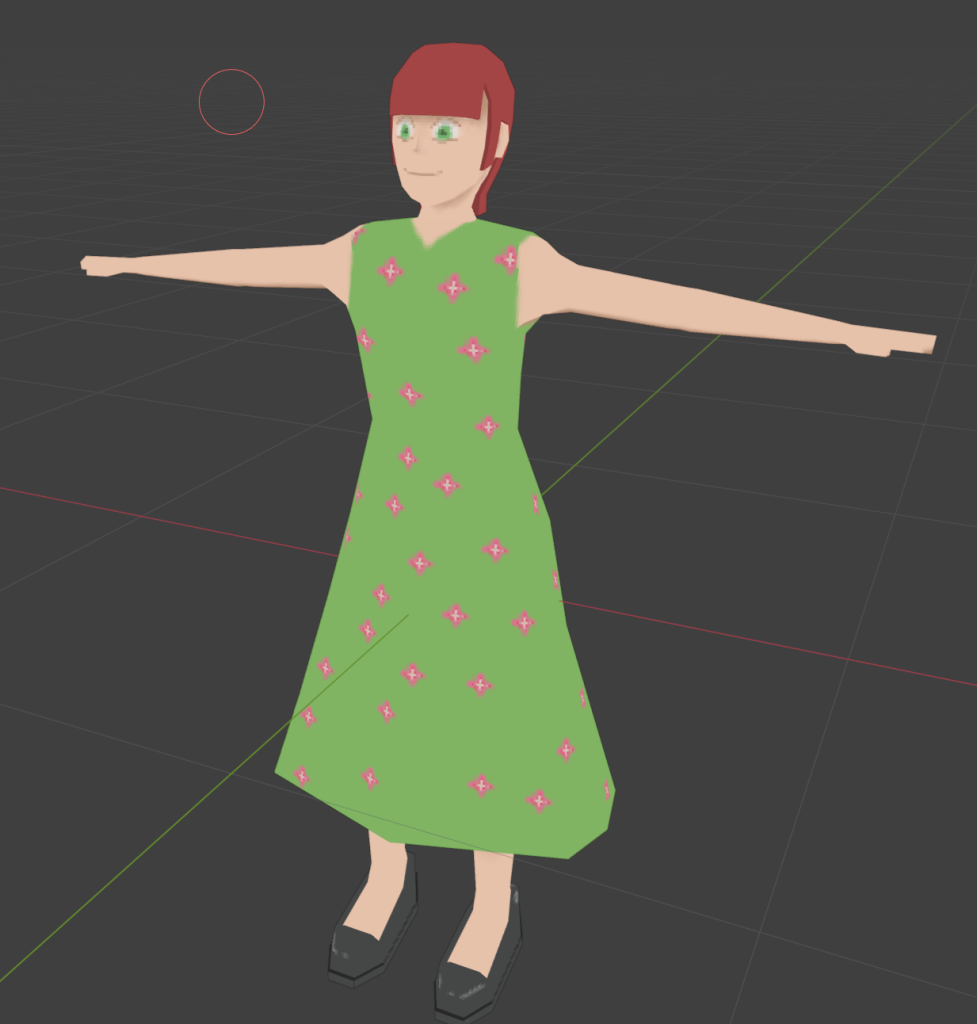
Mother Model:
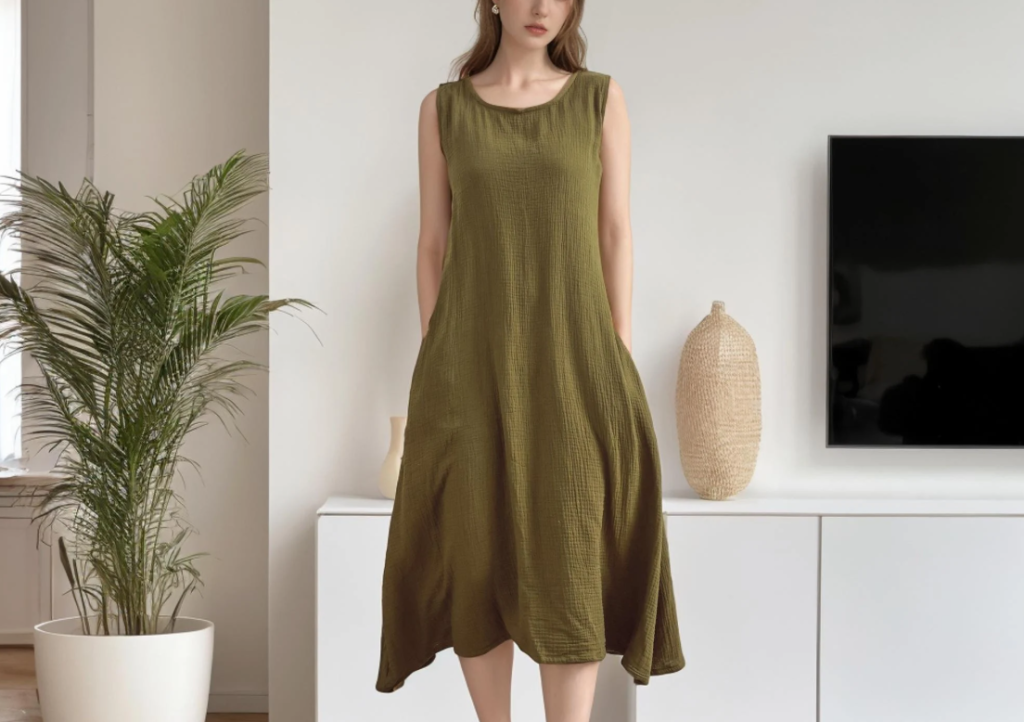
I envisioned the mother wearing a really simple home sundress, unfortunately I still did not have any concept art to work with so I had to use these images and most of my imagination to model the mother.
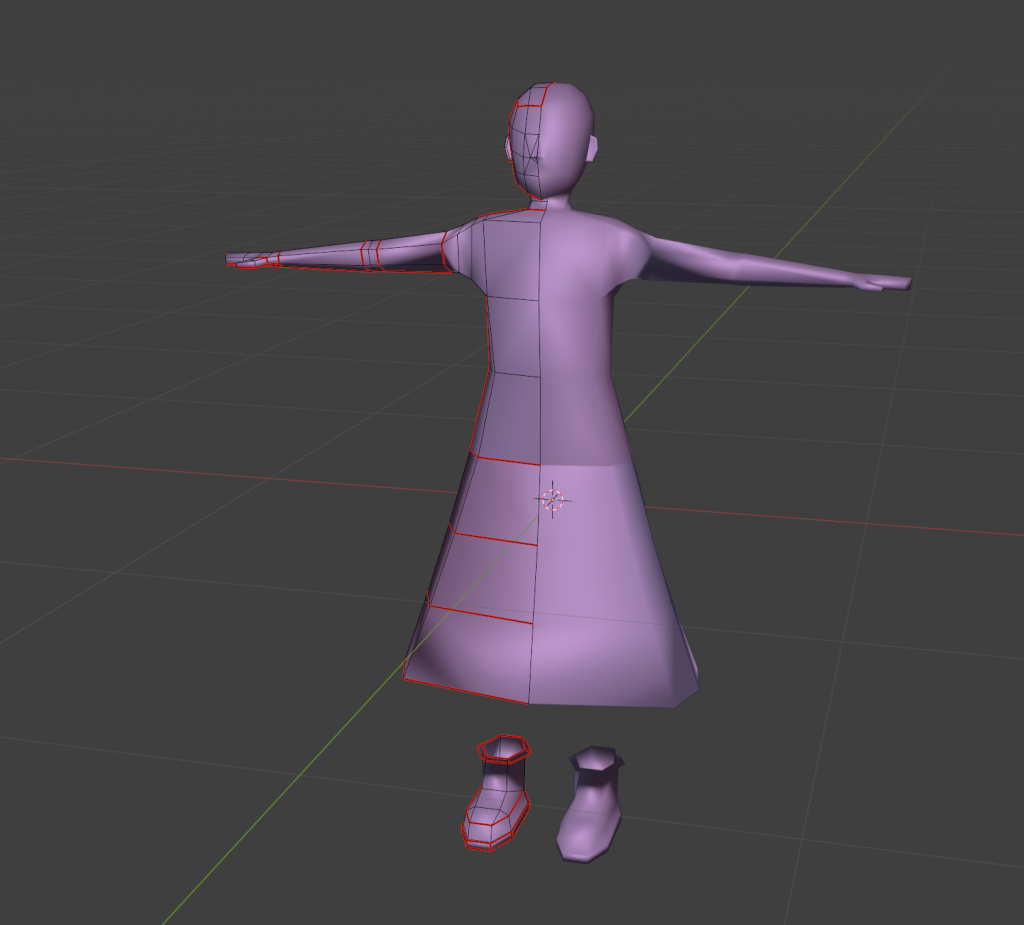
I actually used the father model again and just adjusted it to look more feminine. I started by making the neck and limbs thinner then deleted the faces which made up the legs and sleeves. I have the skirt which used to be the shirt come down and cover most of the legs.
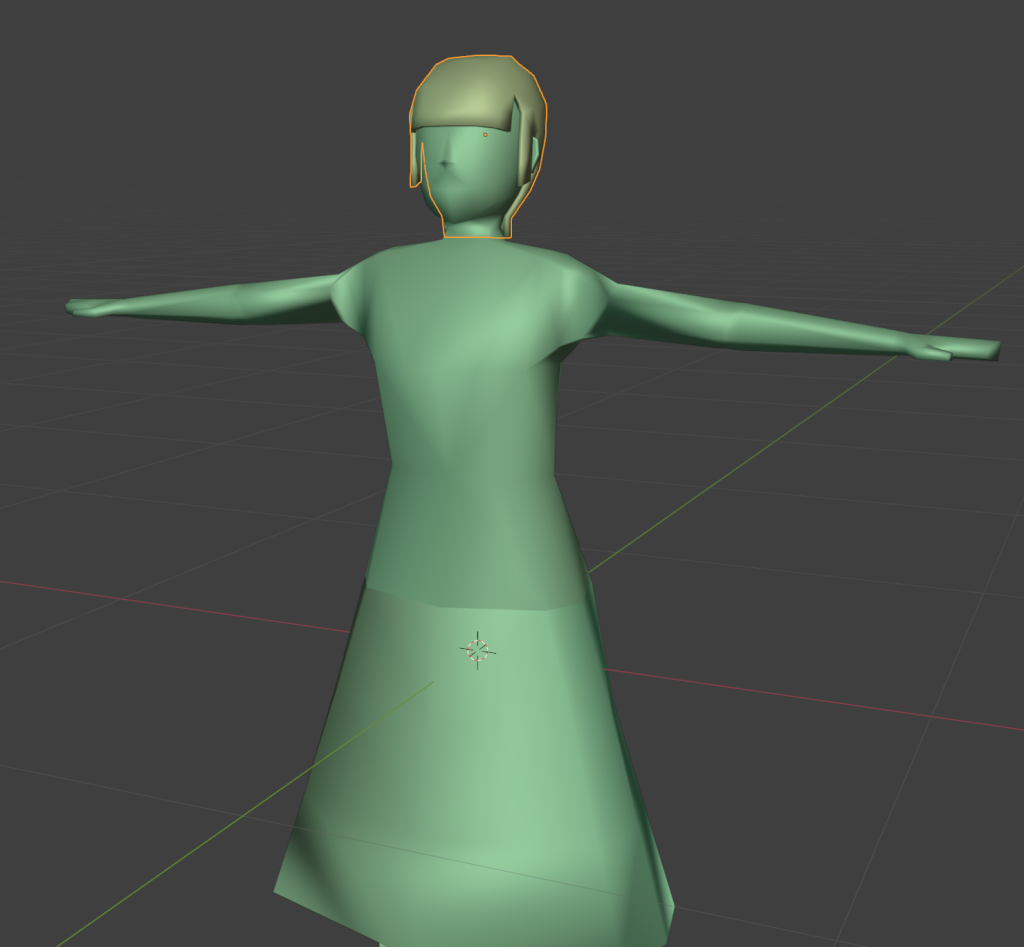
After making her basic shape I get started on the hair, I do the same thing as I’ve done for the previous models which is duplicate the scalp and adjust it to make the hair the shape i want. After I’m happy with the shape i solidify it to make it more round ad full.

After I was done with adding some final details to the model such as the figure and shoes i began UV unwrapping, this turned out to be trickier than the previous times since the shoes are a bit more complicated than before.