Eta 3D Model Process
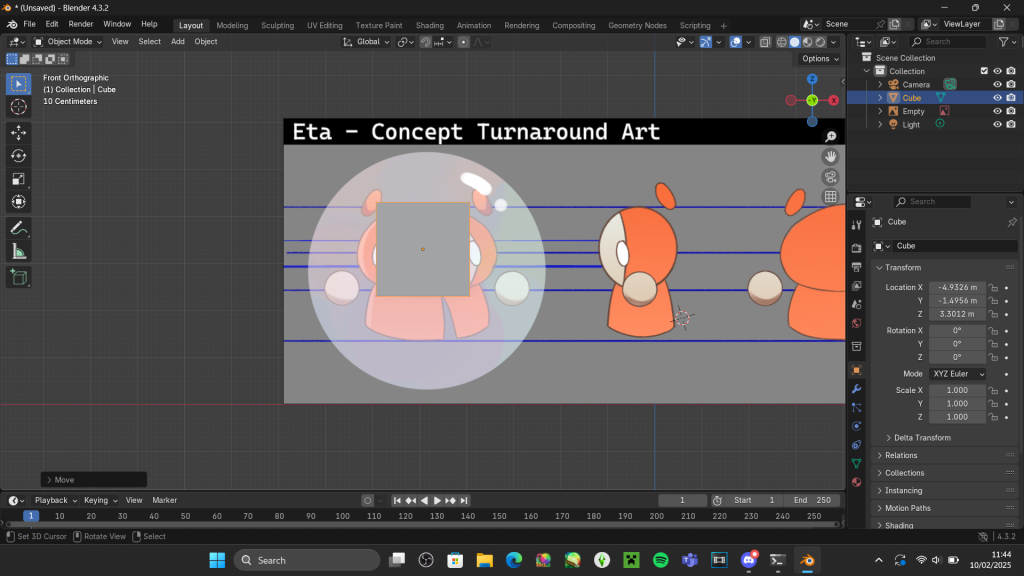
- I subdivided a cube and then extruded it to create the shape of the head.
2. For the hands, I used two UV spheres, and for the ears, I used subdivided cubes and shrunk them to scale. After I was done, I SX -1 to mirror the other one into place.
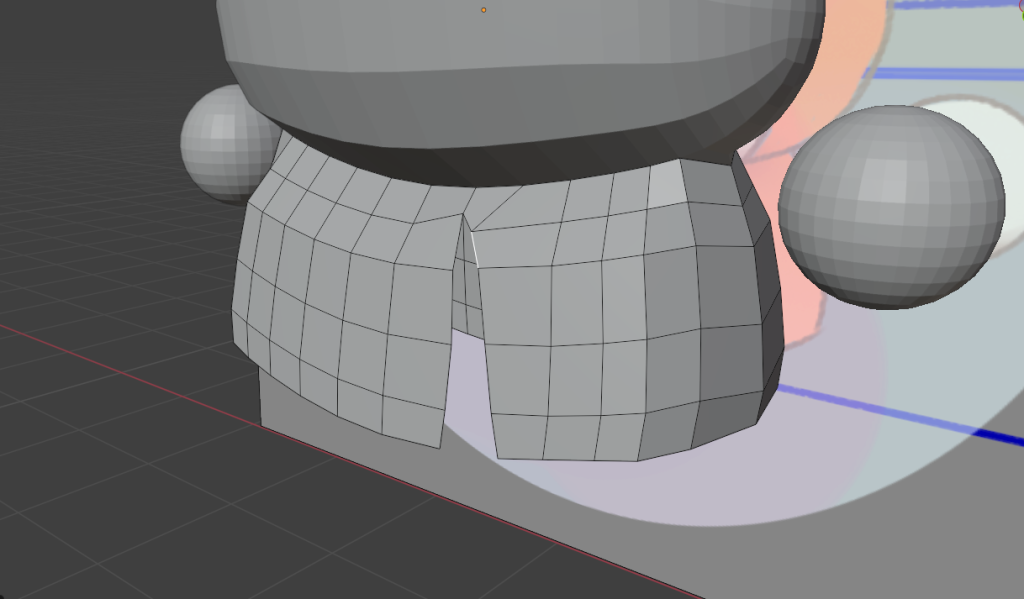
3. To create the split in Eta’s robe, I moved vertices together to create that illusion using the guidelines of the turnaround. I asked Parker (the creator of the idea) at this stage what I could change. He said that I should add some roundness to the robe of Eta and so I added some roundness on the side.
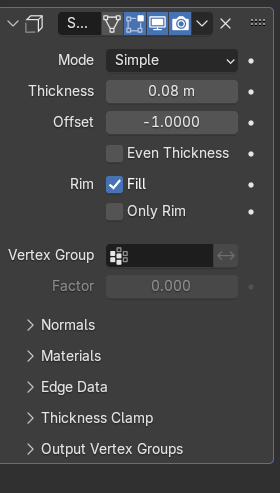
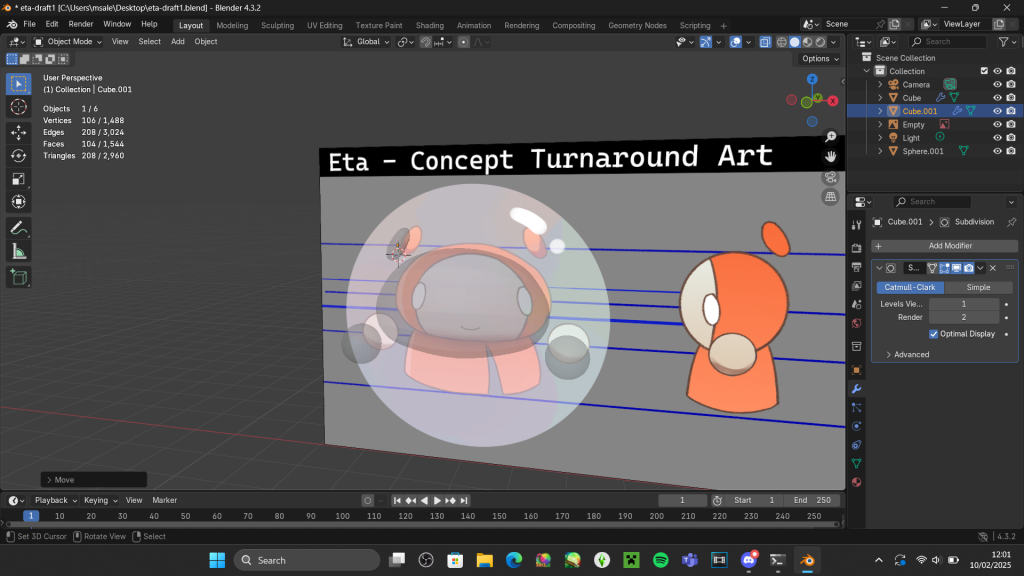
4. To make the robe thicker and with more depth, I used a Solidify modifer. I then edge split the rim of the robe to ensure it wasn’t “round”.
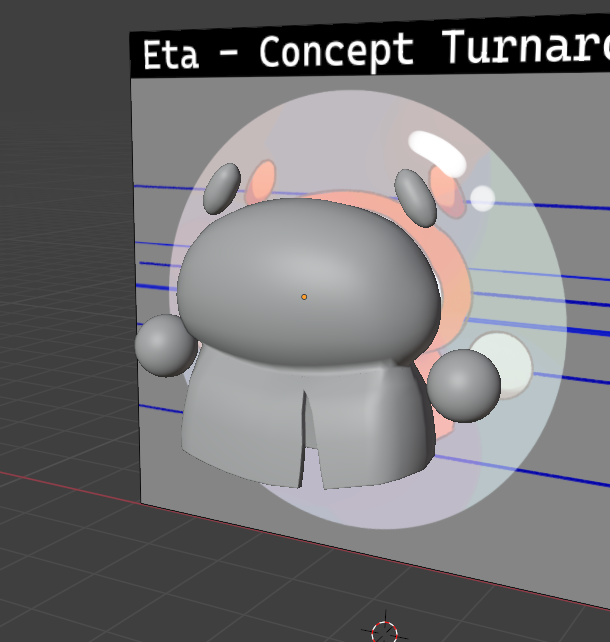
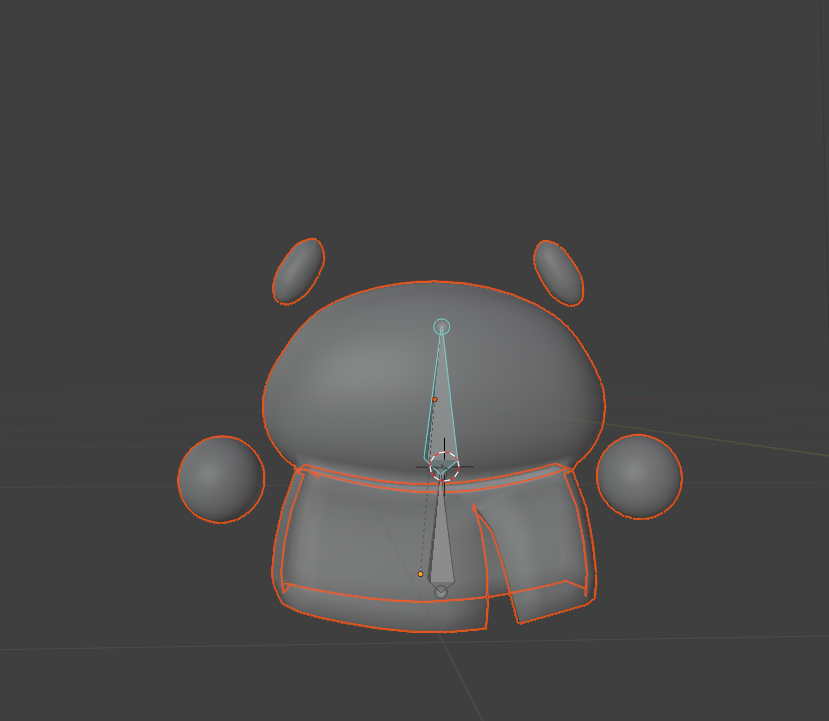
5. After that, I have the base of the model done, it’s a bit wonky, and not every part is mirrored, but I like how it looks so far.
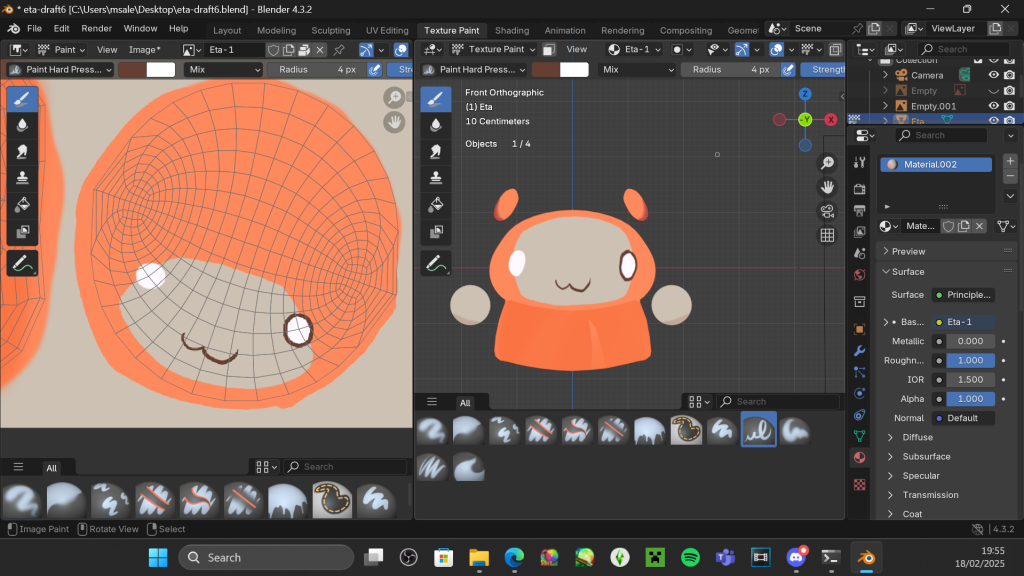
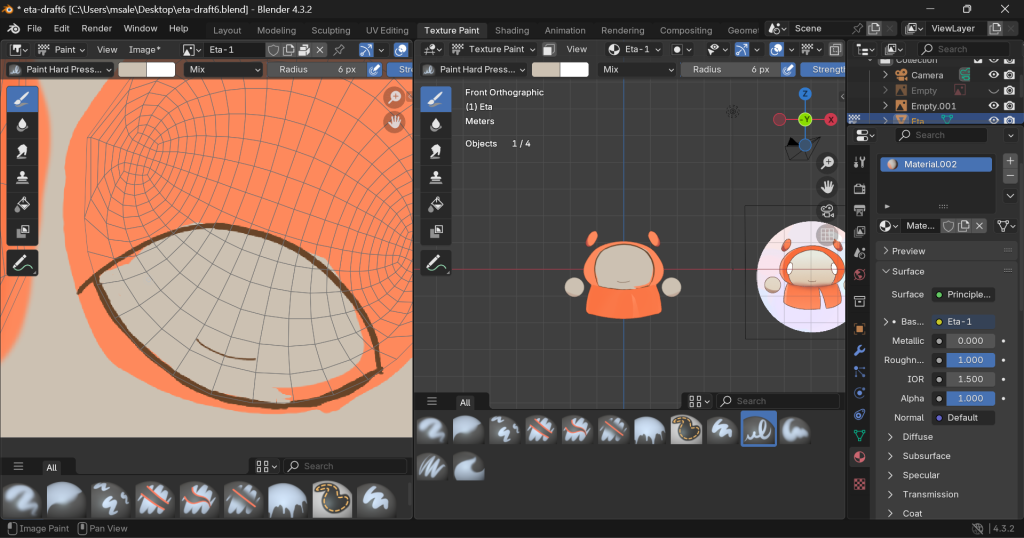
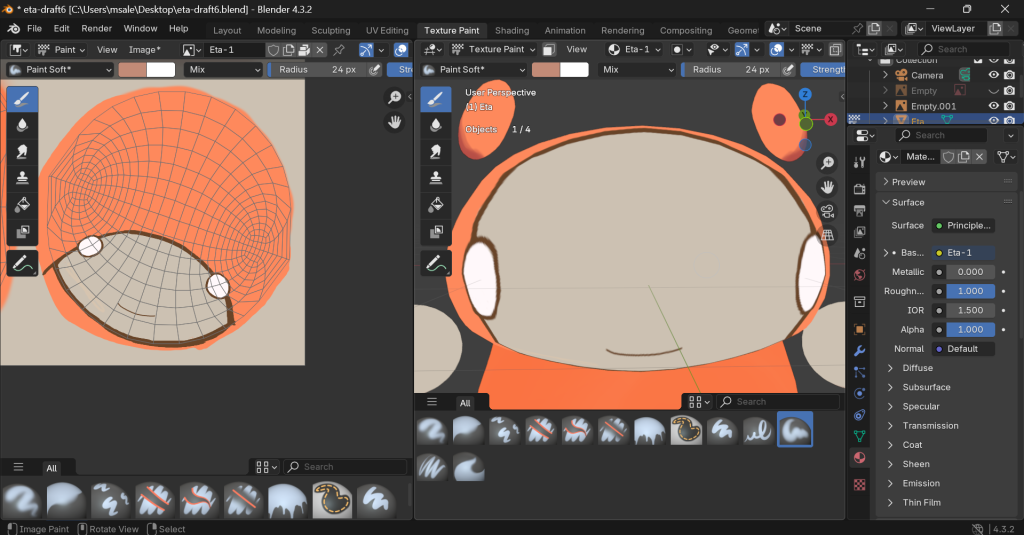
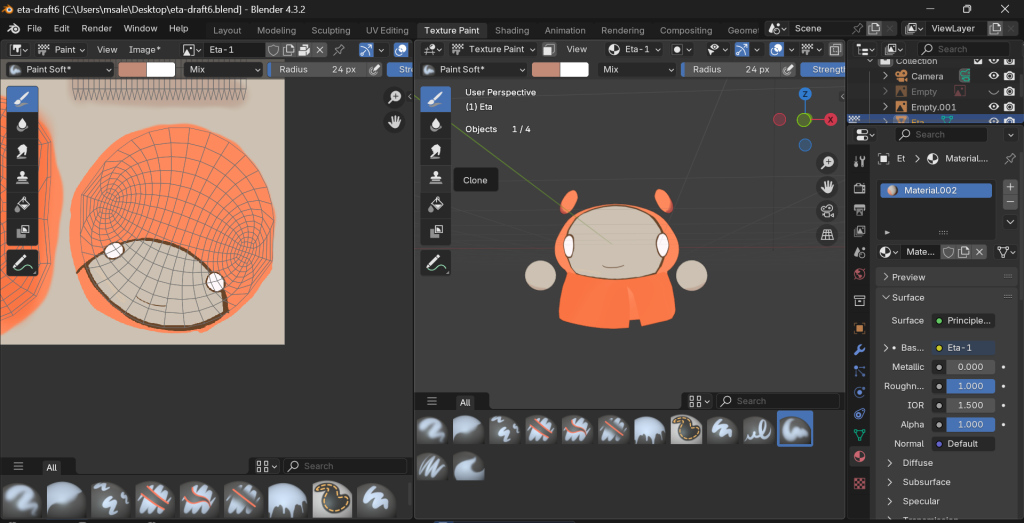
6. This is the part where I do the UV unwrapping and texturing! Since this is for a first draft, I decided to make the UV unwrap decent, but not the best it could be. I didn’t want to get too complicated without a draft model. Due to the unwrap, the texture appears a little more stretched out than it should be, but it should be okay for a draft.
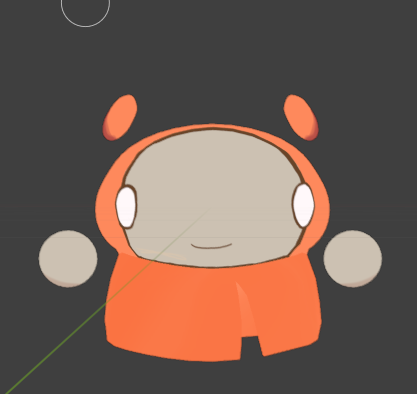
7. This is the finished texture using solid modes flat shading to give it a more cartoony effect. Definitely happy with this model!!!
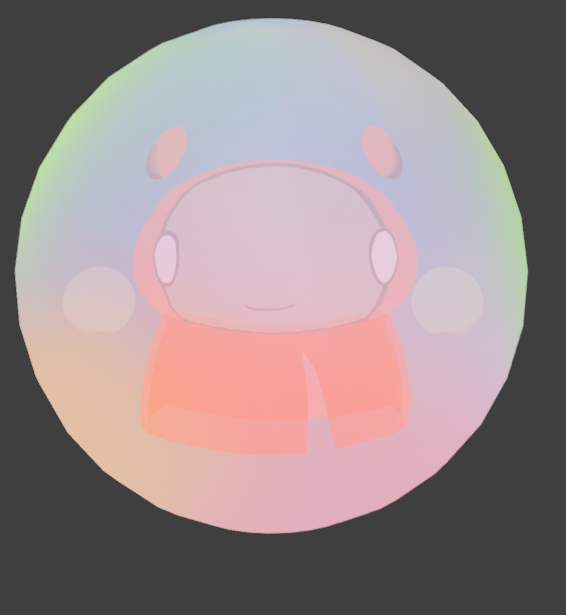
Eta in the sphere!!
Rigging and Animation
I made a quick rig for this character that was fairly simple to do and to accompany it, I made a little idle animation for the character, similar to the one on the hub page!
Finished Idle Anim!
What I learned from this
- Giving UVs space means there will be fewer or no artefacts/bleed into other textures. Compared to my Oh, Rats! meshes
- I had a much easier time painting onto this model as the UV unwrapping was spaced out and had good topology (uniform).