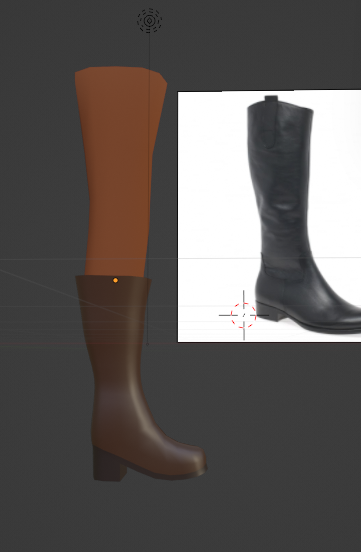
I made a human NPC model consisting of shoes and legs to show roughly how it would look in the game. The boots are based on the ones below that I found online.
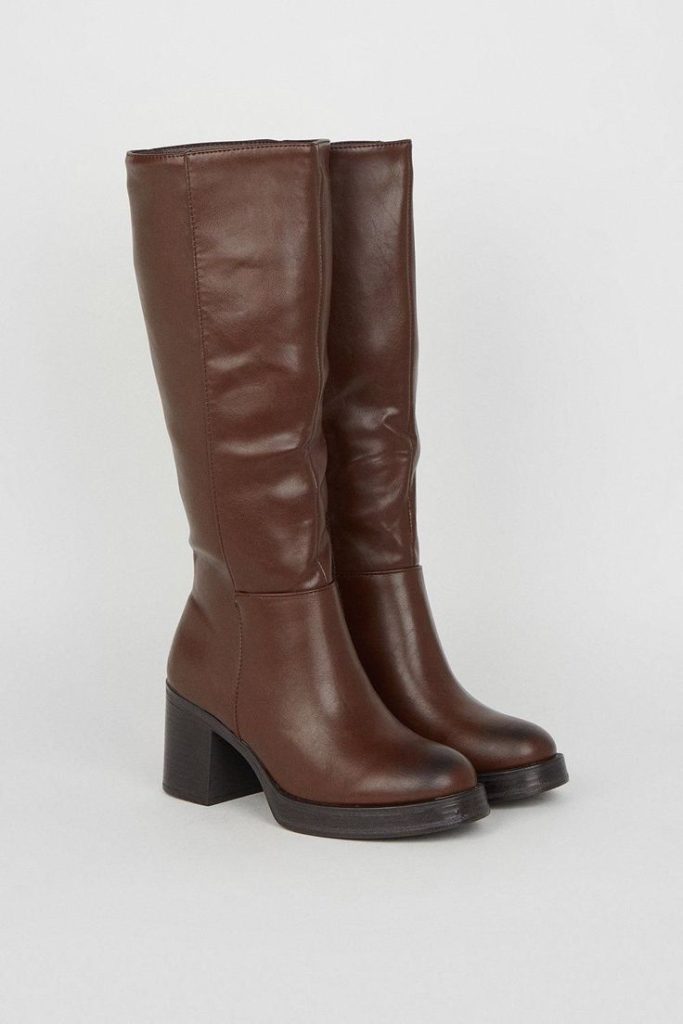
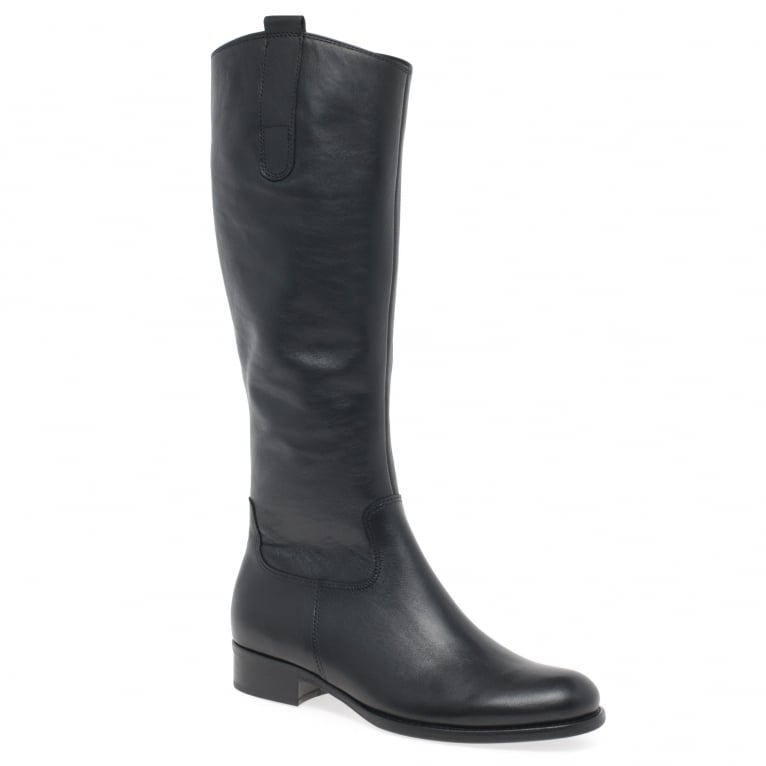
- I started by using one of the boots as a reference and a cube to extrude along the photo to create the base of the shape. Unlike my rat model, I didn’t mirror the mesh but it still came out symmetrical.

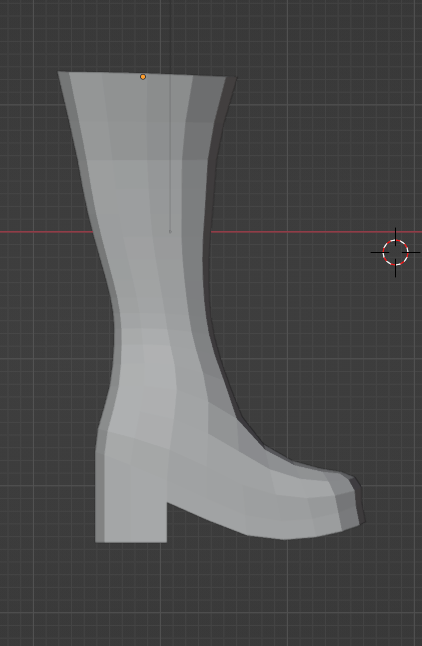
2. I then cleaned up the mesh a bit, adding some edge loops to smooth it out and making the boot wider as it looked too skinny at the ankle part. I then created the heel by deleting the bottom part, filling it and extruding it to create the heel.
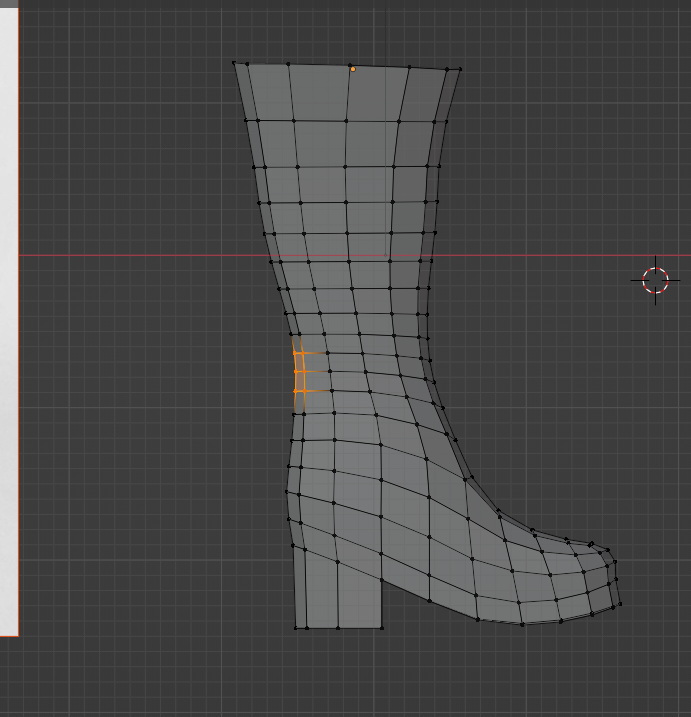
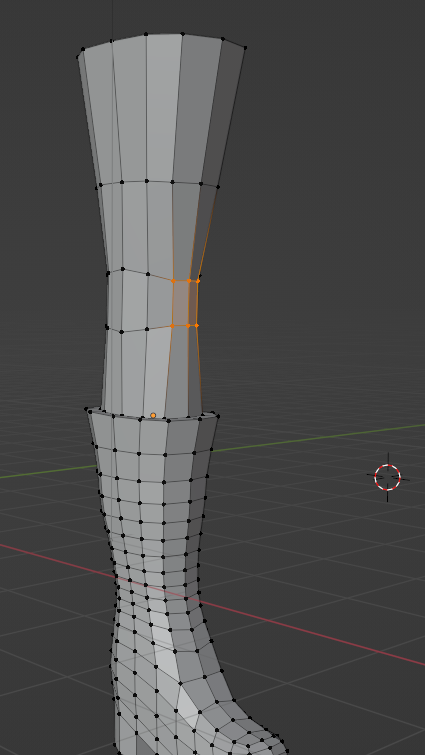
3. I then tweaked the boot more by stretching and thinning it with the proportional editing tool, which made it easier to work with. After I was done, I created the rest of the leg by extruding the boot inside and then extruding it up to make the knees and lower thigh.

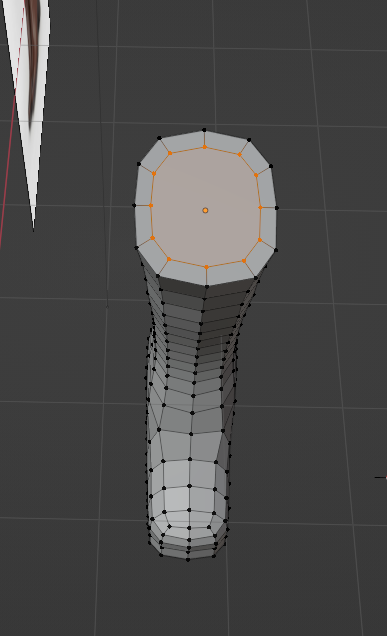
4. To create the knee, I made a loop cut just below it and then turned off proportional editing. During this stage, I moved the other leg parts around to make it more proportional.
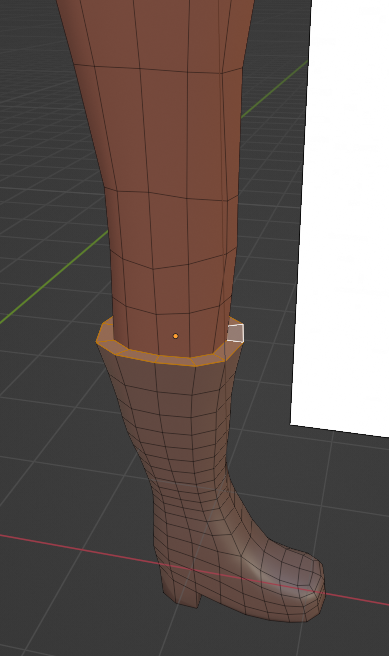
5. Finally the blocking stage! I blocked out the colours I wanted to use for the leg with material mode and compared it with my boot references. I could see the way the light reflected on the boot as well as the shadows created. I’m still learning how light and colour work so I gave it a go translating it into pixel art.
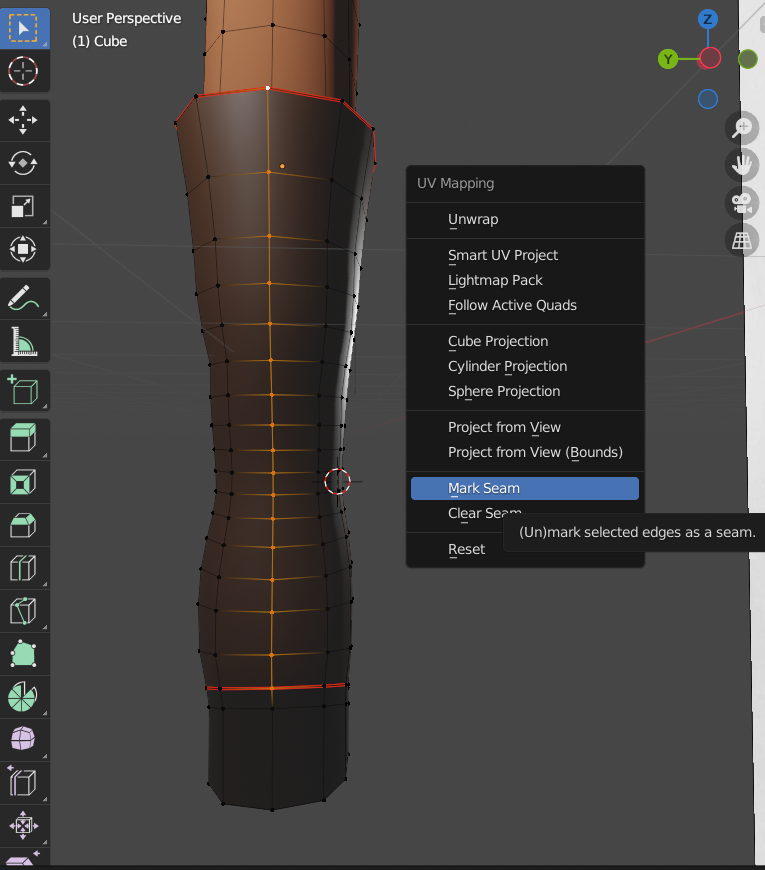
6. I did NOT explain how I made my UVs, but I basically marked along the seams of the parts of the shoe bridging into other parts (like the boot bridging into the leg). This means that when I unwrap my UVs, Blender will know how the parts interact with each other and give me a decent UV that I can paint on. On the right was my first result before I unwrapped my UVs…

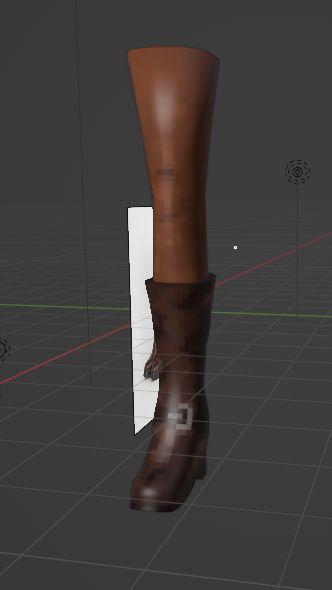
And below is the result after I marked my seams and made the UV map all neat and tidy. This is by far WAY better than my Rat UV map, and it’s probably due to how simplistic the mesh is compared to that.

7. However, this next step was the one I was dreading the most… Painting. I’ve already detailed my woes about texture painting in my Rat model, but what was racing through my mind is how would it fare on my shoe model. Surprisingly, it turned out great. Turns out a great UV unwrap and good topology will make painting on your mesh 10x easier. Like my rat model, I did this with my mouse.
Anyway, the painting process was super fun, I learned a lot about making pixel textures through a YouTube video by Garbaj, which was a quick and easy tutorial about pixel painting in Blender. I had no idea how to do this beforehand so finding this tutorial was a lifesaver.
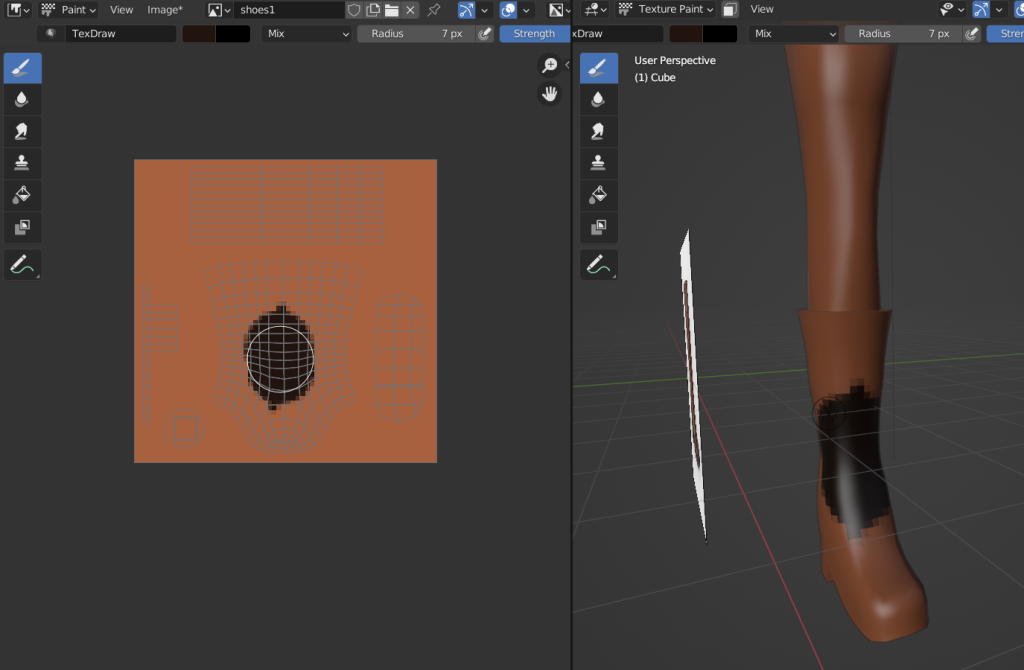

Left: During texturing | Right: After texturing
8. I then mirrored the mesh so I could have both legs. To top it all off, I did the rigging for this model. It was fairly easy, I got a rigify human model, scaled it up and deleted any of the parts I didn’t use.
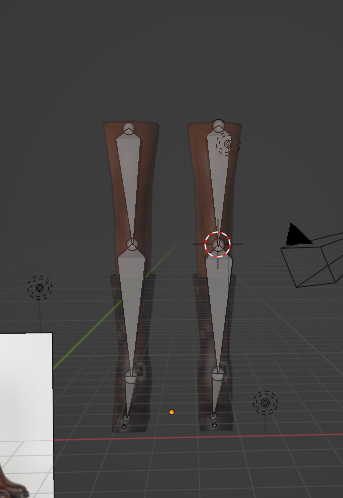

And finally… after nearly 3 hours in the hell that is Blender, the mesh was done! I’m really happy with how it turned out, even though there are a few faults that could be fixed. Making this mesh gave me some insights into how low-poly human meshes are created, and I think I have a major confidence boost from creating this mesh.


Ta-daaa!!! 🎉 (Result)
Reflection/What I learned
- Making a rig for the bottom half (legs, feet, etc.) is fairly simple but it will require EXCESSIVE tweaking to be perfect. I have a way to go before it will be how I wanted it.
- Texturing is do-able, but you need to make sure your UVs are nicely spaced out
- It’s better to texture pixel art in solid mode, save the image then upload it into the material (it doesn’t give those weird artefacts I had with my rat model)
1 thought on “Human NPC Model”