Program used: Paint Tool SAI 2
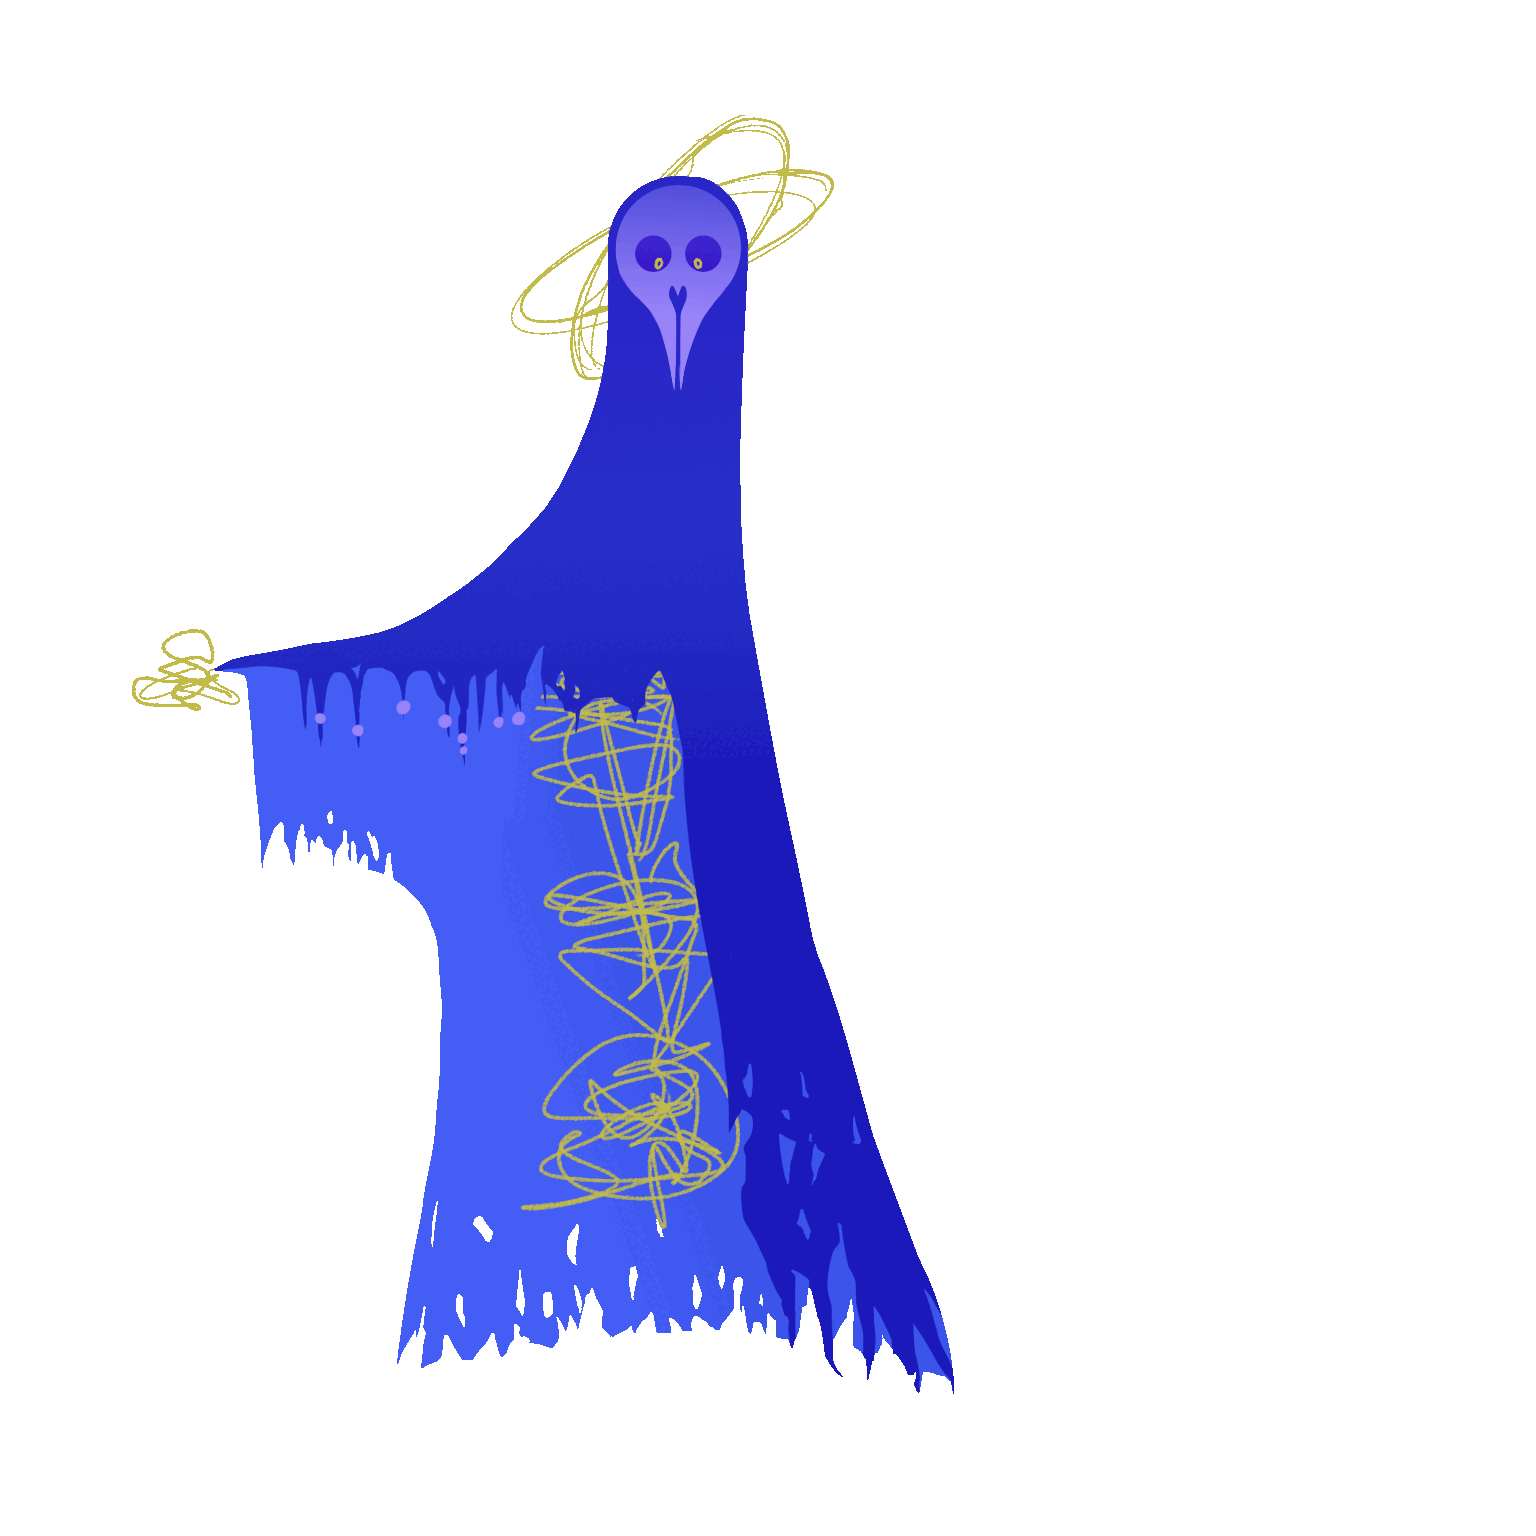
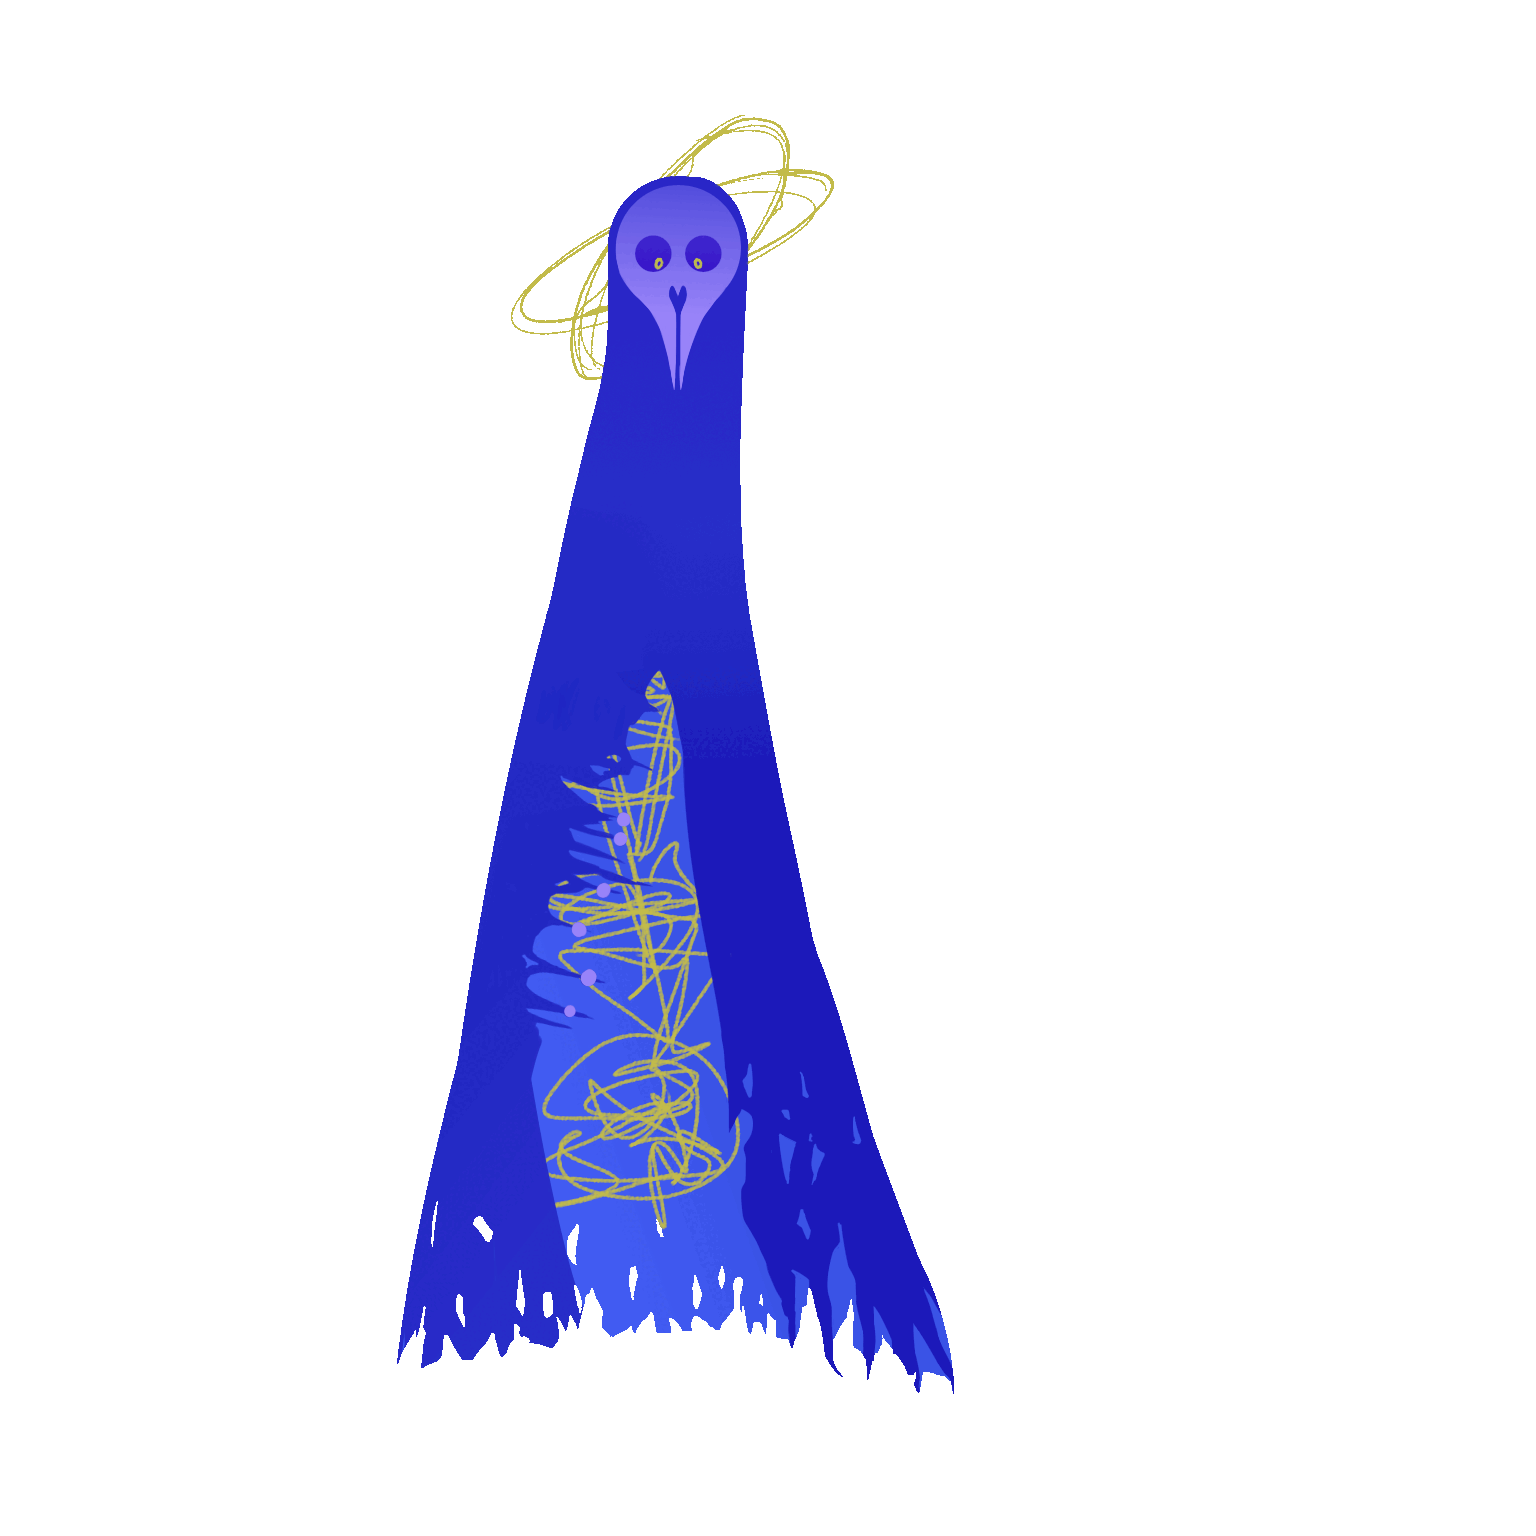
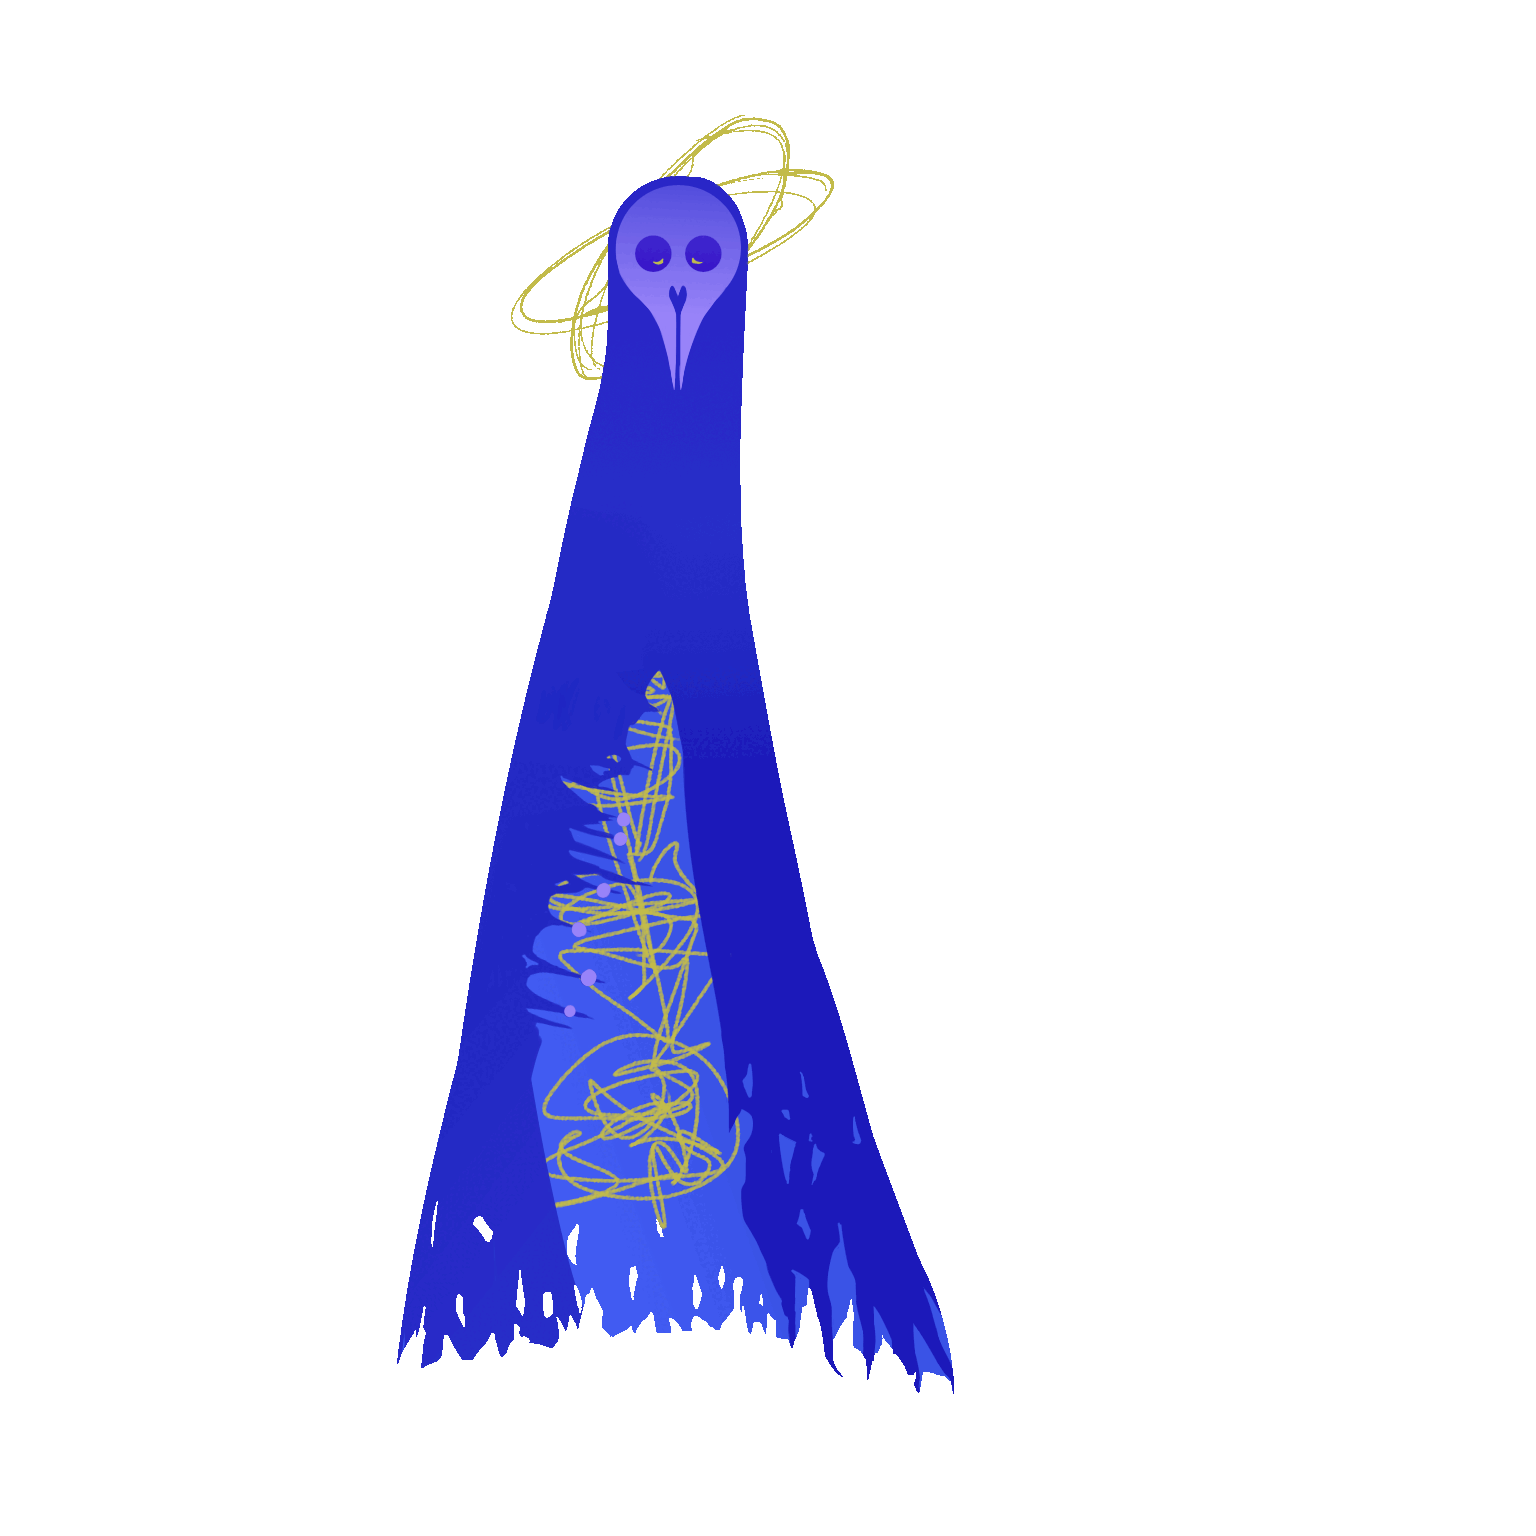
For our vertical slice, we wanted a tutorial in the Hubworld with the God of Gravity giving you powers. Parker already had one sprite, but I had to redraw it (like I did with Eta). I also did five poses for the Lord, which will alternate depending on what they’re saying in the dialogue box. Hopefully, this will be accompanied by sound effects.

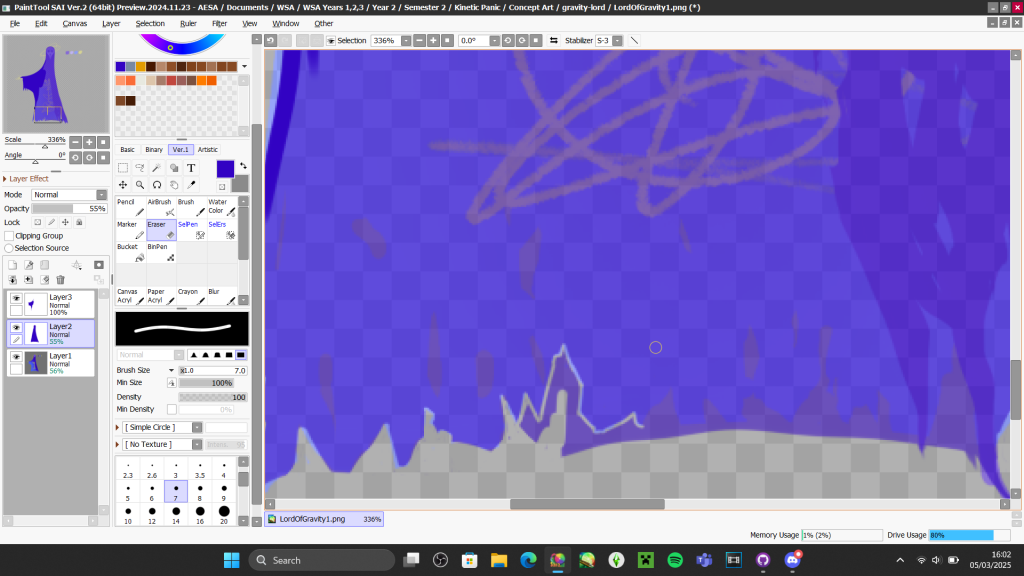
- The main part was tracing all of that before I started to draw the different parts of the Lord. It was fairly easy, as I was just making sure this art stayed as close to the original as possible.
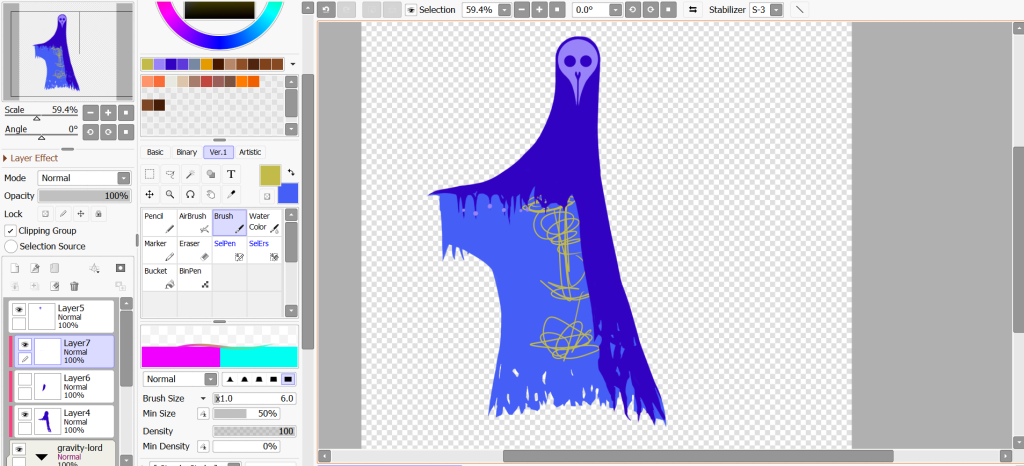
2. I then started making folders and separating the Lord’s lifted (arm raised) and normal (arm down) states. This was a tedious process as I had to ensure both states were coherent. During this part, I drew the electricity in the body and head by drawing yellow squiggles.

3. After I was done, I cleaned up the sprite slightly and added the gradient effects. This is also when my personal Hell began… When drawing the sprites, I decided I wanted to make them into a GIF to give the effect of the electricity pulsating through the Lord’s body. I ran into so many problems, such as the layers stacking, and forgetting the layer meant for the corresponding GIF Number. I also had to make sure the Lord’s lifted state and normal state had the same gradient colours, so I had to keep tinkering with SAI 2’s Gradient tool.
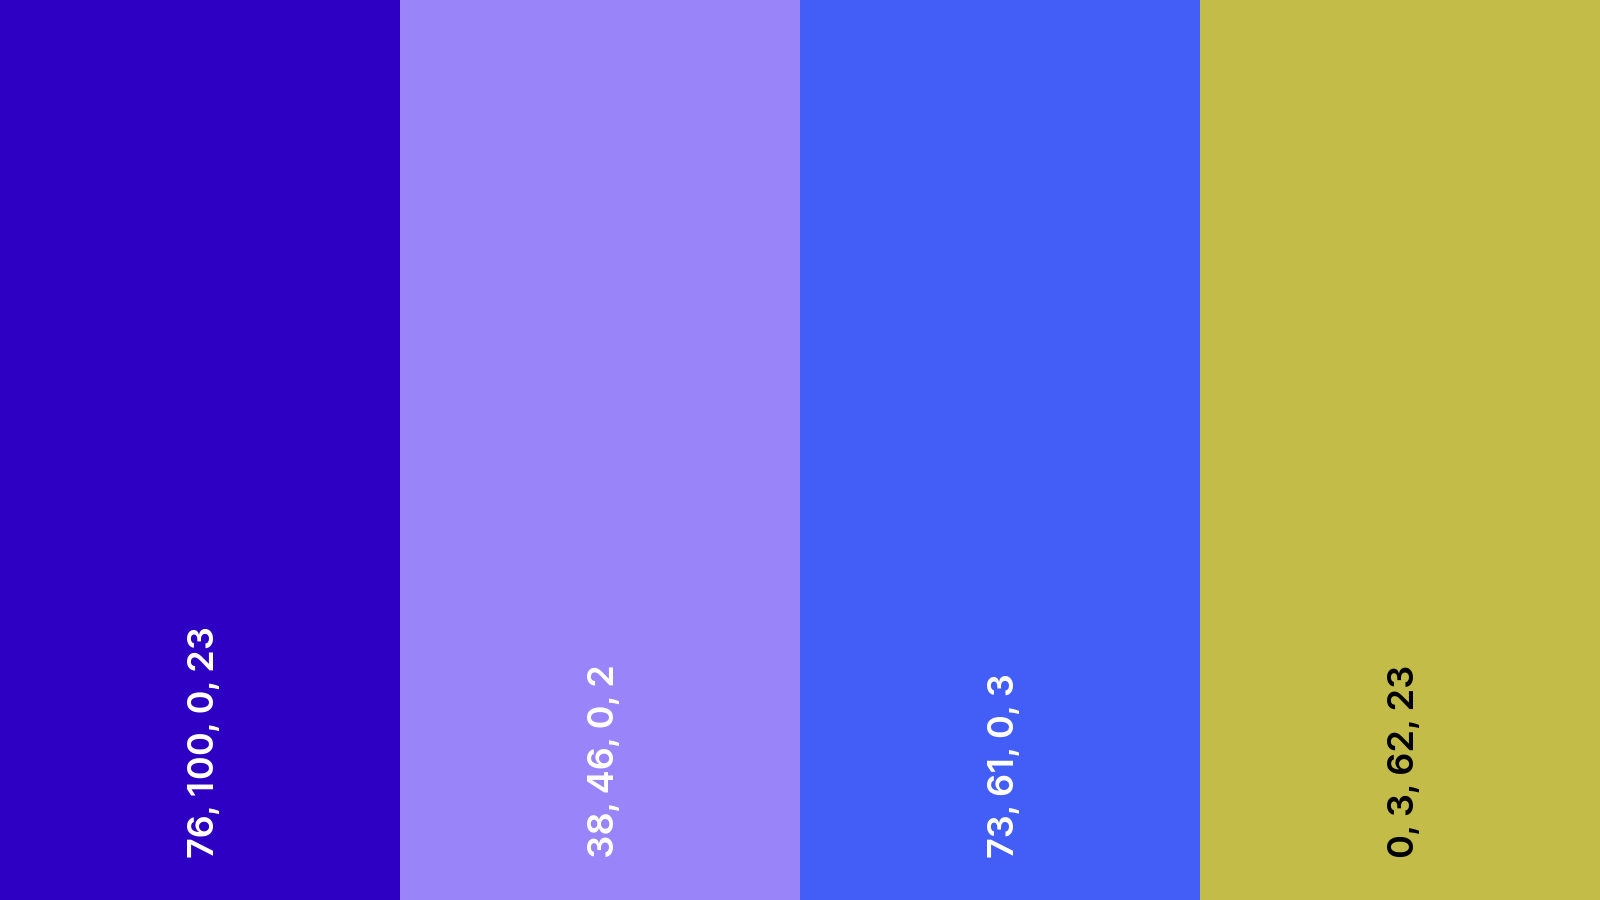
Colour Palette for Lord of Gravity
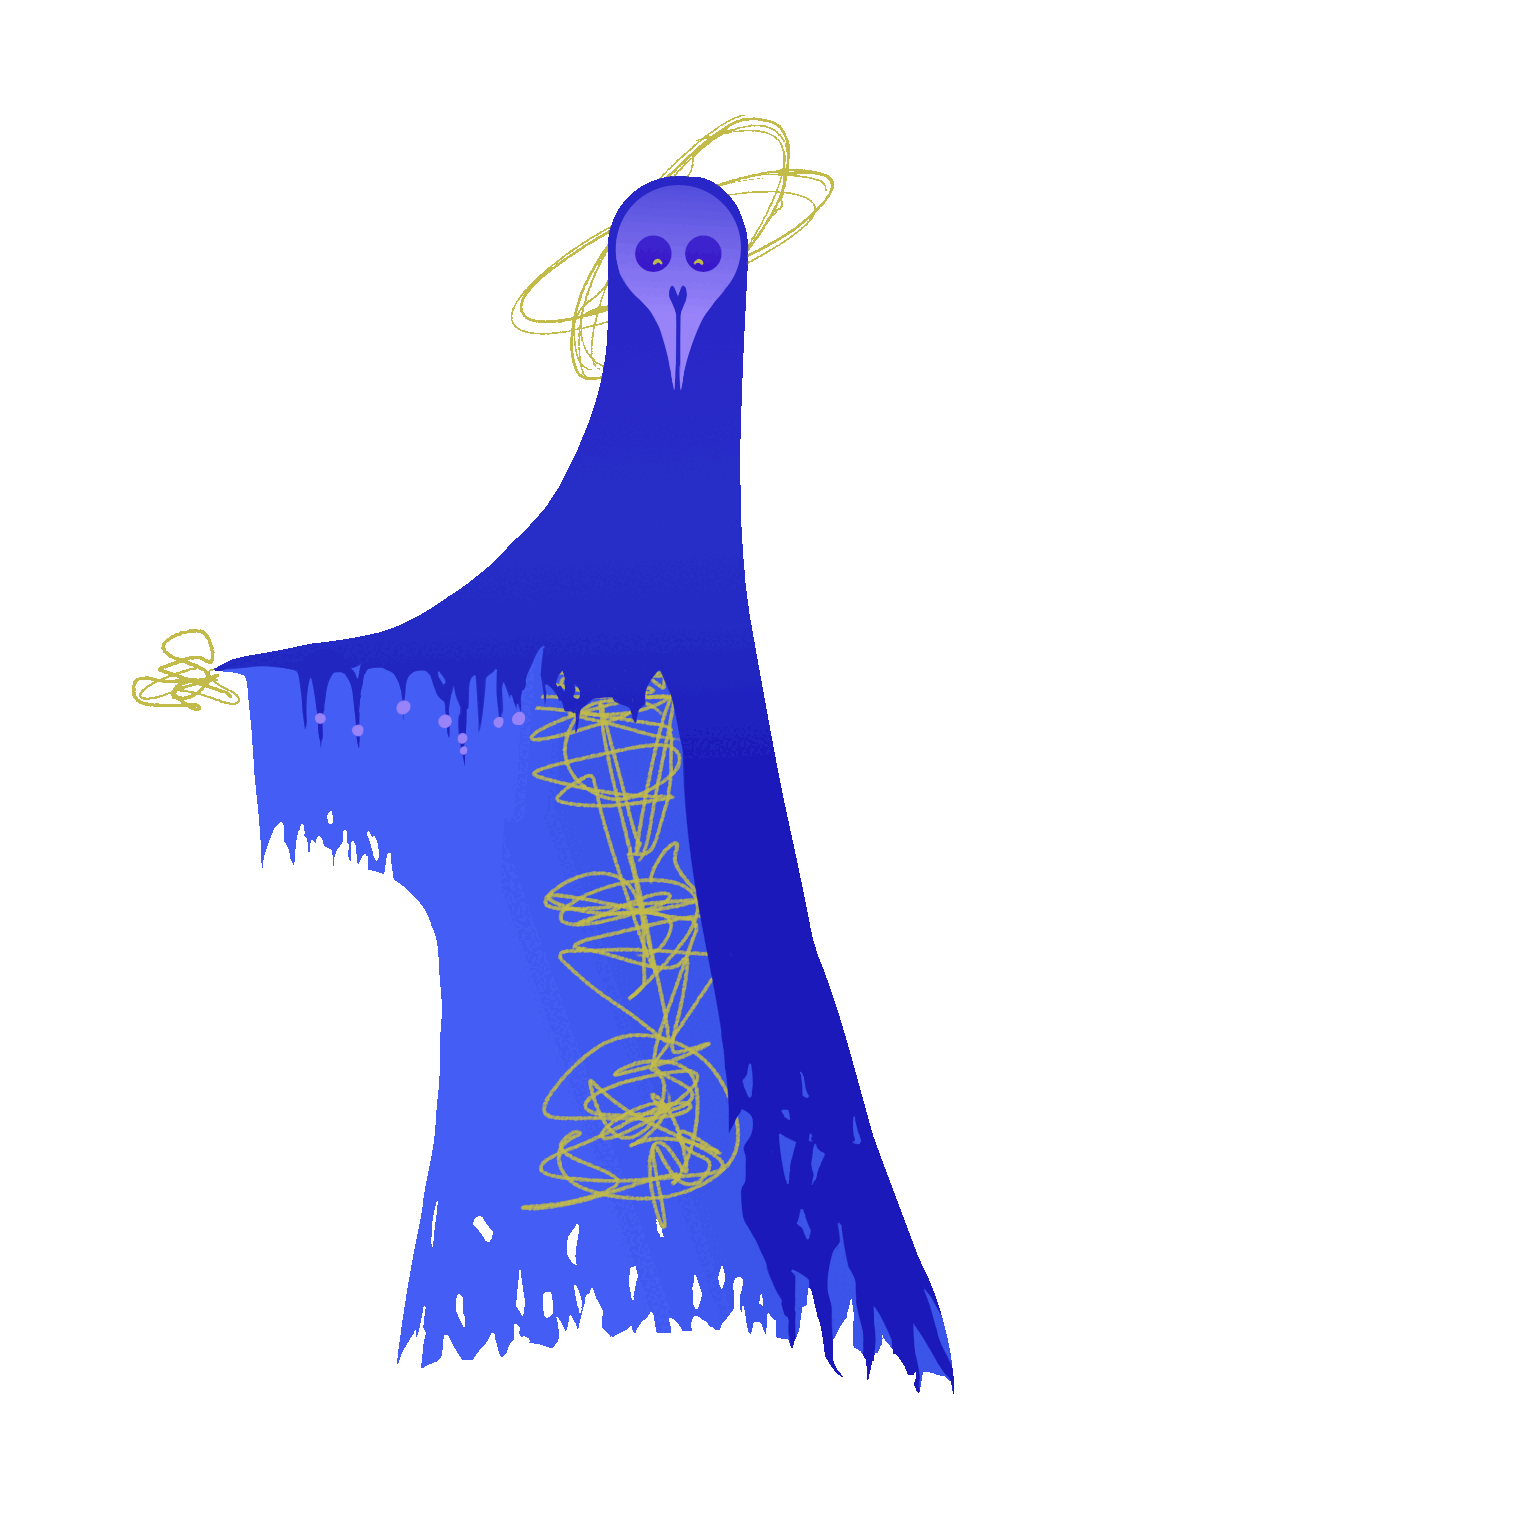
Finished Sprite GIFS


What I learnt
- I have 200% more respect for Visual Novel Creators.
- Creating Spritesheets is relaxing when you know what you’re doing.
- I hate doing multiple-character poses.
- Making GIFs for multiple poses is TEDIOUS.