Blender models are probably one of the hardest parts of putting a design together. In this post, you’ll see my struggles and triumphs in creating a rat model for the first time.
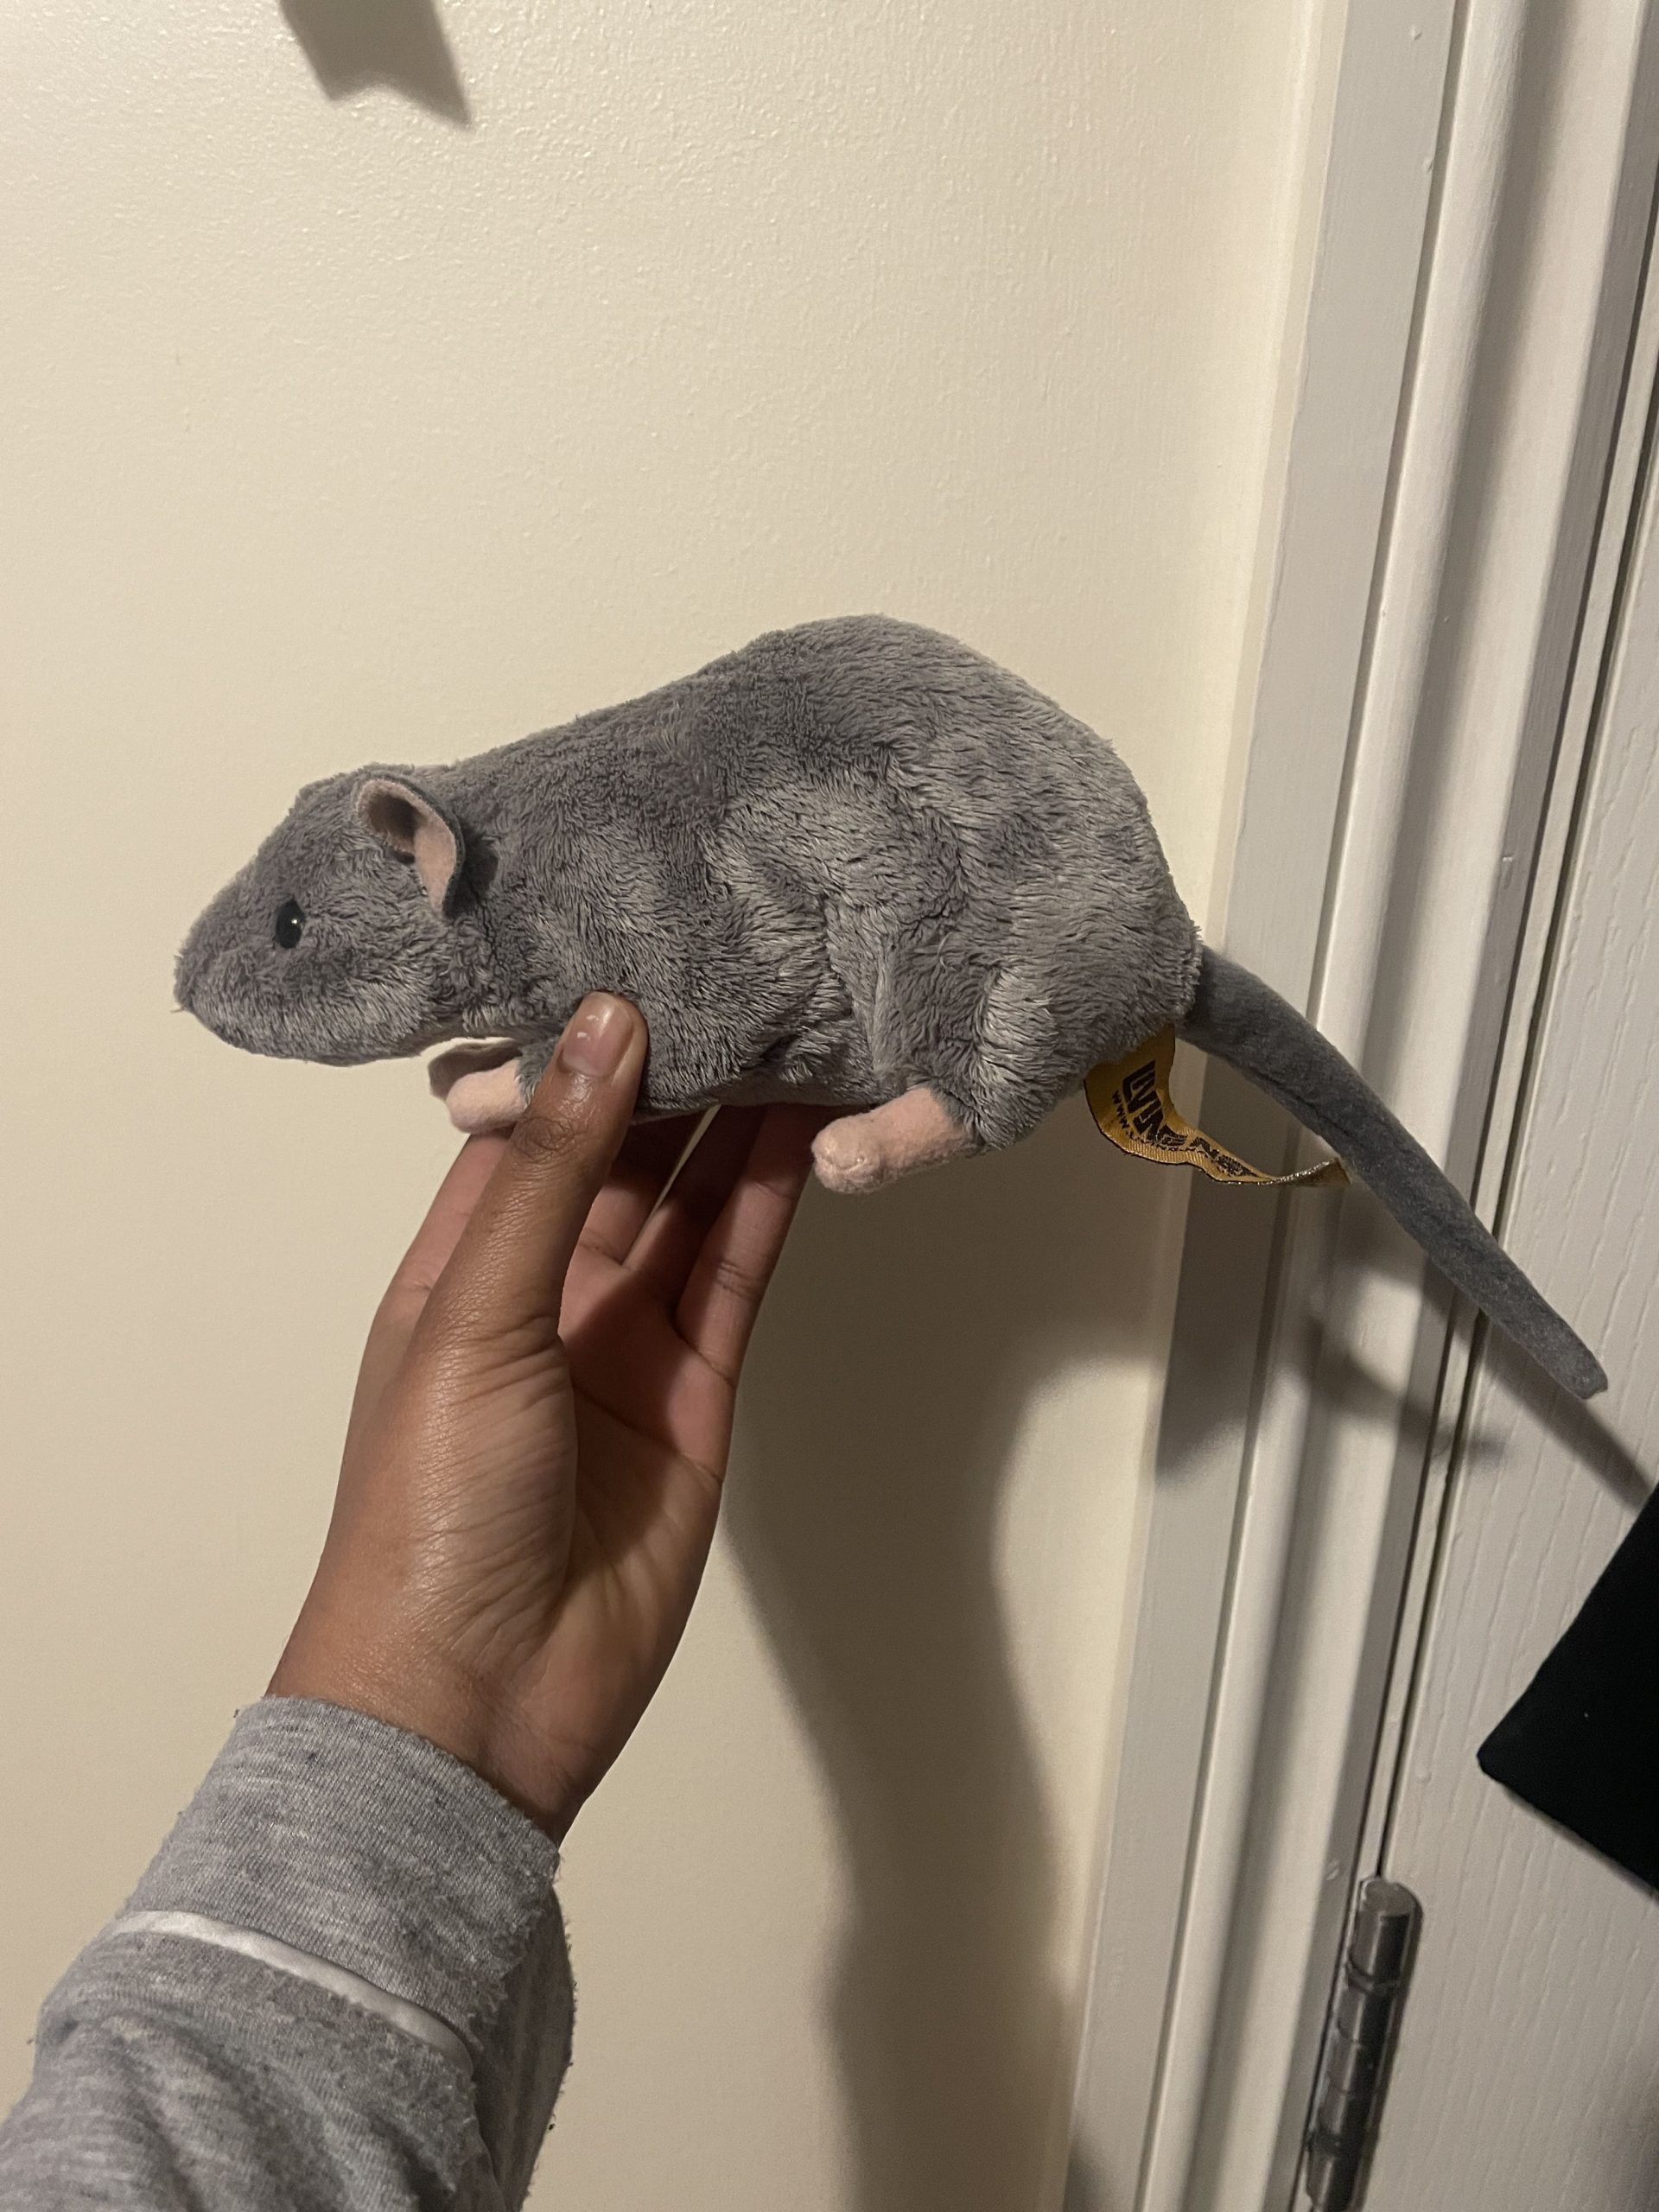
Conveniently, I have a Rat Plushie, which I will also be using as inspiration for my model. I knew this thing would come in handy for me one day…
Let’s get started! 🎉
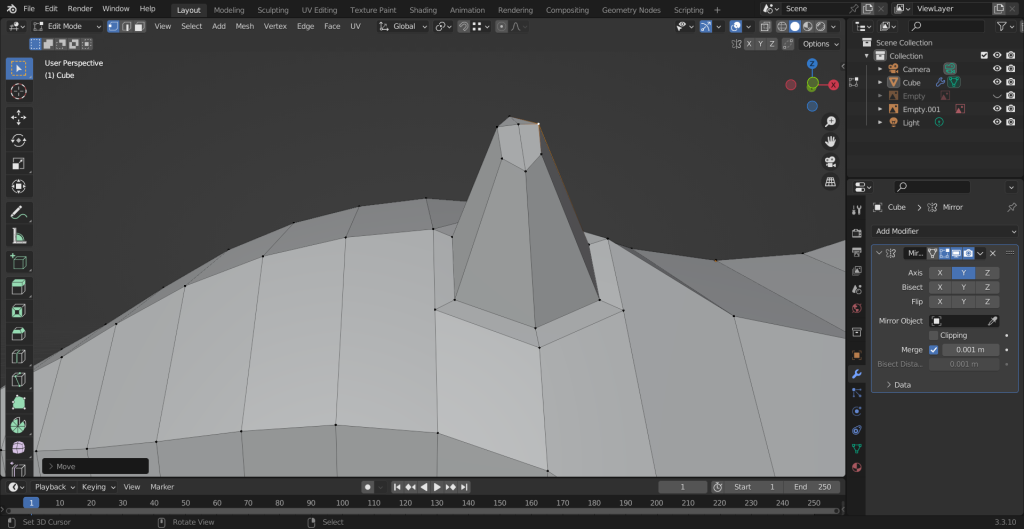
- I started by extruding a cube to the shape of my reference, flicking back and forth between the front and side views to ensure I got the shape right. I then subdivided this, deleted half of the mesh with Circle Select, and mirrored it to ensure consistency with the mesh. This is the first time I mirrored a mesh accurately. I used a tutorial of someone creating a rat to help me.

2. I then used the knife tool to make a circular cut to extrude and shrink the mesh inside before extruding up to create identical ears.
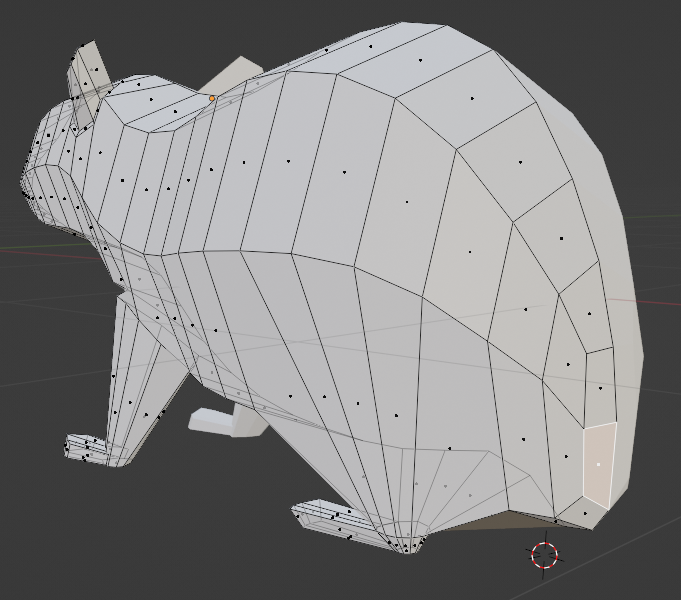
3. I created the legs by selecting a point and beveling it into a circle. For the feet, I dragged the lower body down, made a bevel point again, and extruded from the bottom part to create the feet. It took me about 45 minutes to get right, but I now understand how to make Rat legs and feet more efficiently. When I was done, I applied the mirror modifier.


4. For the tail, I just extruded the bottom and slightly scaled down each point to give the illusion that the tail was shrinking at the end.
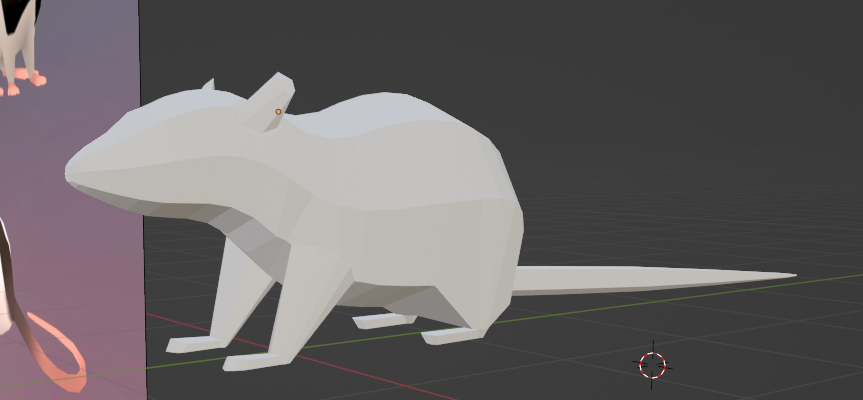
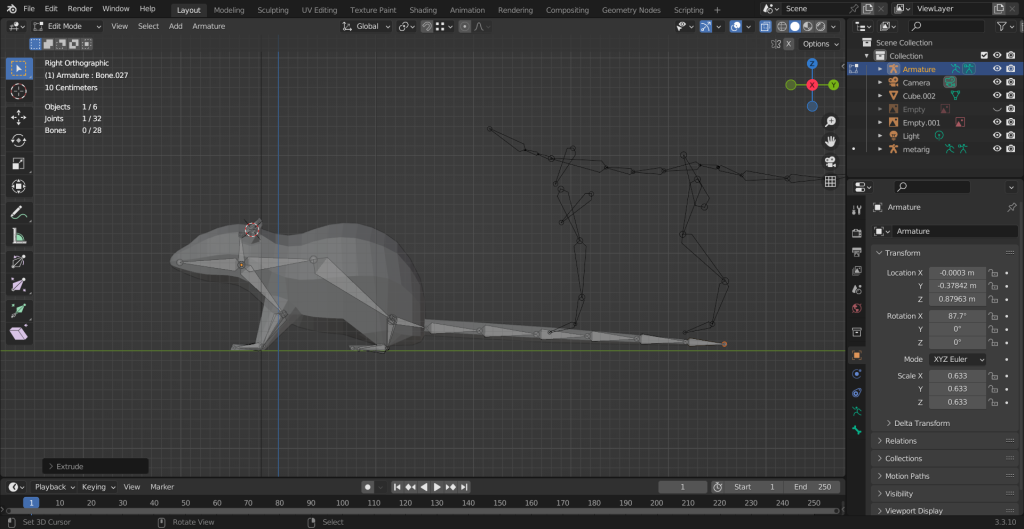
5. Here comes the tricky part — the dreaded rigging. I had a model, but now I had to add bones. I watched a rigging tutorial that used rigify, but it didn’t have a preset for Rats, only quadrupled animals. I used this preset as a reference, and I extruded the bones along the rat mesh, making sure to tweak it a little as I went along. When I was done, I parented it with automatic weights for the rig to take effect.
I also did some UV unwrapping, another little hell that made me want to give up. However, I prevailed and created something that worked.

6. After checking how many hours I had spent on this model, I found that it had been just under 5 and a half hours. To wrap it up, I wanted to make a texture for the model quickly.

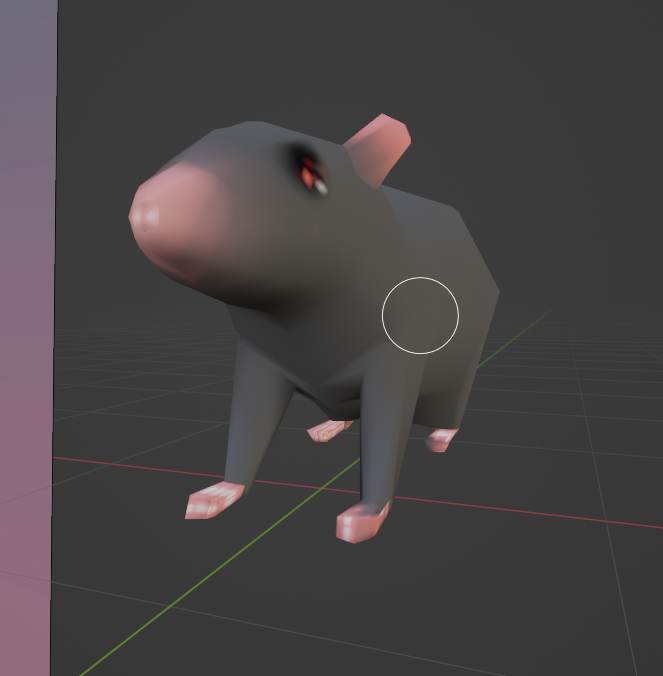
Texturing in Blender is NOT my forte and I ran into several problems when creating it. My main problem was artefacts in the texture which meant the UV unwrap was “too close together”… or something like that. Either way, I painted on the texture and used these mishaps to my advantage. As my game was going for a “low poly” vibe, I wanted to make PS1-inspired textures.

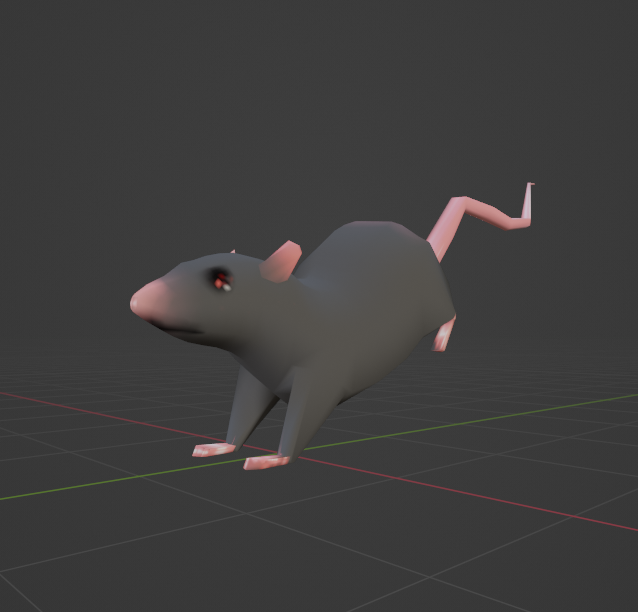
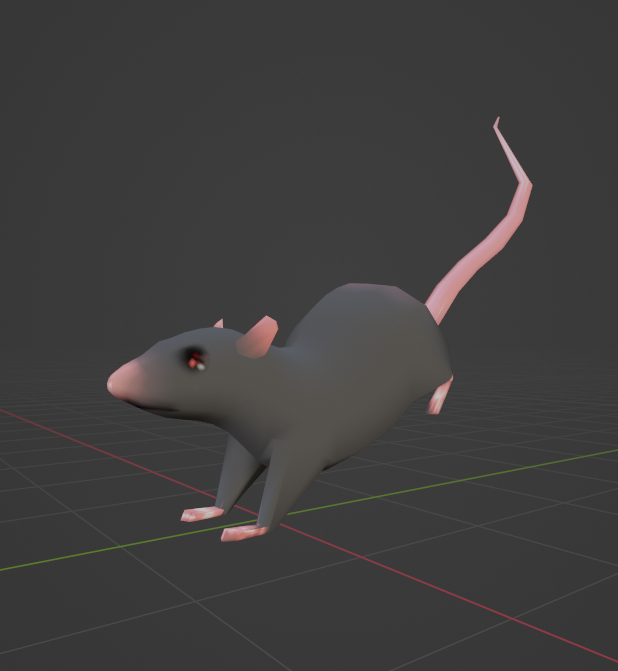
7. At this stage, my Rat is essentially “done”, any changes to the texture will be updated here but I am happy with the model as is. I like the rigging job, it’s functional and I can pose and make animations with the model.
Reflection/What I learned
- Rigging is hard. VERY hard, but Rigify is a useful tool to help you with that (especially if you’re going to make a complex model like an animal or human)
- True low-poly is hard. My total amount of polygons came up to 954, 500 was my target aim.
- Texturing is HARD. I haven’t learned to do it “right” yet, but I know that’s my aim in general.

Credit for GIF generator.
1 thought on “Rat Blender Model”