After creating the basic movement mechanics, we now needed to implement the attacking mechanic to continue to build the game.
My role was to add the main melee attack feature and to possibly add the damage component too.
Team Discussion
We had our first playtest coming up and needed to discuss what we wanted our testers to experience. This will help us plan and begin on refining the basic parts of the game to make a playable demo.
We decided that we wanted to have the camera working to pan between the generated rooms. We also wanted some visuals within the game as well so can also give us feedback on the art direction we currently have.
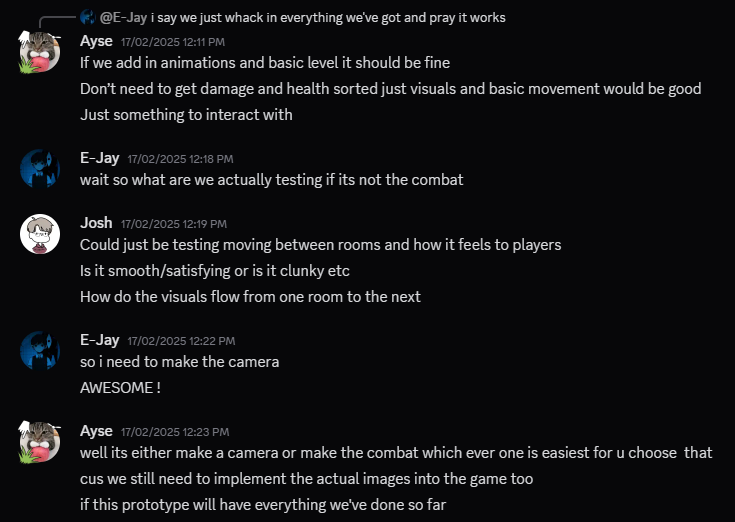
I said to include basic movement, visuals and that damage and health aren’t a top priority. After a conversation, we wanted to at least get those done and maybe damage so the combat system can also get some feedback.
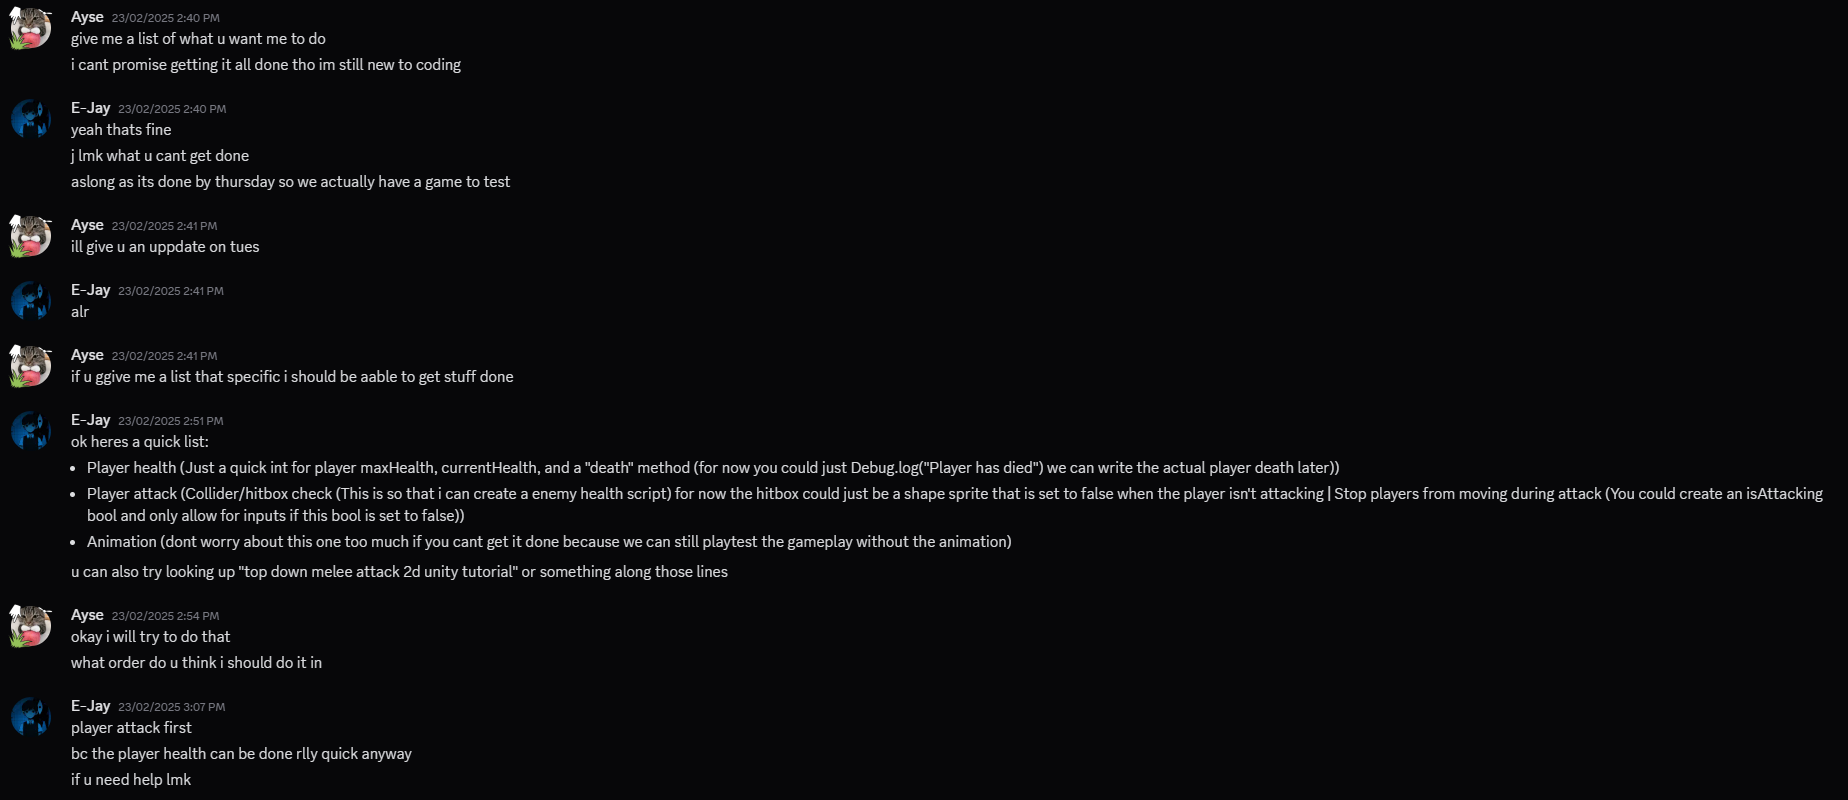
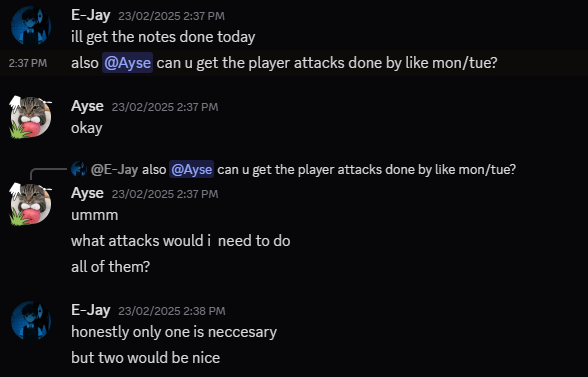
List of things to do in priority order:
- player attack
- player health
- player animation
- damage method
Research
In a previous group project, I have tackled these tasks before involving myself with attacking, health and damage. As it is in a different engine than before (Unreal to Unity), I will have to try and use a different coding language than what I am used to make this happen. I don’t feel like I need to research further as I already have experience with it, but it will take some brain power to work out how to translate it into new code. However, I did refer back to the GDD to gain a deeper understanding of what I needed to include.
Production
As there are multiple stages for production on this topic, I will break it down using subheadings to make it easier to navigate. Before I started on anything, I replaced the visual placeholder for the player with the art Riya made, as it will aid me in these next steps. I did it by importing it as a sprite image and assigning it to the player’s renderer.
Adding the Sprite Image to the Placeholder
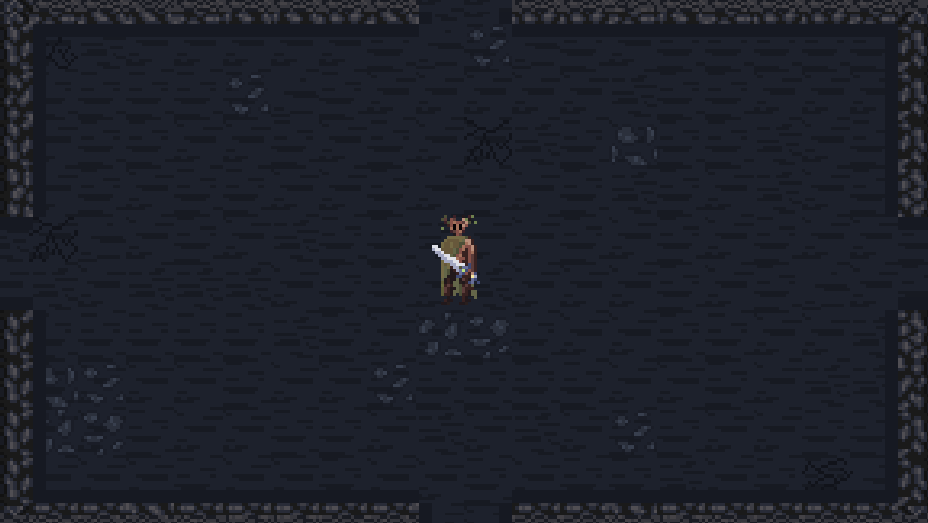
Before I started on anything, I replaced the visual placeholder for the player with the art Riya made, as it will aid me in these next steps. I did it by importing it as a sprite image and assigning it to the player’s renderer.
I changed the px per unit to 48 and changed the size of the player to 3,3. I ran into a problem where the player wouldn’t show, I had to change the order in the layer to more than 0, as the background loaded before the player. I then reduced the box collider to be more fitted to the player.
Attacking Mechanic
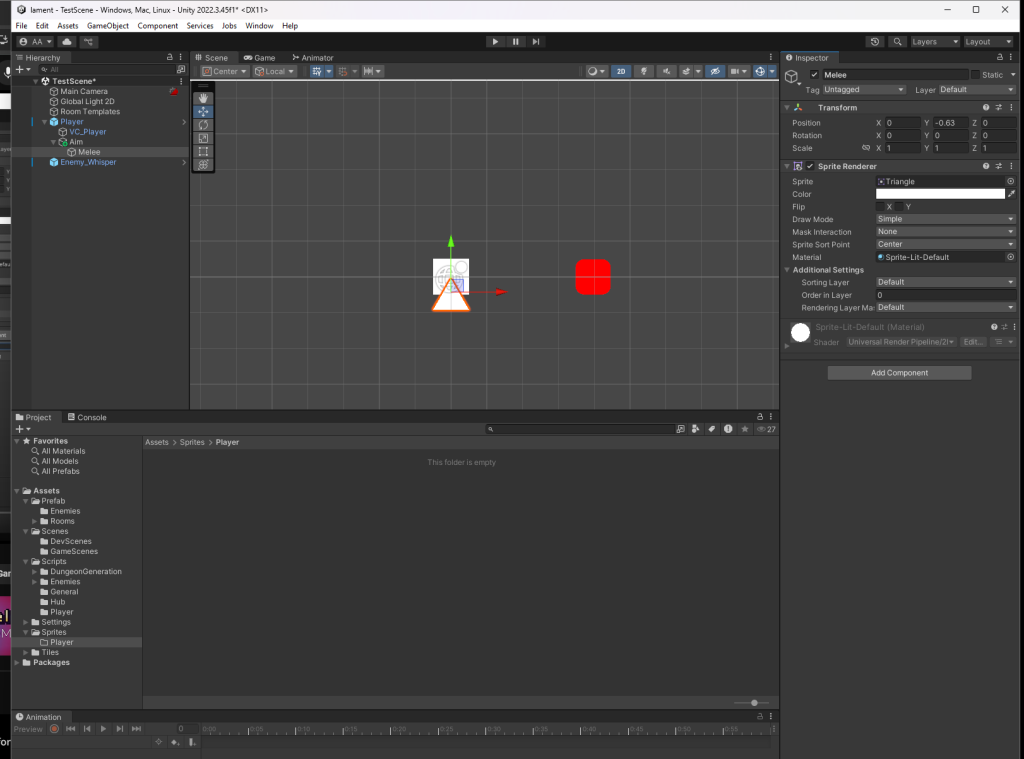
I first started by adding in a polygon collider parented to the player character to give an area of attack where the hits would register from.
If I didn’t include this, then none of the attack would work, as it wouldn’t have a zone to apply the logic to. The size of the attack can be adjusted as well as its connected to a separate object.
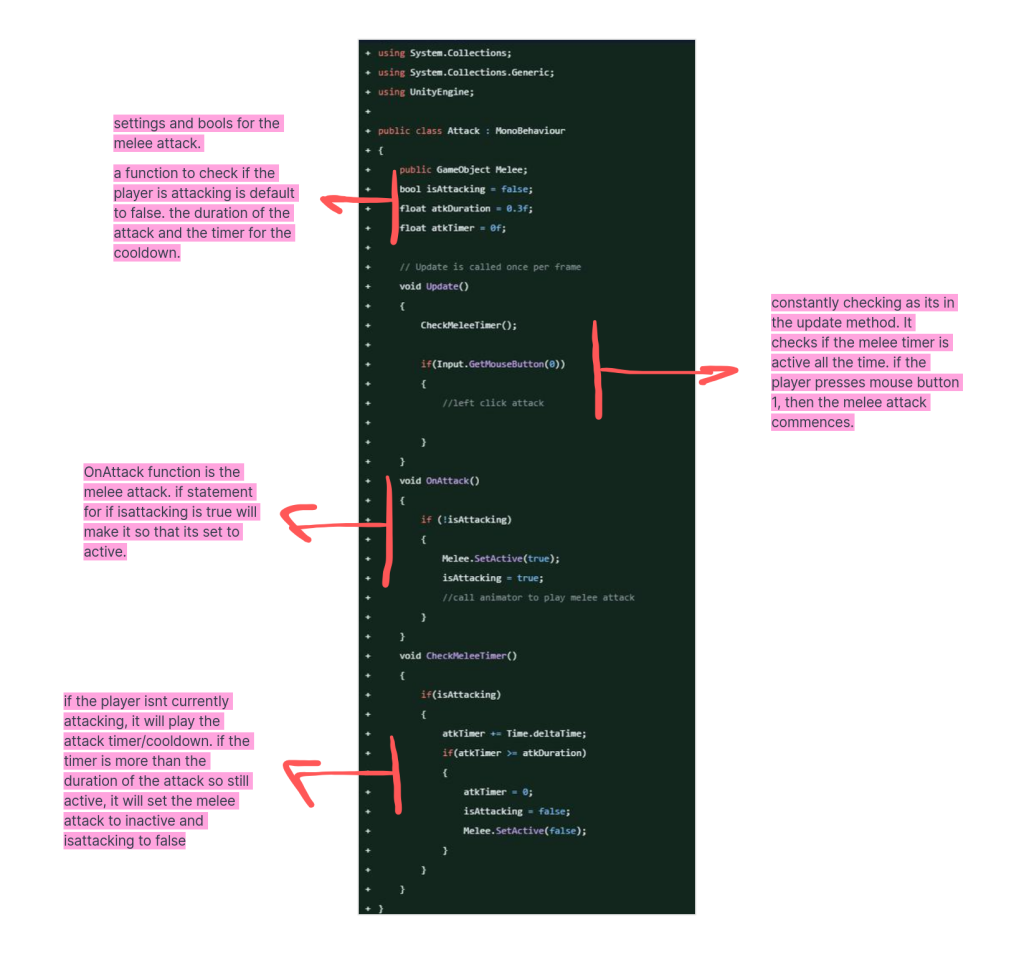
Here is the code breakdown for the melee attack. Everything seems to work when tested, but it doesn’t deal damage to the enemies, as there is no damage function or health function applied to the character or the enemies at the moment.
Player Animation States
As we only needed the basic animations for our protagonist in the game for the playtest, I decided to implement the idle and walk animations first, as they are necessary for the player states. Usually, the character artist would implement this, but after a conversation, Riya said that she’s never done it before and has no familiarity with Unity, so I made a start on this for her.
I added in a new folder labelled ‘sprites’ into assets area of unity, one folder deeper I made one called ‘player’. this creates good organisation.
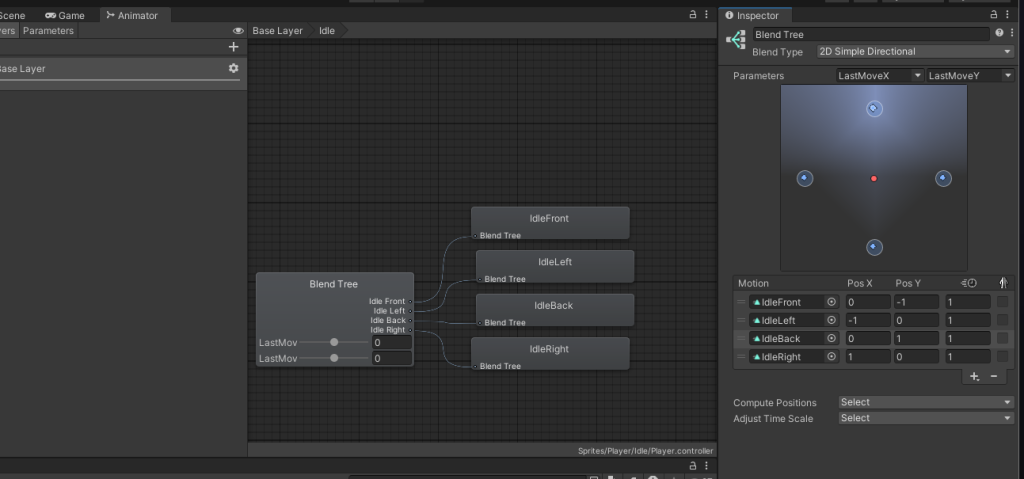
I decided to use the blend tree animation function within Unity to create the animation states for the player. I set it up using the right parameters to make it change according to the last change in the axis of the players direction using the 2D simple directional blend type. I used the same settings for the front, left, back and right versions of each other animation states. After these were made, I linked them to the blend tree node to plug them in. I did the same process for the walking states as well.

After that, I had to work on the base layer of the animation nodes. I made the primary state of the player the idle, and made it so it would transition over to the walk function when movement is active. As we wanted the state to change instantly with no blend, I turned off the transitions and added a condition to activate the walk animations.
I then exported the animated sprite sheets Riya made from Aseprite into Unity. I set the image to a 2D sprite set to multiple as it’s a sprite sheet. I then went into the editor and sliced it to be equal and create individual frames for the animation from this sheet. I also made sure to change the compression to none and the image to point no filter, as it is a pixel image.
All the different versions of the states had to be made as individual animations, which were linked to the player using an animation controller node in the inspector. I made them all have the length of 1 second as they were made to loop, therefore, the length of the animation only changes the appearance of speed for the character. A second-long animation fits the walking and idle state of the player. If I could add in the dash animations, I would make them shorter so that they would animate faster.
I then had to alter a few existing scripts to make it play out as intended, with some new code to control the animation states further. This was implemented in the player movement script.

Important Information
We need to have the states for attacking and dashing, but as the animations weren’t made in time, I couldn’t implement them at the same time as the others. If it were ready in time, I would have been able to implement those states as well. So that is on the back burner for now, but the settings would be the same as the others to set up, just a change in the conditional factor for it to transition properly at the right time.
Health + Damage
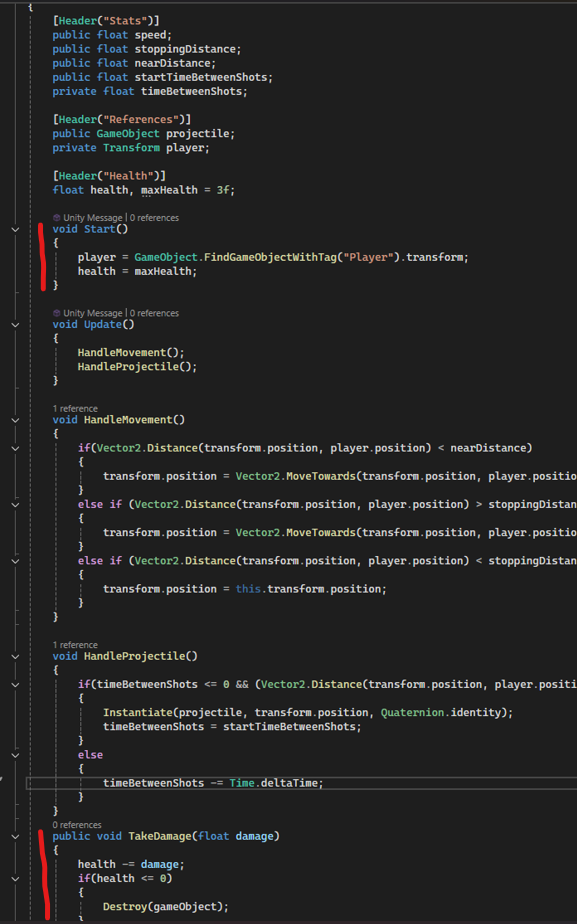
I added health to the player, setting it to a default of three (referring back to the GDD). I managed to get it working on the player, but as I didn’t code the AI for the enemy, I couldn’t get health working for the whisper enemy.
I did make an effort to try and make damage to enemies work using a separate script, but I had the same issue. I left it for E-Jay to figure out, as any change I would make to the enemies would make their code break. This was the same conundrum for the damage inflicted on them as well.

Personal Review
I found using the blend tree very fun, I liked the complexity of using it. I’ve played with it before, but never used it in an actual project. It was very rewarding to achieve it,, and I feel as though it turned out nicely visually as well. I have made a melee attack before, so it’s not that fascinating to me. However, the fact that I managed to complete it in a different software was something that I was proud of. I am kind of disappointed that I couldn’t manage to get the damage working, but it’s just another thing for me to improve on by learning enemy AI in the future.